Landscaping With Rocks That Looks Natural Instead of Overdesigned
- Landscaping With Rocks That Looks Natural Instead of Overdesigned
- Key Takeaways
- Choose Stone for Your Climate
- Build a Relaxed-Looking Stone Patio
- Choosing The Right Stone
- Keeping The Layout Natural
- Add Stone Walkways With Gravel
- Design a Natural Rock Garden
- Choosing Natural Rock Elements
- Planting for Simple Balance
- Border Flower Beds With Stone
- Place Boulders and Stone Steps
- Pick a Retaining Wall That Blends In
- Balance Natural Stone With Native Greenery
- Native Plants And Stone
- Softening Stone With Greenery
- Add Stone Water and Fire Features
- Avoid Common Natural Stone Design Mistakes
To keep rock landscaping natural, pick stone that matches your climate and local colors, then use a simple layout with a few larger boulders, gravel, and easy plants. Try a flagstone path with gravel joints, or a rock border with creeping thyme—cheap, tidy, and not fussy! Add river rock for drainage, and skip too many stone styles. Best of all, one strong focal stone near the end can make the whole yard feel calm, not crowded, and there’s more to uncover.
Key Takeaways
- Choose stone colors and textures that match the local landscape so the yard feels calm and natural.
- Use fewer stone styles, with one main rock type and a few larger boulders instead of many small pieces.
- Set patios and walkways with simple layouts, solid base prep, and gravel for drainage and a relaxed look.
- Soften rock areas with native plants, grasses, creeping groundcover, or shrubs spilling over edges.
- Add one focal feature, like a small water element or sundial, rather than crowding the space with extras.
Choose Stone for Your Climate
If you want your rock terrain to look calm and natural instead of like a pile from a supply yard, start with the stone that fits your climate!
You’ll feel right at home when your stones match local colors and textures, because they already belong there.
Pick a durable selection that handles freeze-thaw swings, sheds water well, and won’t stain like a muddy boot.
Skip soft rock in busy spots, since it can wear out fast, ouch!
Before you buy, do weather testing in your own yard—check rain, cold snaps, and finish.
Photos lie; your real terrain won’t.
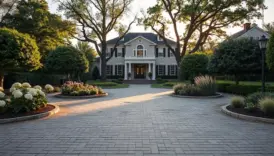
Build a Relaxed-Looking Stone Patio
A relaxed stone patio starts with the right stone, so you’ll want naturally irregular flagstone, slate, or bluestone that feels calm, not copy-paste perfect.
Keep the layout simple with a few big slabs and smaller fill pieces, then edge it with medium river rock so the whole space looks easygoing and a little wild.
Don’t skip the base prep and drainage, though—get that right, and your patio can stay sturdy for decades, even if the weather tries to act tough!
Choosing The Right Stone
To build a stone patio that feels calm and lived-in, start with the stone itself, because the wrong choice can make the whole space look fussy fast!
You’ll fit right in when you pick hard, dense stone for busy spots, and choose pieces made for your freeze-thaw weather and rain.
Bring color matching samples home, then check them beside your siding and roof in real daylight, not in the store’s glow.
If the stone drinks water, use stone sealing tips before you set it.
One more thing: keep one stone type and solid base prep, or the patio may wobble into “oops.”
Keeping The Layout Natural
When you lay out a stone patio, the magic is in making it look like it grew there on its own, not like it showed up in a neat little grid wearing a name tag!
Start with irregular flagstone and set each piece on a solid base, then leave natural spacing so the Flagstone texture feels calm, not stiff.
Position a stepping-stone strip with your yard path, and tuck in a few boulders for easy flow.
For edge softening, use river rock, then add matching gravel connection and native shrubs.
You’ll get a cozy patio that feels welcoming, not bossy—yay!
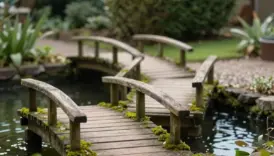
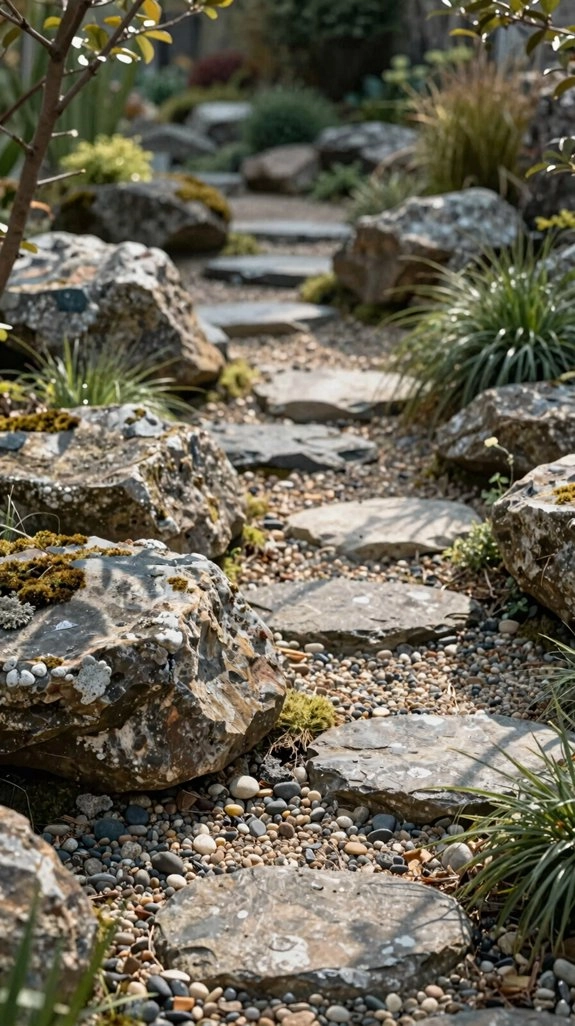
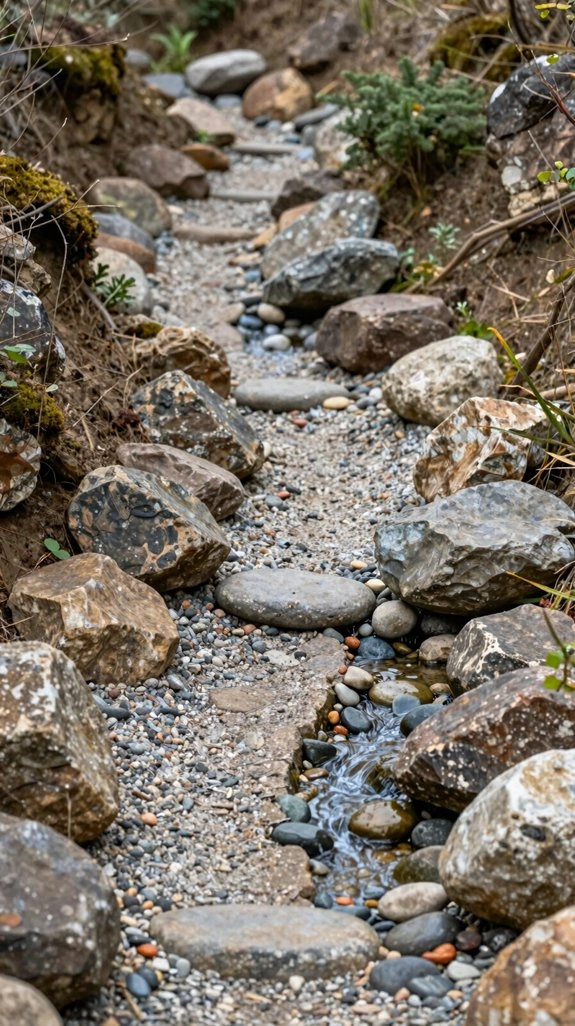
Add Stone Walkways With Gravel
If you want your path to feel like it grew there on its own, try setting irregular flat stones in a bed of gravel—simple, sturdy, and surprisingly charming!
Start with drainage planning, then choose stone surface textures that feel good underfoot and look relaxed, not fussy.
Set the stones with steady gaps, then fill the in-between spaces with gravel so rain can slip through instead of puddling up.
That helps the stones stay put, too.
Pick tones that match your siding or roof, and edge the walk with river rock or a rugged border.
You’ll get a friendly path that says, “Come on in!”
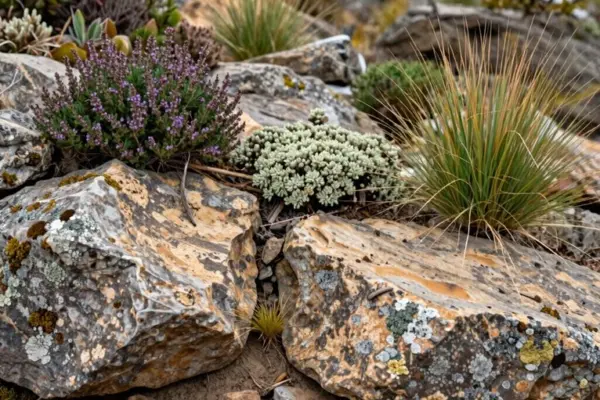
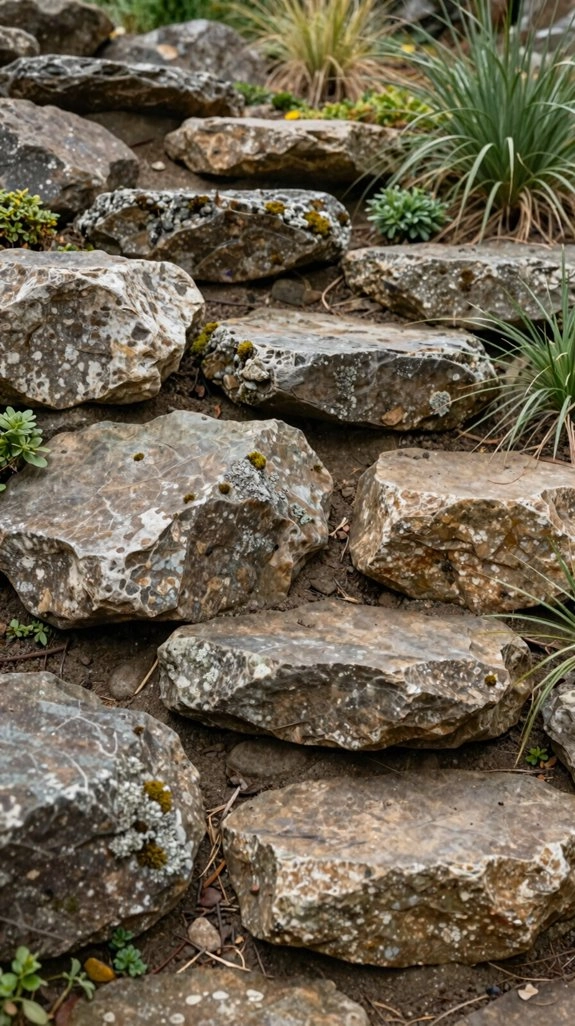
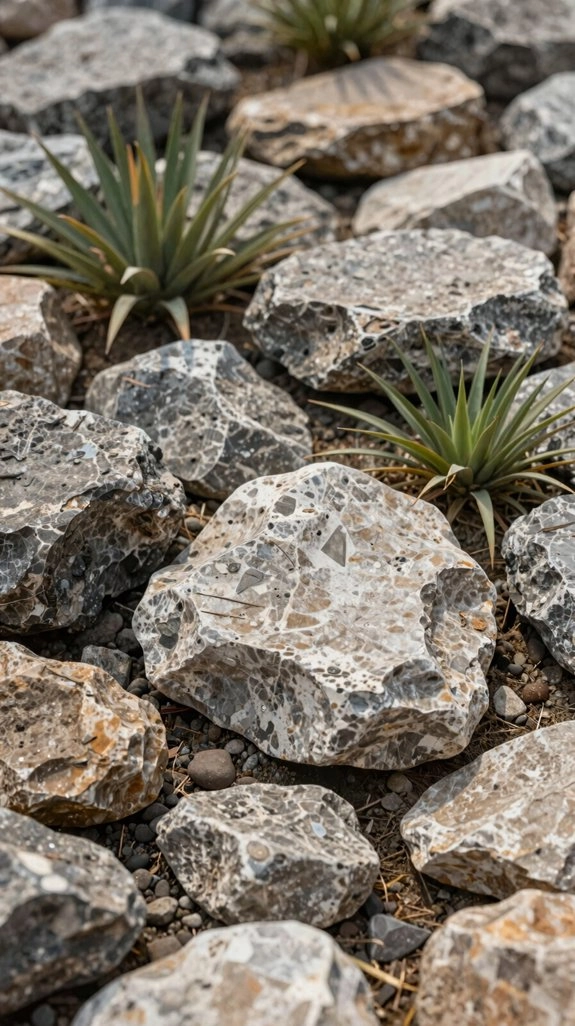
Design a Natural Rock Garden
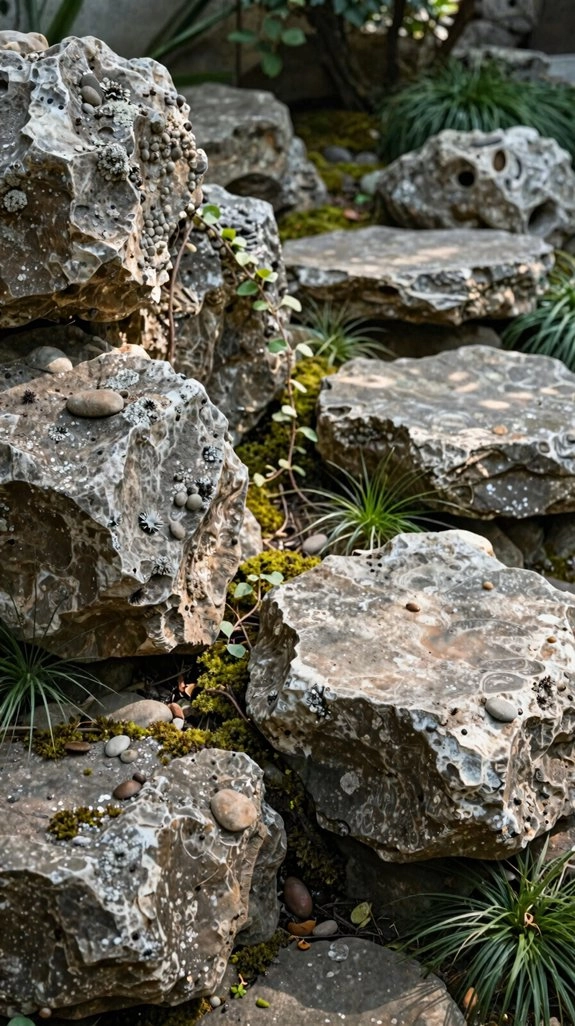
You can make your rock garden look like it grew there by using a few large stones as anchors, then filling the spaces with raked pebbles or gravel, nice and tidy without looking too polished.
Pick just a few drought-tough, slow-growing plants, like a small conifer with grasses or succulents, and match them to sun or shade so the whole space feels easygoing and low-fuss.
For a little wow factor, try layering rocks in small clusters with a bit of groundcover spilling over the edges, then sneak in one fun focal point, like a tiny water tumble or a bronze sundial—hello, instant charm!
Choosing Natural Rock Elements
Start with just a few well-chosen stones, and your rock garden will feel calm, not cluttered—wow, what a difference that makes!
Choose rocks that suit your home and climate, so rock color harmony and rock texture variety feel natural, not forced.
If you get freeze-thaw weather, pick stones that can handle it; if a rock soaks up water, seal it.
Next, mix one hero boulder with smaller stones for depth.
Repeat a limited palette, and use the same gravel mulch for a tidy look.
Place river rocks where drainage matters, then prep the base so everything stays put.
Planting for Simple Balance
A natural rock garden feels calm when the planting stays simple, so begin with just a few strong players instead of a full-on plant parade. Use 1–2 big focal stones, then tuck in a few smaller accents, and let the plants do the quiet work.
Pick evergreen dwarf conifers for structure, then add drought-tough grasses or short shrubs for softness and sway. With microclimate placement, match native plants or climate-resilient cultivars to sun and shade, and you’ll save time later.
Finish with raked pebbles, stone mulch, and creeping thyme spilling over edges. For seasonal color planning, keep it simple, not wild—nice!
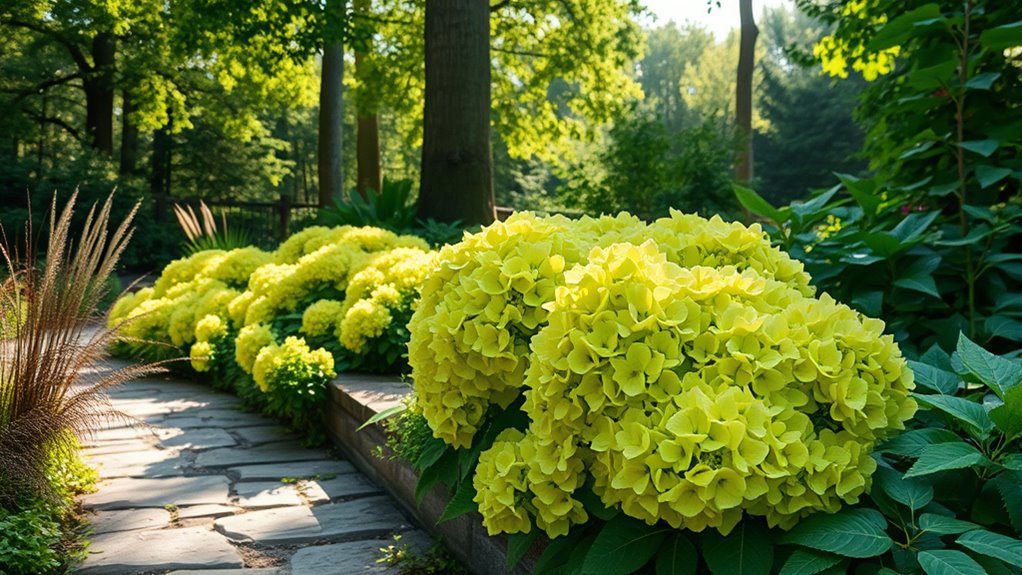
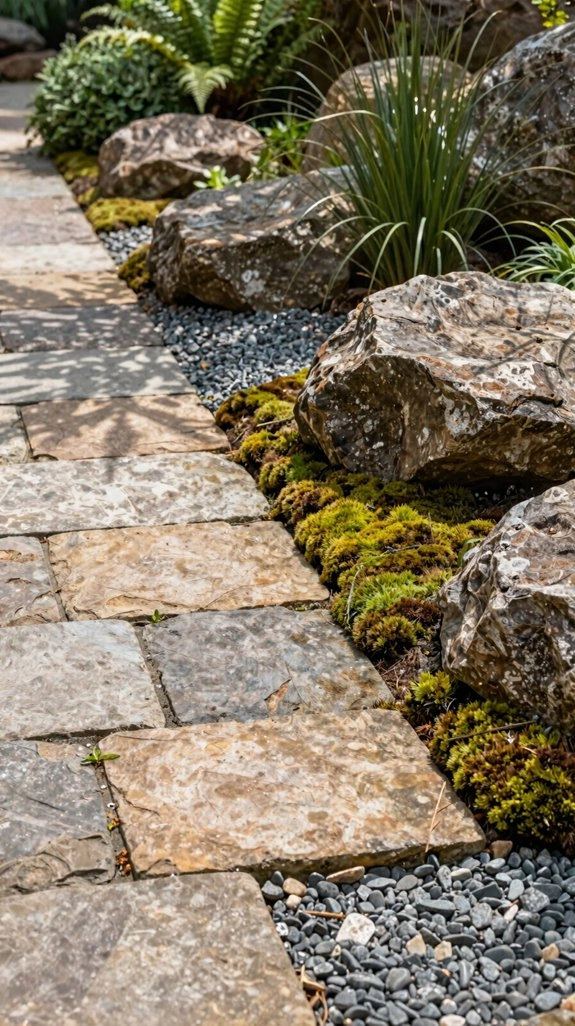
Border Flower Beds With Stone
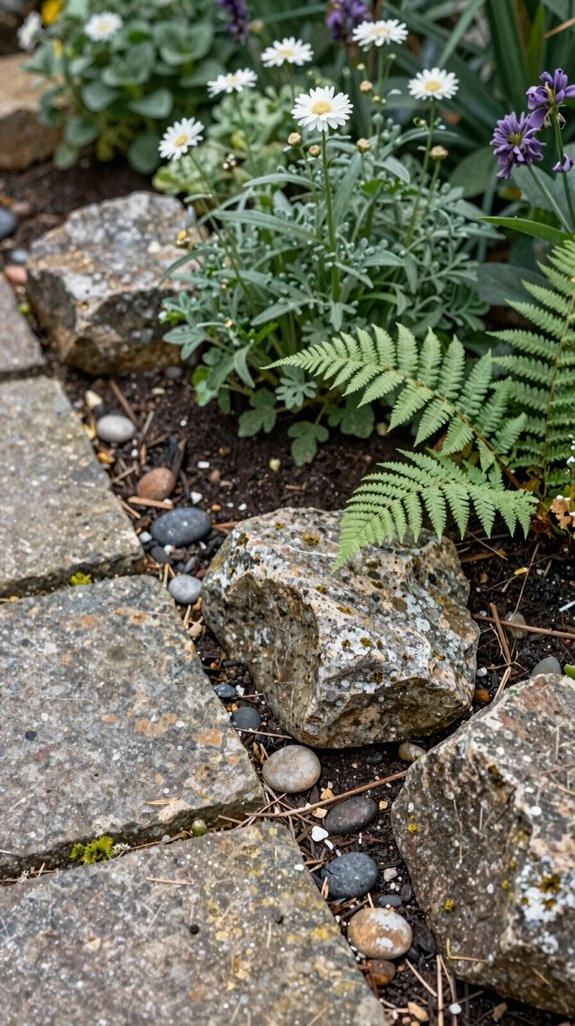
Stone borders can make a flower bed feel finished without looking stiff, especially when you use medium river rock or flat, stacked stone to hold mulch and soil in place.
You’ll get a tidy edge, and your yard still feels like it belongs in nature, not a showroom!
Choose stones that match your pavers or gravel, then set them a little deeper than the mulch line.
That simple step helps with weed suppressing mulch and cuts down stone edge maintenance.
Leave small gaps for plants to spill over, and boom, the border softens right up.
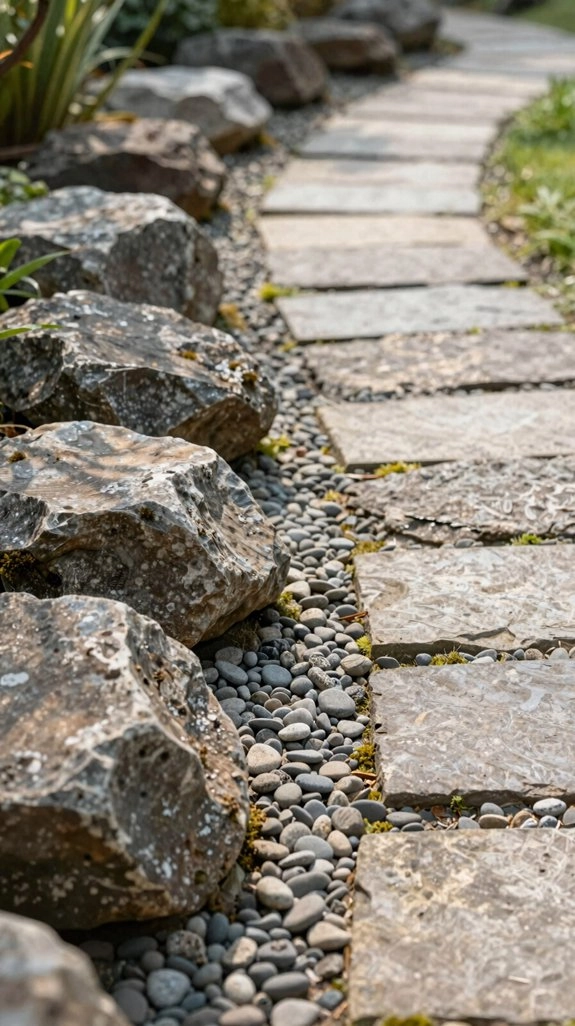
Place Boulders and Stone Steps
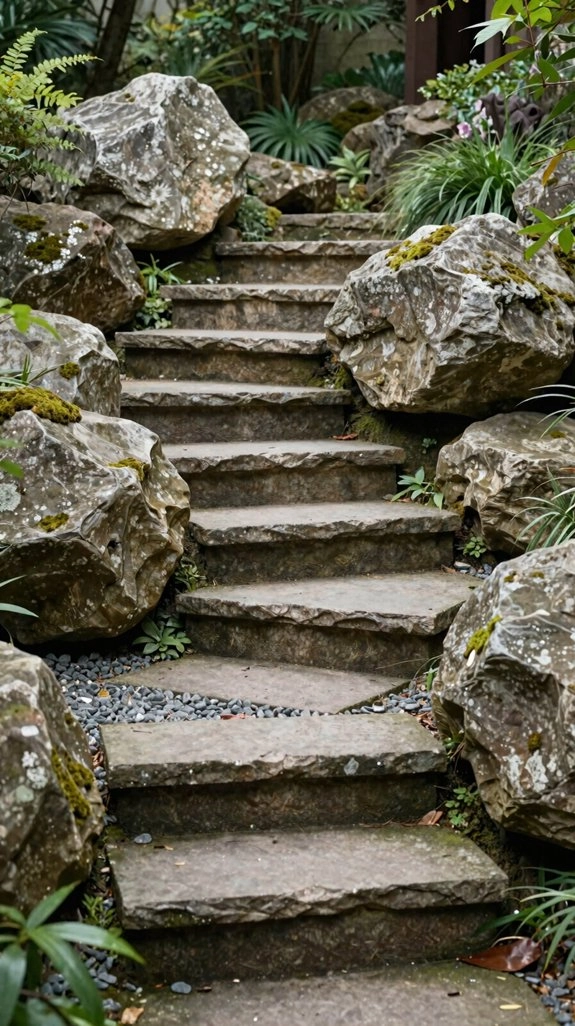
Once your border beds look neat, you can give the whole yard a more natural backbone with a few well-placed boulders and stone steps.
Choose medium-to-large rocks, because big massing feels intentional, not like you dumped a pile after a wild weekend, ha!
Set boulders to mark starts and finishes, then link them with irregular steps that follow the slope.
Use flat, wide stone for safe footing, keep the rise and run steady, and leave tiny gaps for gravel.
Watch drainage considerations and do solid base preparation, since moving shows up fast at steps.
The result? A path that feels like it belongs.
Pick a Retaining Wall That Blends In
If you want your retaining wall to look like it belongs there, start by picking rock that fits your climate, because freeze-thaw cycles can be sneaky little troublemakers! You’ll feel better knowing your wall can handle the weather and still look like part of the yard.
- Choose stones that suit local moisture cycles, so they don’t shift later.
- Use an irregular stone face, with mixed sizes and shapes, for that grown-in look.
- Aim for texture color match with nearby hardscape, then keep the design simple.
A smart wall saves money, stress, and that awkward “new project” vibe!
Balance Natural Stone With Native Greenery

Choose native plants that fit your zone and tuck them around your rocks, because that mix makes everything look like it belongs there, not like you just dropped in a few “decor pieces” and called it a day!
Start with one or two woody natives near your bigger boulders, then layer in drought-tolerant groundcovers and grasses, and you’ll get a soft, natural look with way less watering and fuss.
For a nice finishing touch, match the rock tone to your yard and let greenery act like a third color, which keeps the whole scene from feeling too neat, too busy, or weirdly monochrome.
Native Plants And Stone
When you blend native plants with stone, the whole yard starts to feel like it belongs there, not like it showed up in a truck!
- Pick native shrubs and grasses that match your zone, then repeat them around boulders for that easy, lived-in look.
- Choose drought tolerant groundcovers for soil coverage, so bare spots fade and weeds lose their nerve.
- Match your rock to your climate, since some stones laugh at freeze-thaw while others need sealing.
Mix conifers with grasses, flank paths with natives, and use river rocks for runoff control. The result? A calm, natural yard that fits your place beautifully!
Softening Stone With Greenery
Even the toughest rocks look friendlier once you give them a little green company! You can soften stone by tucking native plants and drought-loving greenery around gravel, river rock, and pebbles, so your yard feels grown in, not dropped in.
Keep the palette simple: stone as the base, then one good green from shrubs or ornamental grasses for seasonal texture.
For low maintenance layering, slip creeping thyme or another groundcover between edges and rocks, and let it blur those hard lines.
Finish with a few matched shrubs near boulders, and suddenly your rock bed feels warm, balanced, and welcome.
Add Stone Water and Fire Features
A small stone water feature can instantly make your yard feel calmer and more alive, and it doesn’t have to look elaborate to work its magic! You’ll get wildlife attraction and year round interest, too, when you keep it simple and natural.
- Fountain: Use a basin, pump, and rounded stones. Add water-loving plants for a soft edge.
- Pond or waterfall: Let water tumble over rock, then frame it with raked pebbles or river rock that matches your pavers.
- Fire feature: Build a small circle or square with heat-resistant stone, then add a seat nearby, so the glow feels welcoming, not showy!
Avoid Common Natural Stone Design Mistakes
Rocks can look beautifully natural in your yard, but a few common mistakes can make them feel stiff, fussy, or just plain off, yikes!
First, match each stone to your climate, because the wrong pick can crack in freeze-thaw weather or soak up water and need sealing.
Next, don’t skip base prep, since leveling and drainage keep rocks from wobbling later.
For better garden cohesion, use fewer stone styles, add greenery, and plan runoff with river rock drain beds.
Then choose one big boulder, or a few, instead of a crowd of tiny pieces.
That simple move feels calm, natural, and welcoming!