Outdoor Living Spaces Planned Around Shade, Comfort, and Movement
- Outdoor Living Spaces Planned Around Shade, Comfort, and Movement
- Key Takeaways
- Define Your Covered Outdoor Living Space
- Plan Zones for Lounging, Dining, and Entertaining
- Position Seating for Sun, Shade, and Breezes
- Sun Path Seating
- Breeze-Friendly Layout
- Create Safe Paths Between Doors and Patio
- Direct Door Routes
- Slip-Resistant Surfaces
- Graded Drainage Paths
- Choose Materials for Year-Round Durability
- Build Slip-Resistant Patio Surfaces
- Add Pergolas, Awnings, and Shade Sails
- Use Trees and Planting for Natural Shade
- Design an Outdoor Dining Area That Stays Comfortable
- Make Lounge Areas Work in Hot Weather
- Block Wind for Cooler-Season Comfort
- Shield Seating From Winds
- Use Evergreens As Barriers
- Add Walls Or Screens
- Add Lighting for Safe Evening Use
- Include Fire Pits and Outdoor Heating
- Fire Pits For Warmth
- Outdoor Heaters Extend Seasons
- Cozy Zones For Gathering
- Use Planting for Privacy Without Blocking Movement
- Plan Maintenance That Extends Longevity
Turn your patio into an outdoor room by splitting it into zones: dine near the kitchen, lounge in the shade, and keep the fire pit or TV center open. Place seats where sun, shade, and breezes work for you, then use slip-resistant pavers and a direct 36-inch path from the door. Add a pergola, lights, and tough plants for comfort—easy DIY upgrades that make the space feel bigger, safer, and way more inviting, especially when the sun shifts!
Key Takeaways
- Define the outdoor space as a covered room with zones for dining, lounging, and entertaining.
- Place seating using sun, shade, and breeze patterns for seasonal comfort and airflow.
- Keep direct, clear paths from doors to patio with 36–48 inch widths for easy movement.
- Use slip-resistant, well-draining surfaces to reduce puddles, slips, and threshold hazards.
- Choose durable, climate-ready materials and shade systems for year-round comfort and longevity.
Define Your Covered Outdoor Living Space

Before you start picking out cushions and string lights, take a minute to define what your covered outdoor living space really is: an outdoor “room” where you can relax, eat, cook, work, or entertain, all under a roof-like structure such as a pergola, pavilion, cabana, or even partial walls.
That definition helps you choose material choices that fit your climate, style, and budget—nice!
You can also make smart ventilation planning so breezes move freely and the space feels fresh, not stuffy.
Whether it’s a cozy nook or a big gathering spot, you’re building a place that feels welcoming, useful, and all yours.
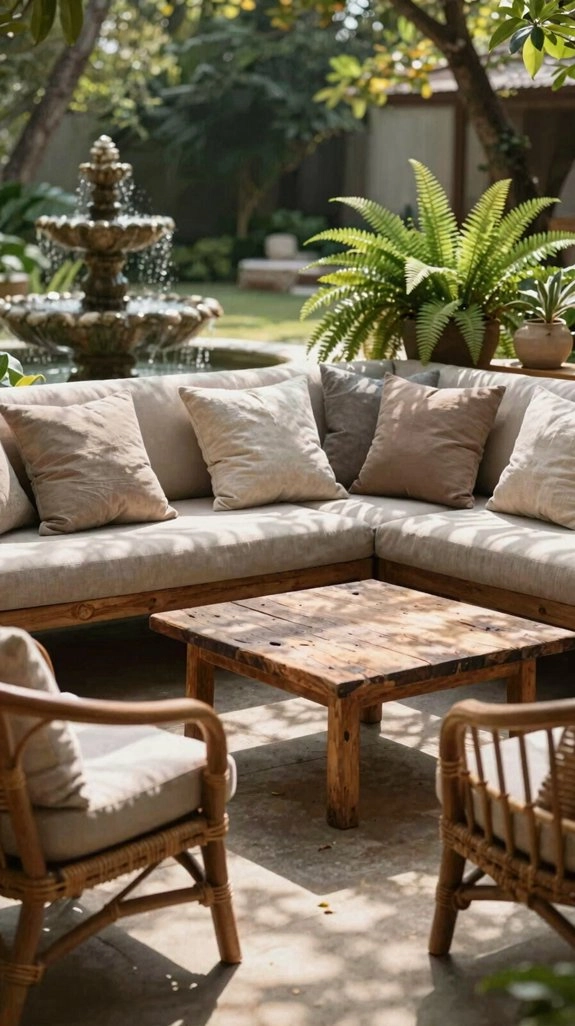
Plan Zones for Lounging, Dining, and Entertaining
Now that you’ve got the overall feel of your covered outdoor living space, it’s time to give it some real shape with smart zones for lounging, dining, and entertaining! Split the space so every guest feels welcome, and your gathering flow stays easy.
- Put dining near the kitchen, under a pergola or awning, so serving feels simple.
- Set the lounge a bit farther away for calmer chats and better patio acoustics.
- Center entertaining around a fire pit, bar cart, or TV, with clear paths and safe gaps.
Add shade for lunch, warmth for cool nights, and slip-safe drainage. Nice!
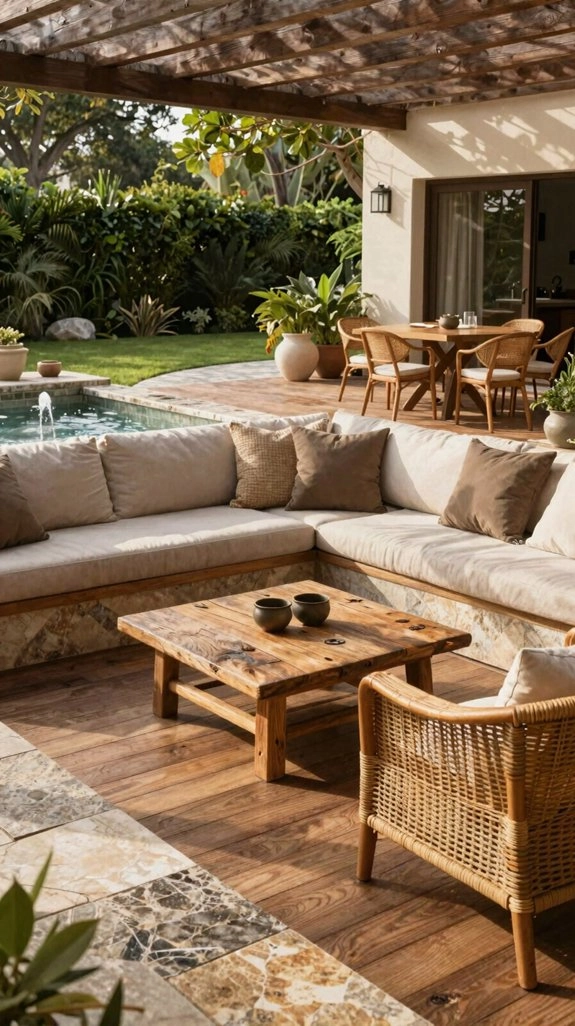
Position Seating for Sun, Shade, and Breezes
You can make your seating feel a lot smarter by tracking the sun first, then tucking your main lounge or dining spot into summer shade while still letting winter rays warm it up—pretty handy, right?
Next, follow the breeze, because an open, airy setup can help hot air move through instead of hanging around like an uninvited guest.
For the best comfort, keep chairs near the edge of shade, not buried in it, and leave clear walkways so you can shift spots as the day changes!
Sun Path Seating
If your patio ever feels blazing hot at 2 p.m. and chilly by dinner, the sun path is probably the missing puzzle piece! You’ll get better Outdoor lounge flexibility with microclimate awareness, and your crew will actually linger. Try this:
- Face main seats south for winter warmth, then add shade for summer.
- Set one nook for morning sun and another for late-afternoon shade, so comfort shifts all day.
- Use deciduous trees overhead, and keep paths clear, slip-resistant, and open where shadows land.
A little planning, and your outdoor room feels like it’s got your back, from sunrise to stars!
Breeze-Friendly Layout
Because a patio can feel like a tiny weather drama, the best seating layout starts with sun, shade, and those sneaky little breezes!
You’ll feel right at home when you map winter sun and summer heat, then place your main chairs where afternoon glare can’t boss you around.
Try a shade-to-sun flow: dining near the awning, lounge seats a few steps farther, and paths kept open at 36 inches so friends can glide through.
For shade control, angle chairs slightly apart, not against walls, and let airflow slip between them.
Add pergola or sail shade for lighting balance, and wow—cooler, cozier hangs!
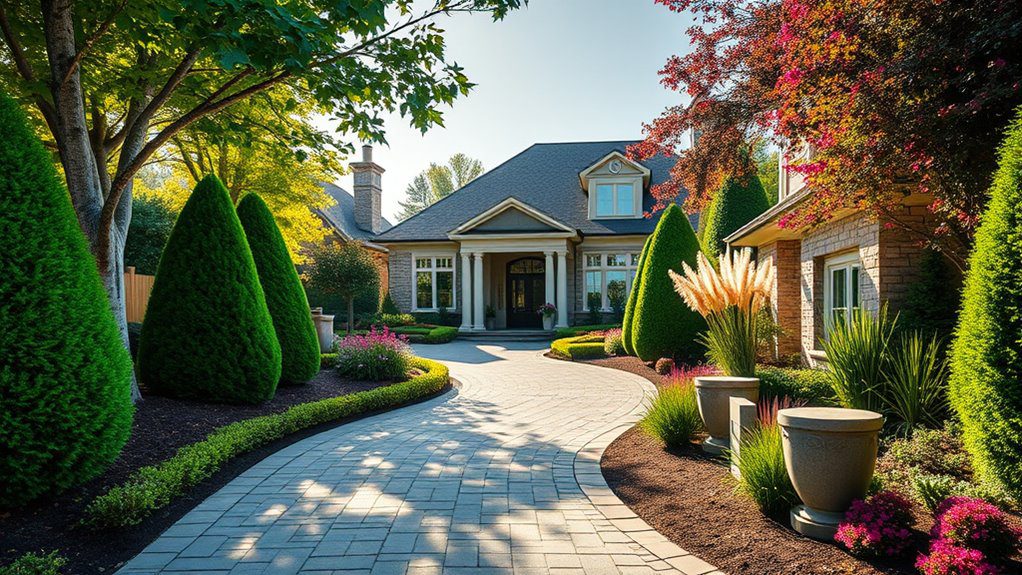
Create Safe Paths Between Doors and Patio
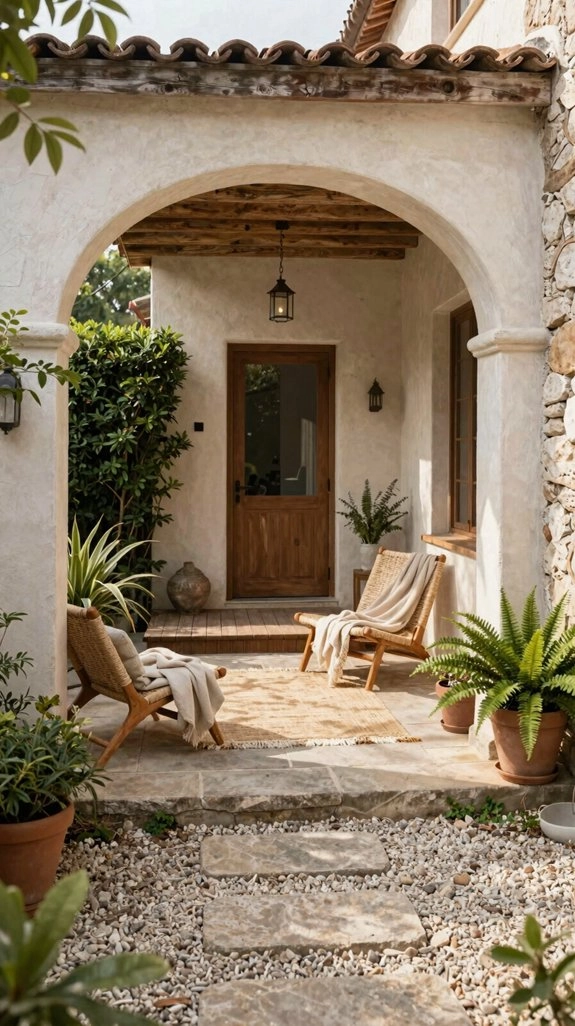
You’ll want a direct route from your door to the patio, so every step feels natural and easy, not like a backyard obstacle course—no one needs a surprise wobble!
Choose slip-resistant pavers or well-finished stone, and keep the path wide enough for two people to pass without that awkward side-shuffle.
Then grade it so water runs away from the house, because a dry path is a safe path, and frozen puddles are nobody’s idea of fun.
Direct Door Routes
Around the door, the best patio path starts with a clean, direct line—nice and easy, no zigzag marathon required! You’ll feel right at home when your route stays open, friendly, and clear.
Try this:
- Keep the path 36–48 in wide so nobody has to squeeze by furniture.
- Set a gentle slope away from the door, and place drainage grates off the main walk for better threshold safety.
- Use straight sightlines, then finish with outdoor-rated, textured materials.
The result? Fewer awkward steps, less puddle drama, and a patio route your guests can trust!
Slip-Resistant Surfaces
A direct patio route works best when it stays safe under wet shoes, muddy paws, and the occasional dramatic splash, so let’s talk about surfaces that can actually handle the weather!
Pick slip-resistant pavers, textured stone, or rated porcelain for your entry pathway, and check wet traction specs like COF before you buy.
Keep weatherproofing mats at the threshold for backup, but let the real grip come from one continuous surface.
Next, set lighting placement so you can spot edges at dusk, use tight joints, and keep chairs, pots, and leaf piles off the route.
That’s how you get a friendly, steady walk—nice, right?
Graded Drainage Paths
When rain hits, a good path shouldn’t turn into a tiny river, so aim for a gentle, steady slope away from the doors and patio—usually about 1/8 to 1/4 inch per foot, or whatever your local code asks for.
- Check the terrain slope with a level and string line; it’s cheap, and it keeps your crew from puddle trouble.
- Add runoff control at low spots with a catch basin or gravel swale, then trim any hump that traps leaves.
- Keep the route 36 inches wide, smooth the threshold, and use textured pavers.
That’s how you stay safe together!
Choose Materials for Year-Round Durability
Since your outdoor space has to brave blazing sun, soaking rain, and maybe a surprise freeze, start with materials that can take the beat-down and keep looking good! Pick concrete or porcelain pavers with the right thickness and frost rating, and your patio won’t flinch when seasons swing.
Next, lean on Climate Specific Finishes and UV-stable sealers, so color stays fresh instead of fading into “where’d the sunshine go?” territory.
For rails and lights, smart Outdoor Hardware Selection means powder-coated aluminum or stainless steel, which fights rust like a champ.
Use rated outdoor wood, ventilated spacing, and sealed ends, and you’ll build a sturdy hangout your crew can trust year after year.
Build Slip-Resistant Patio Surfaces
Kick slippery spots to the curb with patio surfaces that actually grip! You’ll feel safer, and your crew will too.
- Pick pavers, concrete, or unglazed porcelain with a textured finish; skip glossy tiles.
- Build on compacted base and bedding sand, then slope the surface about 1/4 inch per foot so water runs off.
- Protect thresholds, steps, and grill zones with outdoor-rated strips or mats.
That keeps wet leaves, splash, and freeze-thaw slickness from turning fun into a wipeout.
Add path lighting and keep seating clearances open, so everyone moves easily and stays in the loop!
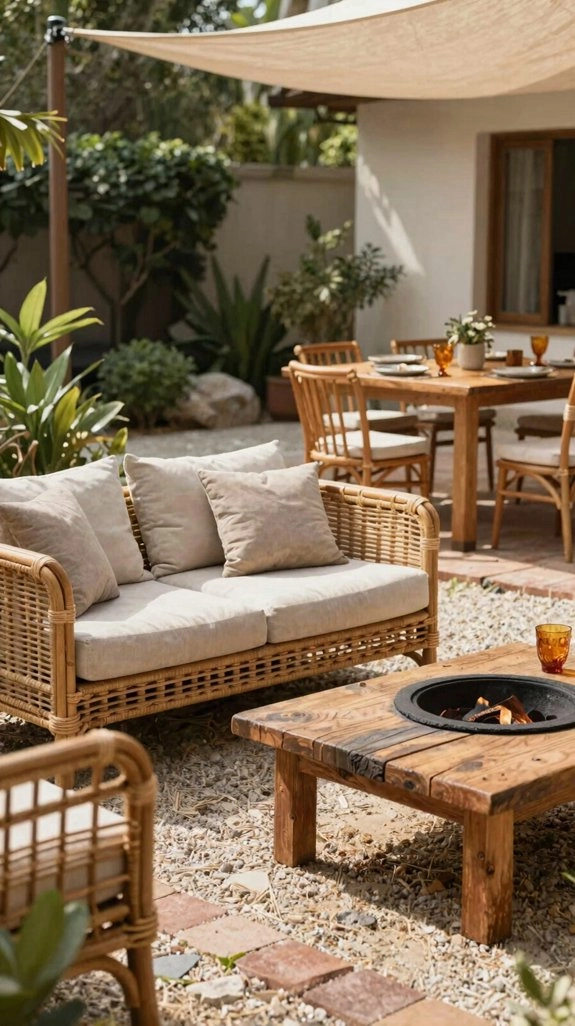
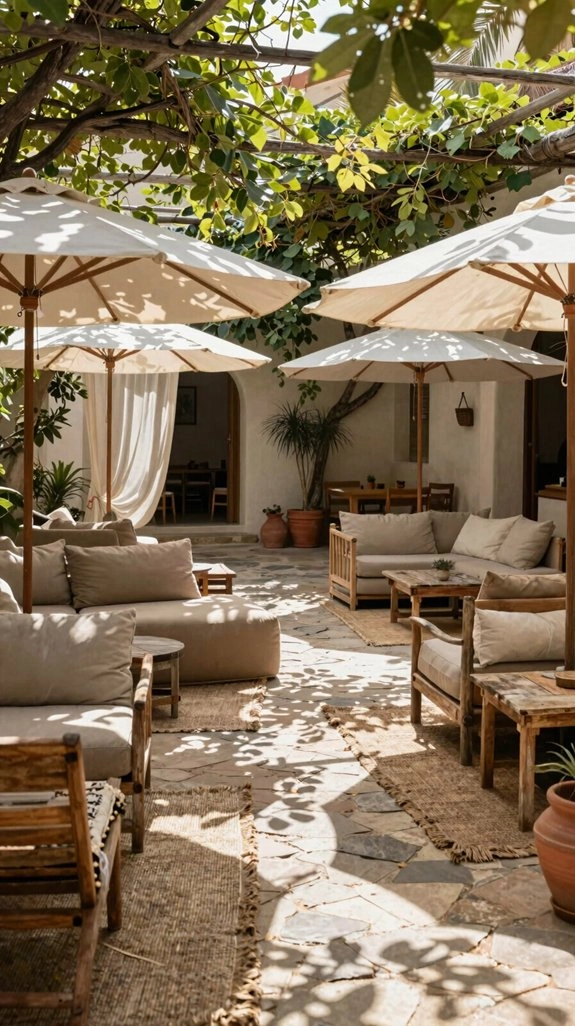
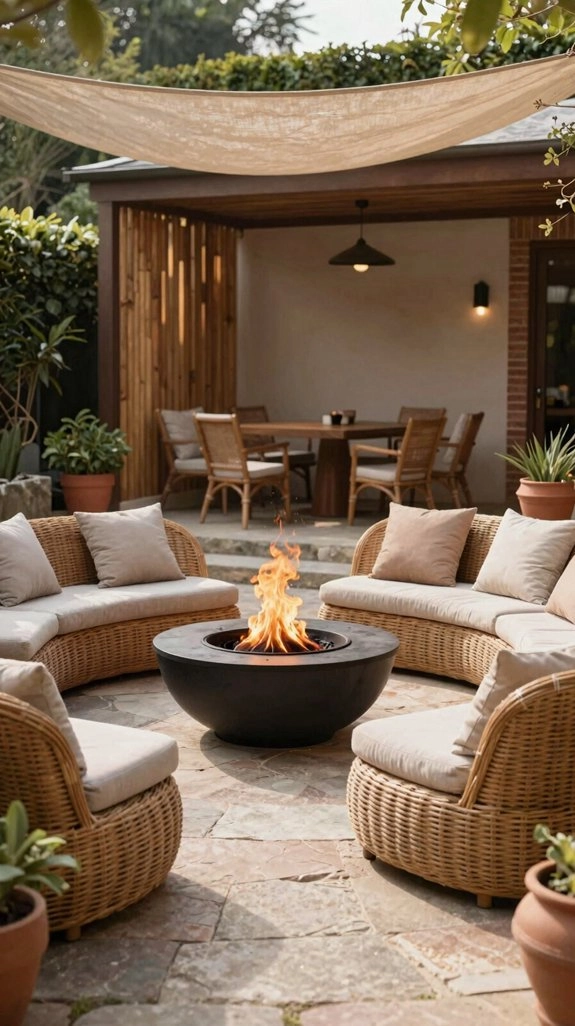
Add Pergolas, Awnings, and Shade Sails
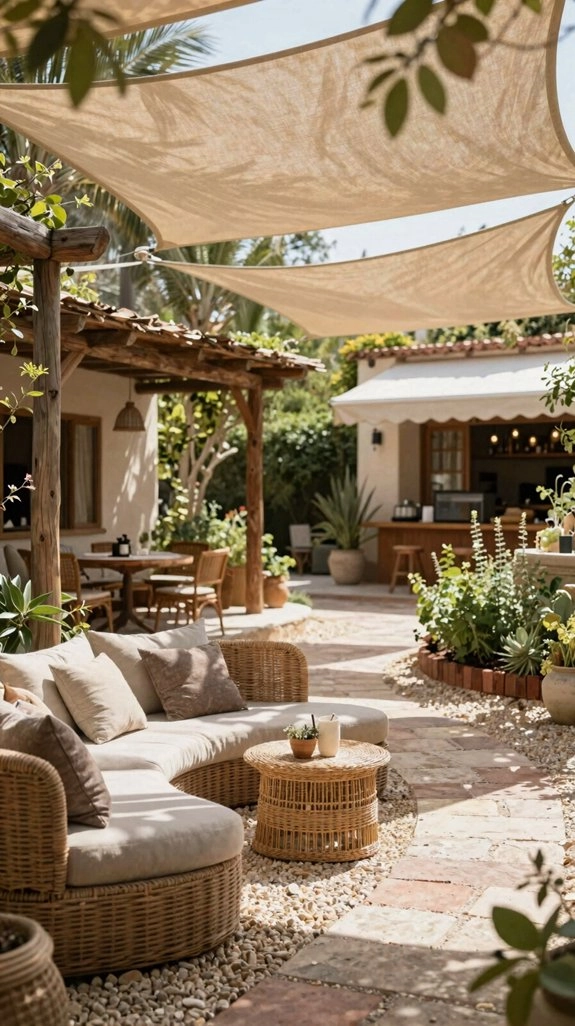
A little shade can turn a sunny patio from “nice” to “why didn’t we do this sooner?” Add a pergola, awning, shade sail, or even a big patio umbrella, and you’ll instantly make your seating area cooler, calmer, and way more usable on bright afternoons.
You can design climate control by placing cover over your dining and lounge spots, then let sliding canopy systems or motorized awnings follow the sun.
Pergola privacy panels add a cozy, tucked-in feel, while custom vine trellises can shape a softer look later.
Shade sails are quick to set up, and umbrellas are the easiest swap.
Nice, right?
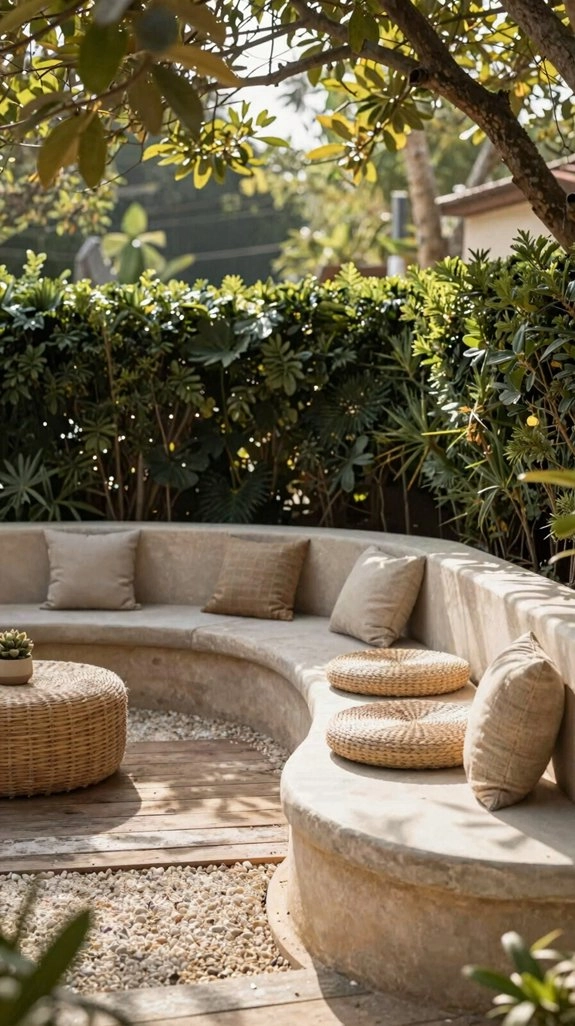
Use Trees and Planting for Natural Shade
If you want your patio to feel cooler without adding another structure, trees and plants can do a ton of the work for you!
You’ll fit right in with a yard that feels shady, calm, and alive. Try this:
- Plant deciduous trees where they’ll shade seats in summer, then let winter sun warm paths.
- Add evergreen shrubs for privacy and to block sneaky cold drafts.
- Layer groundcovers, shrubs, and taller trees, using heat reflective mulch below and pruning seasonal timing to keep clear walkways.
Pick fast growers, space them for mature size, and you’ll get comfort now, not a jungle later!
Design an Outdoor Dining Area That Stays Comfortable
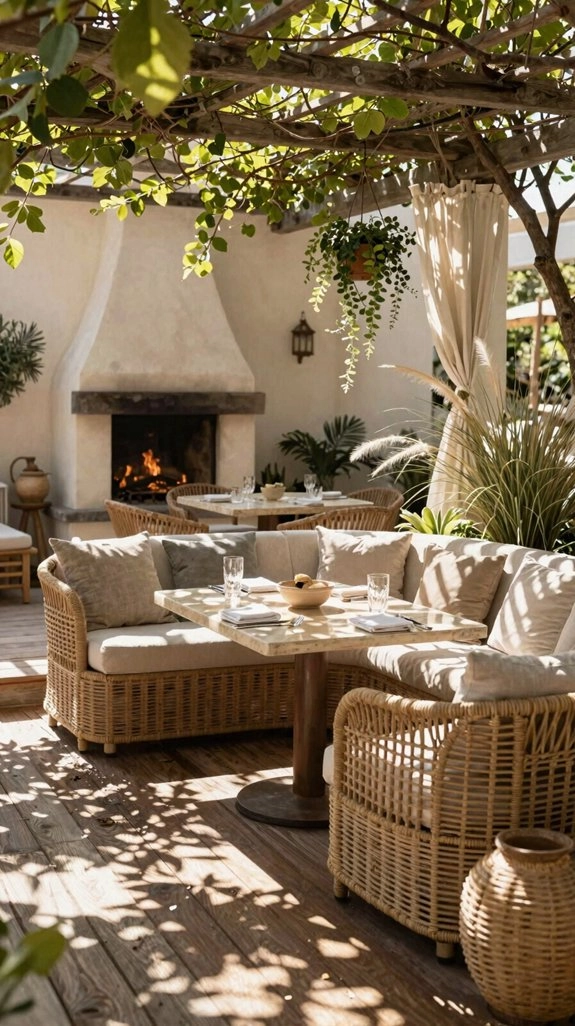
Now that your yard has some cool, leafy shade, it’s time to make the dining spot just as pleasant, because nobody wants to hover over a hot table like a roast chicken!
Place your table where it gets partial shade at peak sun, then add a pergola, gazebo, or awning for backup. Next, try a cantilever umbrella or retractable awning, so you can follow the sun’s path, nice and easy.
Choose pavers with grip, keep walkways open, and grade the area so puddles don’t camp out.
These Weatherproofing strategies, plus smart outdoor furniture care, help your crew linger happily, from lunch to lights-on dinners!
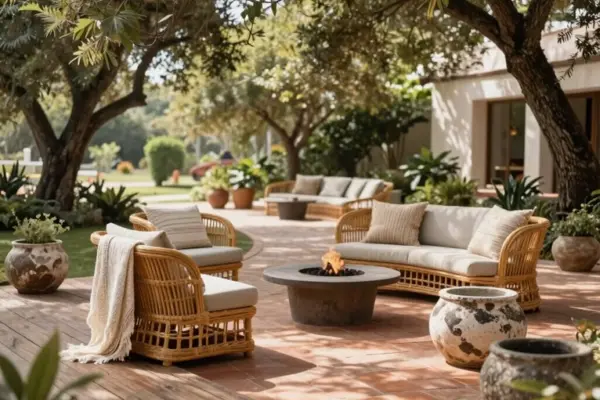
Make Lounge Areas Work in Hot Weather
Three smart tweaks can turn a sweaty lounge zone into a place you actually want to sink into!
- Start in the coolest spot, facing your seating away from harsh sun and under shade. Add a pergola with UV fabric or climbing vines for Heat mitigation strategies that feel natural and cozy.
- Pick a cantilever umbrella or retractable awning, so you can chase the shade as the day shifts. It’s simple, affordable, and keeps your crew from melting.
- Choose breathable cushions and sealed pavers, then keep sides open for Ventilation circulation. Add shade sails last, and leave 36–48 in paths for easy, happy movement!
Block Wind for Cooler-Season Comfort
Chilly breeze creeping in? You can keep your seating and dining spots much cozier by tucking them behind windbreaks like sturdy fences, built walls, or even pergola sides, so the gusts get deflected instead of racing right across your patio.
Evergreens make fantastic winter shields too, and a layered mix of tall trees, shrubs, and a low barrier can stop wind at different heights, which is pretty clever, right?
For the biggest payoff, place your main hangout on the leeward side of your home or a dense green screen, then add a few screens or walls near paths and corners so the whole space feels calmer, warmer, and way less “brrr!”
Shield Seating From Winds
Tuck your seating into a cozy little wind nook, and you’ll feel the difference fast! For better windbreak placement and airflow comfort, think like you’re joining a protected corner crew.
- Set chairs near a house wall, lattice screen, or other solid edge.
- Face the patio windward to leeward, so cold gusts hit the side first.
- Add side panels or outdoor curtains, plus windproof cushions, and move in safely on slip-resistant pavers.
You’ll keep drafts down without sealing out fresh air, and your spot stays warmer, drier, and way more hangout-friendly. Tiny change, big “ahh!”
Use Evergreens As Barriers
When the wind starts acting like it owns the place, evergreens can step in as your quiet little bodyguards!
Choose arborvitae, leyland cypress, spruce, or holly, and set them in windbreak placement that runs perpendicular to the usual wind.
Pack them 3–5 plants deep, with spacing near each plant’s mature width, so the hedge fills in without sneaky gaps.
Keep the tallest row in back, and you’ll get better winter airflow control all season.
Place the row near seating and paths, and you’ll notice less wind chill, safer steps, and a cozier “we belong here” feel outside!
Add Walls Or Screens
If the breeze keeps barging in on your cozy setup, a wall or screen can calm things down fast! You’ll feel the difference right away, and your patio starts to feel like your crew’s spot.
- Pick low walls, 30–42 inches, or 6–8 foot screens with windbreak placement on the windy side.
- Use powder-coated aluminum, marine-grade stainless, or tempered panels, because winter won’t bully them.
- Try a semi permeable design, like slats or lattice with plants, plus keep 36 inches clear for walking.
Leave an air channel, and you’ll block gusts without sending them straight at your guests. Cozy wins!
Add Lighting for Safe Evening Use
As the sun dips down, your outdoor space can go from cozy to clumsy pretty fast, so good lighting is a must for safe evening use! You can build a layered plan with warm lighting, low glare overhead strings or soffit fixtures, and step lights that mark safe pathways.
Add warm-white LEDs, about 2700K to 3000K, so faces stay friendly-looking, not ghostly.
Then light thresholds, stairs, and surface changes, because nobody wants a surprise wobble with dinner.
Try motion controls or dusk-to-dawn switches for busy routes, and aim lights away from neighbors.
Finish with dim wall washers, and you’ll guide guests smoothly from dining to lounge.
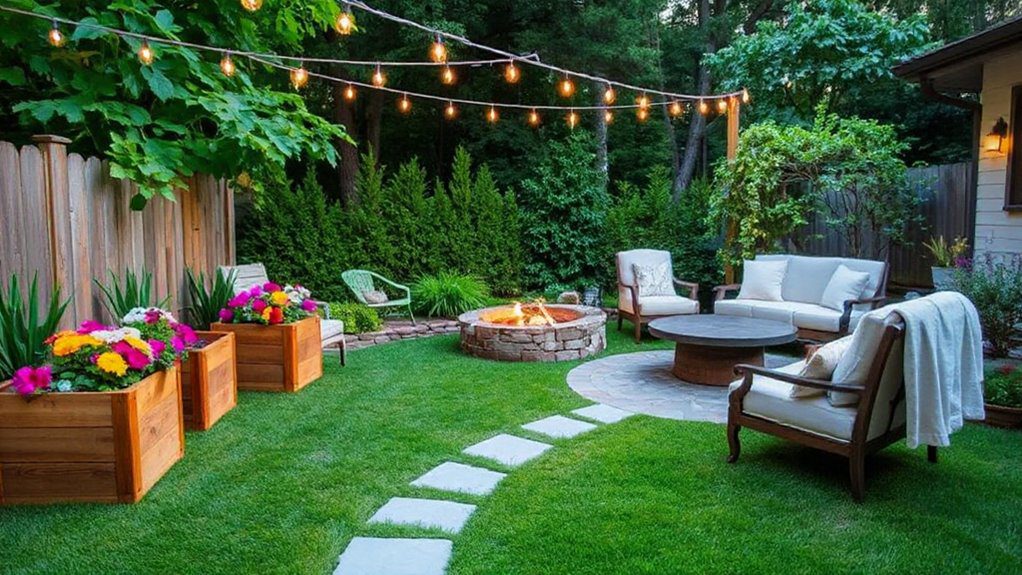
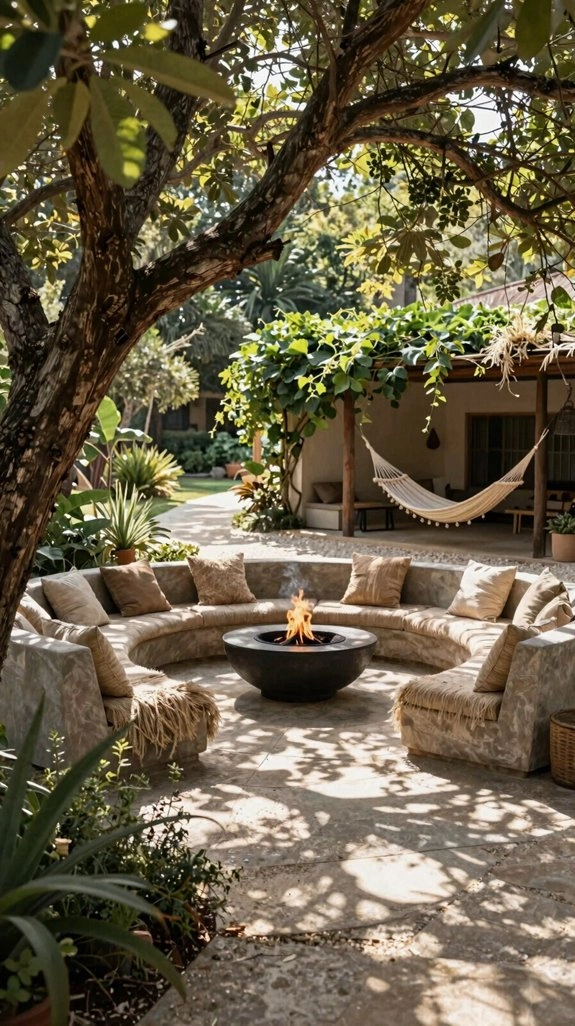
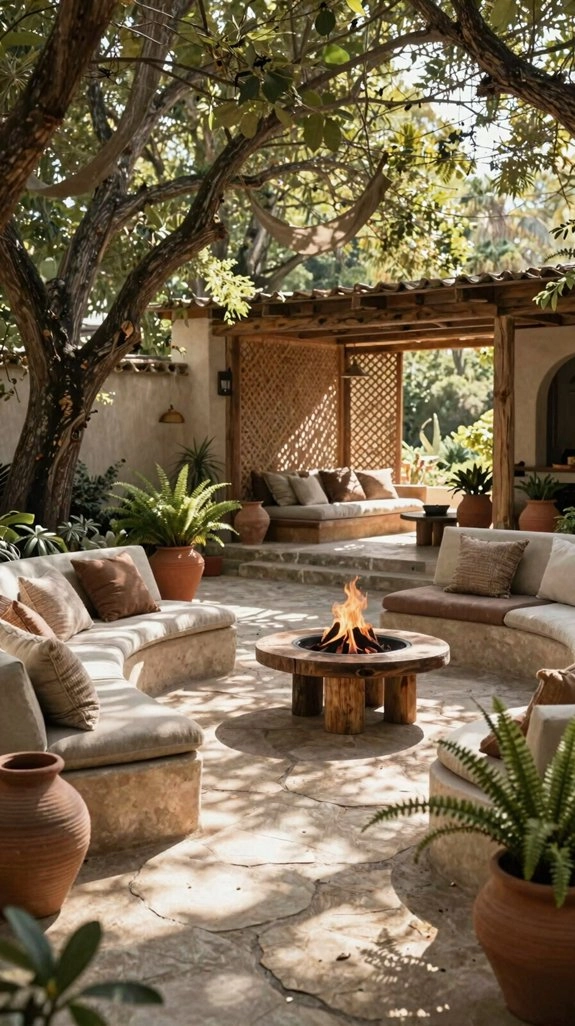
Include Fire Pits and Outdoor Heating
A fire pit can turn your outdoor space into a warm, friendly hangout, and when you set it inside a safe seating ring, you get cozy heat without the drama—no one wants a singed sleeve!
Outdoor heaters can stretch your season well past sunset, especially if you add wind breaks or a pergola, so your patio stays comfy instead of turning into a chilly surprise.
Best of all, you can build little gathering zones with weatherproof seating and durable surfaces, making it easy for everyone to relax, roast marshmallows, and linger just a bit longer.
Fire Pits For Warmth
When the evenings turn chilly, a fire pit can turn your outdoor space into the coziest spot on the block! You’ll feel the pull of shared warmth, laughter, and glowing faces, all without fuss.
- Pick a climate-rated pit on paver, stone, or concrete, and keep 3–6 feet clear for fire pit safety.
- Set it downwind, so smoke won’t crash your get-together and hurt outdoor air quality.
- Add cushions, an insulated mat, and a spark screen or gas option for easy, comfy heating.
Tiny bonus: keep paths outside the circle—no toe-stubbing drama!
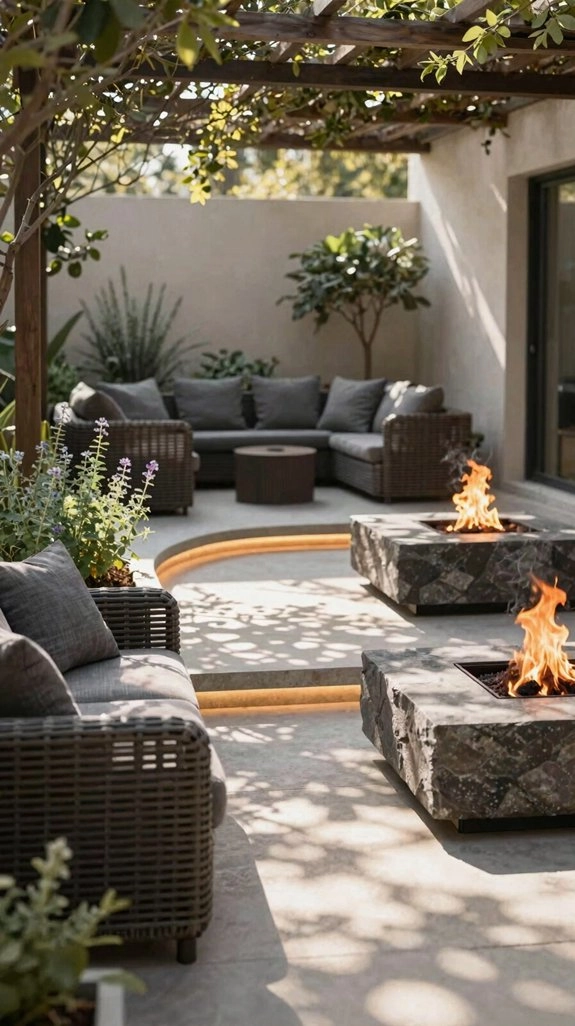
Outdoor Heaters Extend Seasons
Cool nights don’t have to send you indoors, because the right outdoor heaters can stretch your patio season way past sunset! You can use propane patio heaters or electric infrared units to warm your seating zone, not the whole yard, so comfort arrives fast without wasting energy.
Add a code-compliant fire pit or fire bowl for extra glow and a friendly focal point.
Place everything where breezes won’t steal the heat, and keep safe distances from roofs and walls. Pair weatherproof materials with layered lighting, and you’ll enjoy fall and spring evenings with less shiver, more smiles, and a little firelight magic!
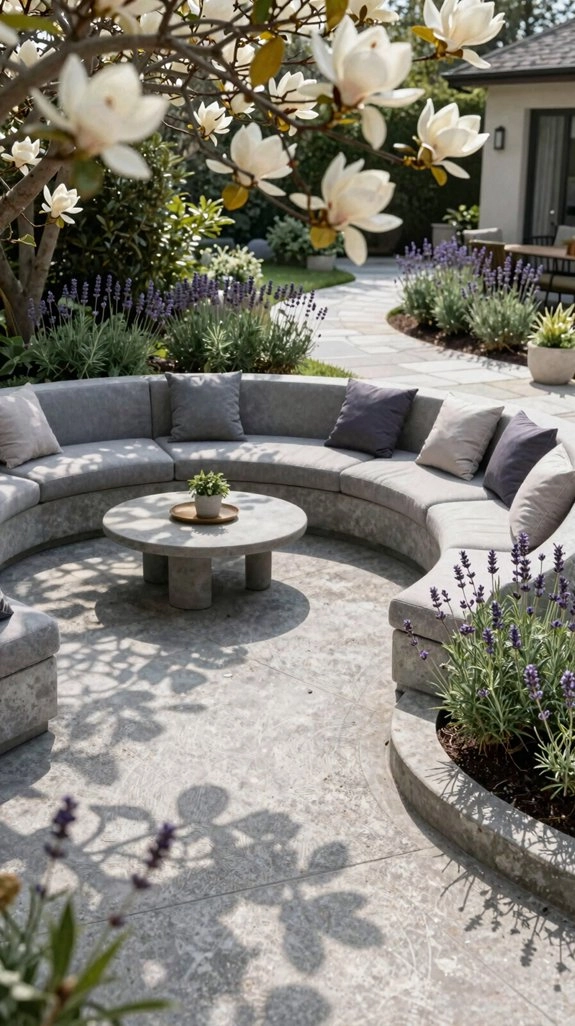
Cozy Zones For Gathering
Nothing pulls people together like a warm little hangout spot, and that’s where a fire pit or outdoor fireplace really shines!
For better Seating Conversation, set chairs 3–6 ft away in a circle or U-shape, and let Layout arrangements do the rest.
- Use stone or pavers for non-slip, heat-tolerant footing.
- Add Outdoor Privacy with evergreen screens or low walls, plus smart Planting Strategies.
- Place weather-rated heaters near the lounge, not the path, then layer warm lights.
You’ll get cozy, safe nights that feel easy, friendly, and a little magical—no shivering, no awkward gaps, just good company!
Use Planting for Privacy Without Blocking Movement
If you want privacy without turning your yard into a green maze, start by planting along the edges of your outdoor space, not right in the middle where people need to walk!
Layered screening works best: place 3–6 foot evergreen shrubs in front, then taller trees behind for a friendly wall of green.
Smart hedge placement keeps circulation flow open, and your guests won’t bump elbows with branches.
For walkway safety, leave 18 to 24 inches from paving edges so shoes, trays, and rainy-day feet stay clear.
Add deciduous trees too, and you’ll get summer cover, plus brighter winter light.
Nice, right!
Plan Maintenance That Extends Longevity
Because a beautiful outdoor space has to work hard all year, start by choosing finishes that can handle real life, not just sunny-day photos! You’ll keep your crew happy, and your patio looking sharp, with smart upkeep.
- Weatherproof sealing: use traction-safe sealers on pavers.
- Seasonal inspections: check wood, metal, and gaps for wear.
- Drainage improvements: grade water away from seats and grills.
Pick stainless or galvanized hardware for rust prevention, and keep wood raised so it can breathe.
Add leaf-friendly paths, cleanable edging, and covered outlets, then you’ll dodge rot, slips, and surprise repair bills. Nice, right?