How to Build a Raised Garden Bed That Lasts for Years
- How to Build a Raised Garden Bed That Lasts for Years
- Key Takeaways
- Choose the Right Lumber
- Pick the Best Location
- Build a Strong Frame
- Protect the Wood
- Fill Beds Correctly
- Choose Quality Soil
- Install Irrigation
- Extend the Growing Season
- Best Wood Choices
- Common DIY Mistakes
Build a long-lasting raised bed with straight cedar or redwood 2x6s, exterior deck screws, and a sunny, level 4-by-8-foot spot with good drainage. Pre-drill joints, keep posts above soil, and staple hardware cloth underneath to block pests. Fill it with 12–24 inches of loose soil and compost, then add a removable soaker hose. Here’s the smart surprise: sturdy wood, dry airflow, and no buried posts help it outlast flimsy beds—keep going for the details.
Key Takeaways
- Use rot-resistant cedar or redwood, pre-drill board ends, and fasten joints with exterior-rated deck screws.
- Choose a level, well-drained location with 6–8 hours of sun, hose access, and three-foot paths around beds.
- Build a square 4-by-8-foot frame from 2×6 boards, reinforcing corners with posts or galvanized brackets.
- Staple half-inch hardware cloth beneath the bed to block burrowing pests while allowing drainage and airflow.
- Fill with 12–24 inches of loose, compost-rich soil and use soaker hoses to water efficiently without compacting soil.
Choose the Right Lumber
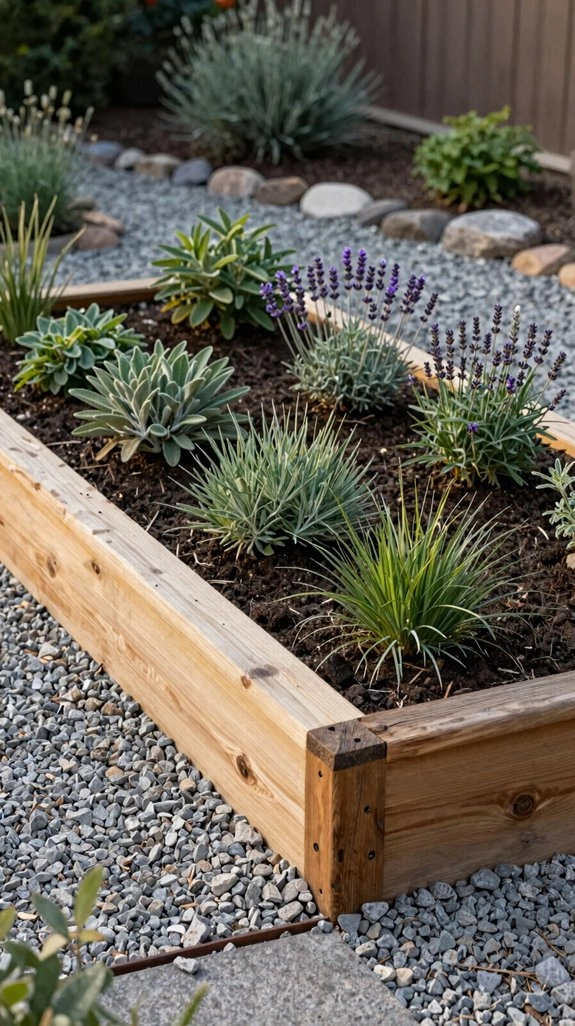
Start with lumber that can handle rain, soil, and years of watering without turning into a soggy snack for rot—cedar and redwood are excellent choices! You’ll join countless gardeners who trust these naturally durable boards for moisture control and pest resistance.
Choose straight, construction-grade 2x6s with matching dimensions, then pre-drill end holes and use exterior deck screws. This keeps your frame square and helps prevent splits—tiny cracks love causing big trouble!
For waterproofing edges and sealing joints, use a garden-safe sealant if desired. Skip railroad ties; creosote can seep into edible soil. Pressure-treated boards work only when clearly labeled garden-safe and ground-contact approved.
Pick the Best Location
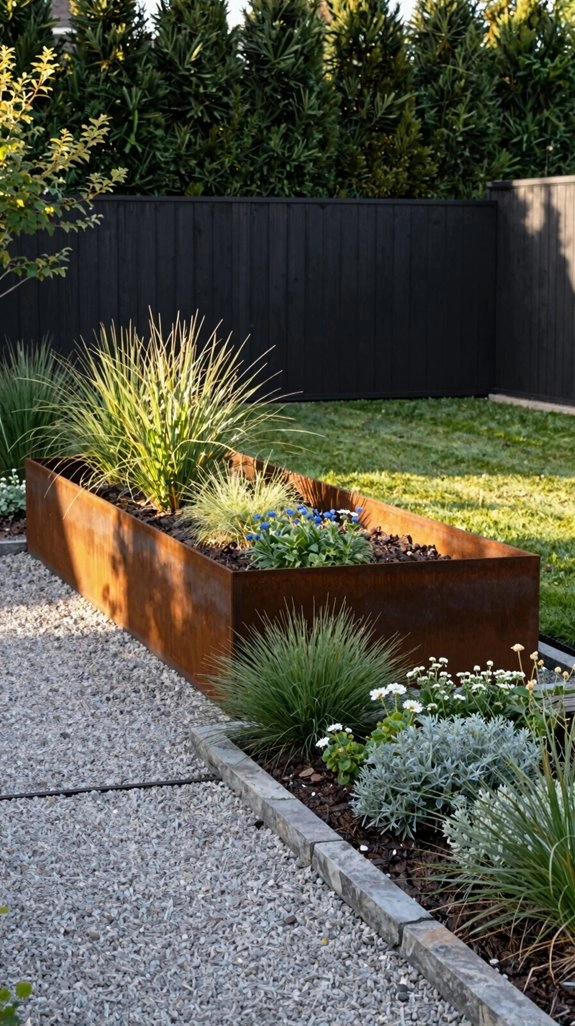
With durable lumber picked out, find a spot where your plants can soak up 6–8 hours of direct sun each day—morning and early afternoon light is especially nice!
- Check Sunlight exposure and Hose reachability first. You’ll thank yourself on hot July afternoons!
- Protect Water drainage by avoiding soggy patches; clear grass, rocks, and debris with a shovel.
- Leave 3 feet for Walkway clearance, so everyone can garden comfortably without stepping on soil.
Use Flat leveling tips: smooth the ground, dig slightly into a slope if needed, and check corners. This supports Soil settling prevention, keeps the bed even, and makes your shared garden space feel welcoming.
Build a Strong Frame
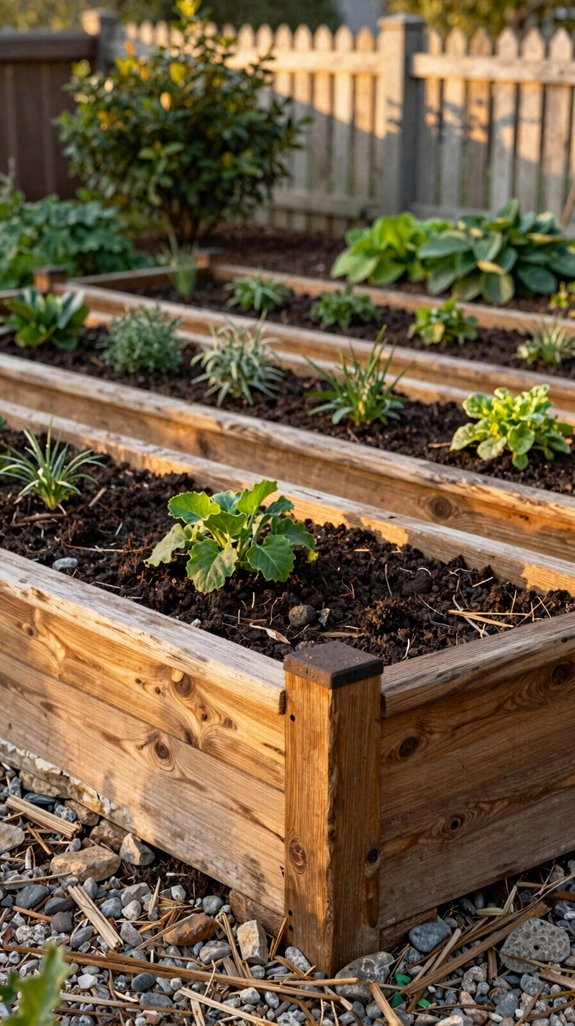
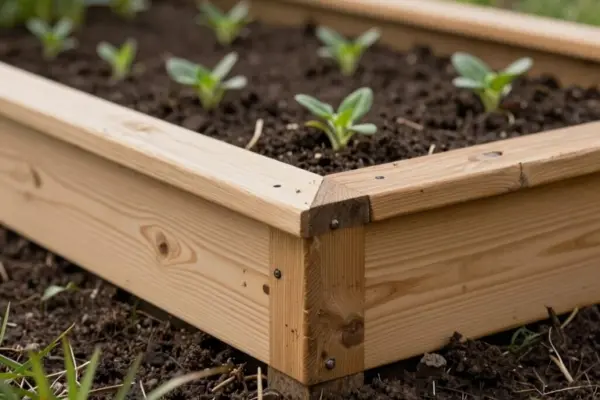
For a bed that stays straight and sturdy season after season, build the frame from rot-resistant redwood or quality exterior lumber, using a simple 4-by-8-foot layout if you want an easy, roomy starter size.
Cut an 8-foot 4×4 into four 24-inch corner posts.
Pre-drill, then screw the long boards flush at the bottom, leaving about 7½ inches above the top board. That extra height adds welcome stiffness—your future hoops will thank you!
Next, attach three 2×6 end boards with exterior deck screws or galvanized angles.
This joiner reinforcement supports square construction and warp prevention without burying posts in soil.
Finish with corner bracing for a frame your gardening crew can count on, even under deep soil.
Protect the Wood
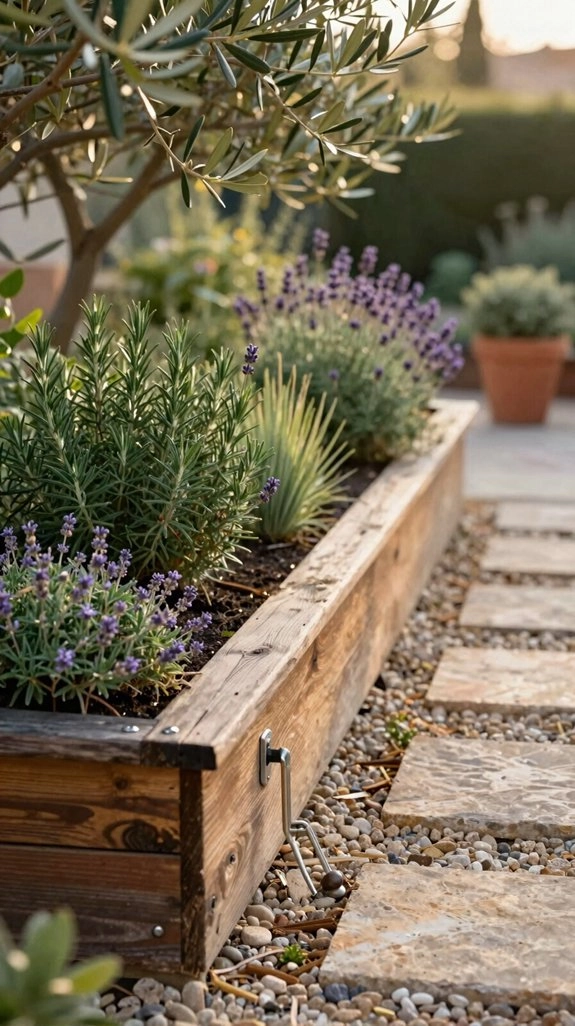
Choose naturally rot-resistant redwood and exterior-rated fasteners, and your raised bed will handle rain, soil, and sunny afternoons like a champ!
- Match boards with galvanized screws or nails for even fastener weathering.
- Skip buried posts; soil weight keeps the frame steady, while air circulation helps wood stay dry.
- For pest exclusion, staple ½-inch hardware cloth underneath—smart protection without solid moisture barriers that trap dampness.
Add gravel beneath the bed in dry regions to prevent soggy pockets.
Want easier cover setup? Let corner posts rise about 8 inches above the sides.
Your garden crew will appreciate the extra room for netting, and your wood won’t get constantly rubbed or soaked.
Fill Beds Correctly
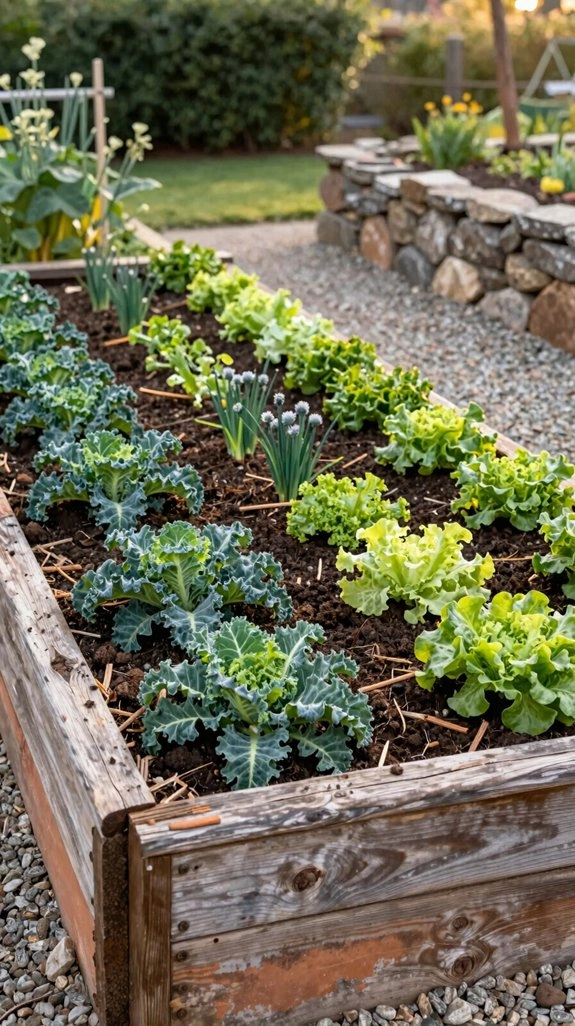
Filling a raised bed is where the real growing magic starts—no plain “dirt in a box” situation here!
Match depth to crops: 12 inches suits herbs, while carrots and potatoes want 18–24 inches.
Start with a drainage layer of pea gravel if your ground stays soggy.
Then use soil layering: compost and topsoil, with chicken manure if you have it.
Keep compost ratios balanced, not a manure mountain—your plants aren’t building a volcano!
On compacted ground, blend compost into the top 12 inches for stronger root support.
Finally, don’t stomp the bed; fluffy soil drains better and welcomes roots.
Choose Quality Soil
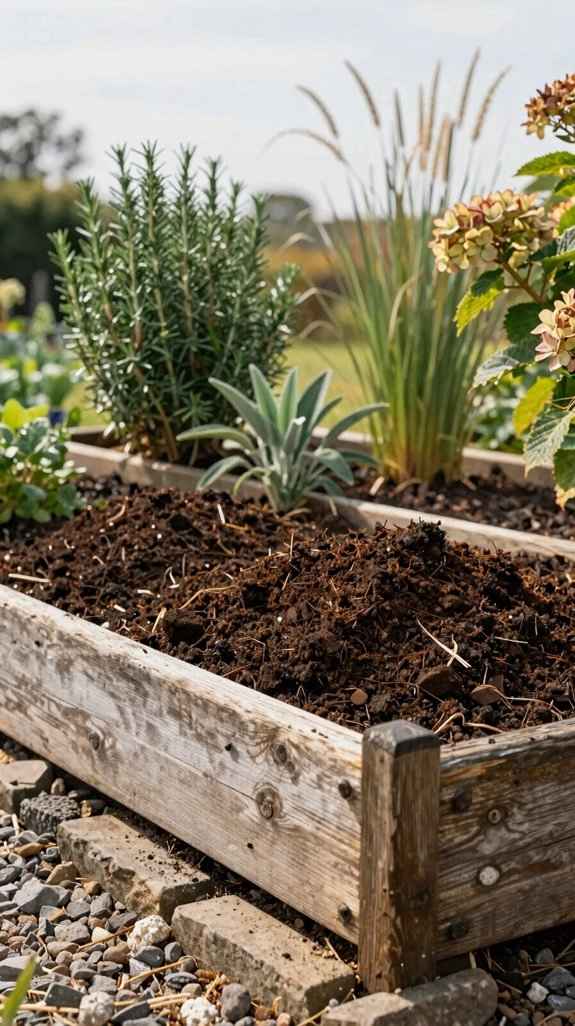
Great soil turns a raised bed into a busy little food factory, so start with a balanced blend of quality topsoil and compost rather than whatever dusty bag is on sale!
- Aim for 12–24 inches of root friendly depth; carrots and potatoes need 18–24 inches.
- Keep loose aerated layers by avoiding foot traffic—your roots will thank you!
- Add a compost top dressing instead of digging deeply, protecting soil biology health.
Compost supports soil moisture balance, especially in dry places, while encouraging nutrient slow release. You’ll spend less on heavy amendments later, and your bed will join the neighborhood’s happiest harvest club.
Install Irrigation
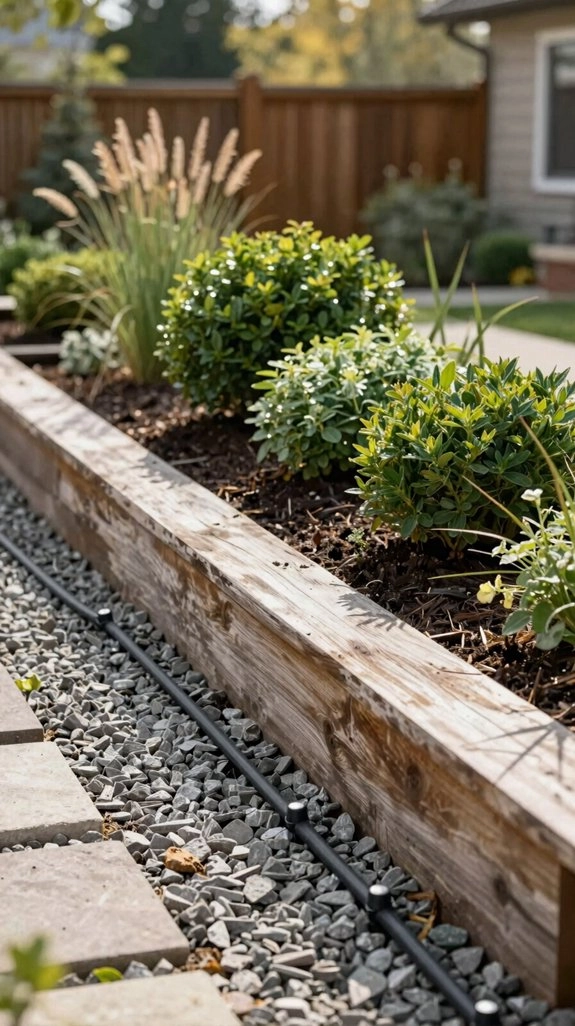
Raised beds dry out faster than in-ground gardens, so a simple irrigation setup keeps your plants happy without turning daily watering into a part-time job!
Add one hose bib to each bed, letting you adjust water for thirsty tomatoes or tougher herbs.
Connect removable soaker hoses, which cost little, need no special skills, and send water straight into the soil instead of wasting it in the air.
Guide drip placement with chopsticks or small stakes, then lift the hoses easily when you mix soil later.
Check Mulch moisture with a finger poke; if it feels dry an inch down, water.
Your garden crew will thank you—no sprinkler dance required!
Extend the Growing Season
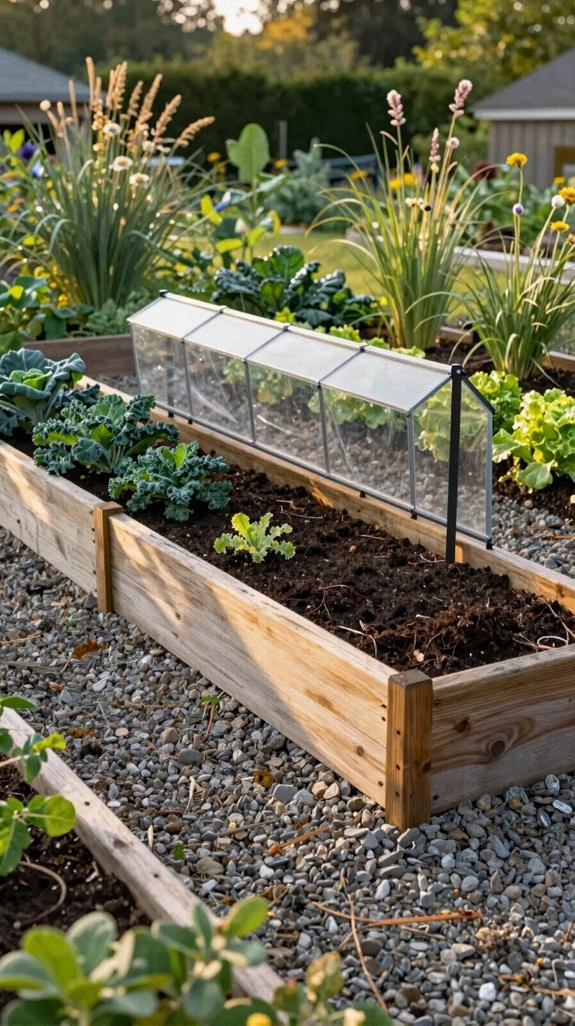
That steady irrigation does more than save you from the sprinkler dance—it gives your raised bed a head start when the weather gets weird!
- Build taller corner posts, then drape bird netting or clear plastic into a Low Tunnel. Add hoops, clips, and a little Netting Ventilation—easy, affordable, and neighbor-approved!
- Start warm-season seeds early under clear plastic. Watch temperatures, then handle Cover Removal or venting as sunny days arrive; nobody wants steamed seedlings.
- For Frost Management, use 12–24 inches of well-drained soil and run soaker hoses beneath covers. Deeper beds keep roots productive longer, especially carrots and potatoes. You’ll harvest later, together with your garden crew!
Best Wood Choices
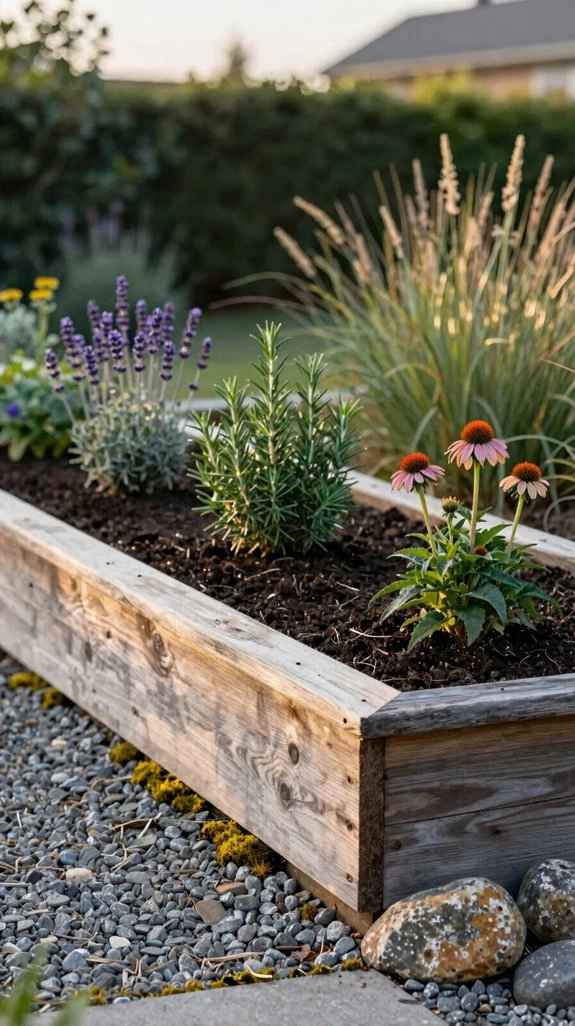
When you’re choosing wood for a raised bed, start with boards that can handle rain, sun, and damp soil without turning into a soggy snack for rot! Cedar and redwood make reliable bed sides, and they’ll help your garden crew build something handsome.
For fewer twists and weak spots, use full-length boards, such as 8-foot pieces cut into 4-foot sections. This simple rot prevention methods choice reduces joins and warping.
Wondering about cost? Pressure-treated lumber can work, but check pressure treated safety labels first; choose only garden- or food-safe boards. Skip railroad ties, since creosote can leach. Finish strong with redwood 4×4 corner posts above ground—buried wood rots faster!
Common DIY Mistakes
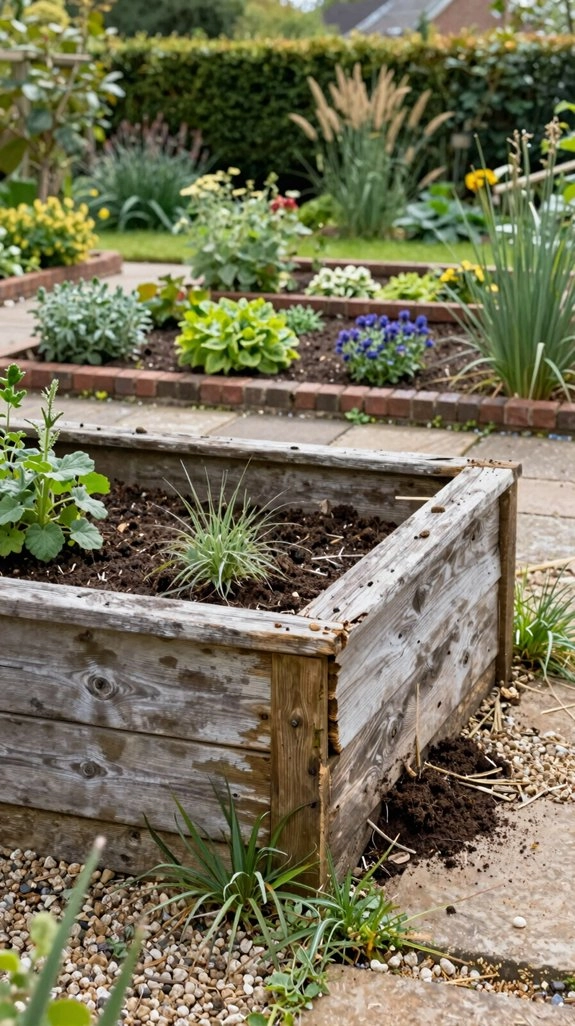
A few easy-to-miss building choices can turn a dream garden bed into a wobbly, weedy headache—yikes! Build smart, and you’ll join gardeners who grow more with less fuss.
- Keep beds under 4 feet wide. You’ll reach the middle without stepping on soil, protecting the root zone. Add corner bracing instead of burying 4×4 posts, which rot faster.
- Plan soil depth: use 12–24 inches for most crops, and 18–24 for carrots and potatoes. Skip railroad ties; creosote doesn’t belong near edibles.
- Finish with a bottom barrier! Lay ½-inch hardware cloth for weed control, drainage, and pest exclusion from voles, moles, and gophers.