15 Garden Border Ideas That Make Every Flower Bed Stand Out
- 15 Garden Border Ideas That Make Every Flower Bed Stand Out
- Key Takeaways
- Natural Stone Borders
- Classic Brick Borders
- Modern Steel Edging
- Rustic Wooden Borders
- Living Plant Borders
- River Rock Borders
- Concrete Garden Edging
- Gabion Stone Walls
- Terracotta Brick Borders
- Woven Willow Edging
- Corten Steel Borders
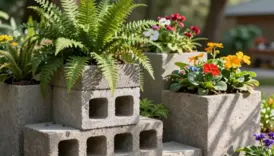
- Recycled Material Borders
- Curved Cottage Borders
- Minimalist Modern Borders
- Budget-Friendly DIY Borders
Give your flower beds instant polish with stone, brick, steel, timber, or living plant borders—no ingenious skills needed! Dig a shallow trench, level it, then set rocks, side-laid bricks, or flexible metal for crisp lines. For a budget win, cut a spade edge, use fallen logs, or sink colorful upside-down bottles. Curve borders with a hose guide, add mulch, and watch grass behave. Keep going for more standout, beginner-friendly ideas!
Key Takeaways
- Natural stone borders create timeless, durable flower-bed edges with river rocks for softness or larger stones for dramatic curb appeal.
- Classic brick edging delivers neat, old-school charm and a stable mowing edge when installed level in a shallow trench.
- Flexible steel edging makes crisp modern lines and smooth curves while staying low-maintenance and nearly invisible beneath plants.
- Rustic wood, log rounds, willow, or landscaping timbers add warm cottage character, especially around curved beds and paths.
- Living borders of boxwood, perennials, or wildflowers soften flower-bed edges while helping block grass and define planting areas.
Natural Stone Borders
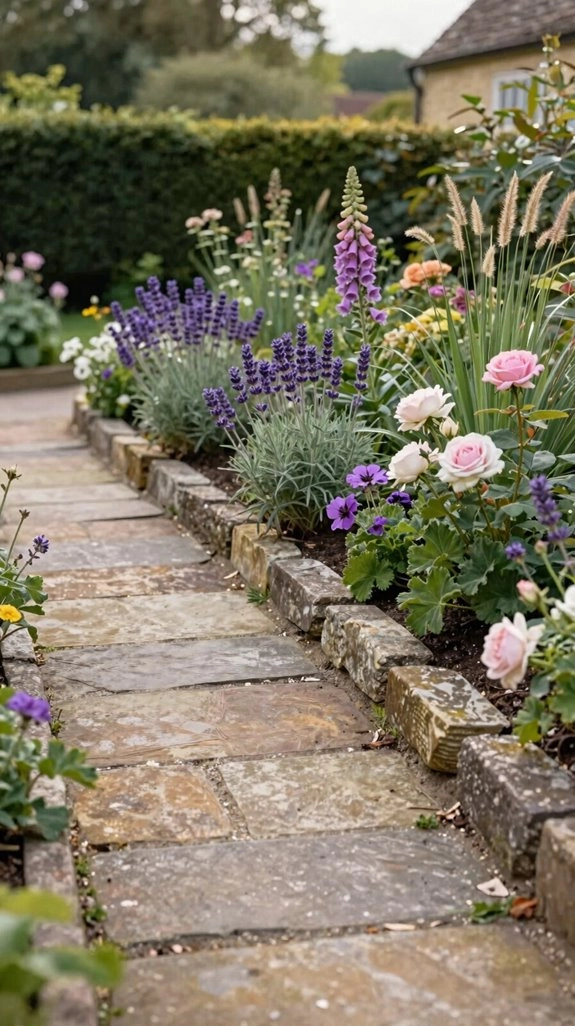
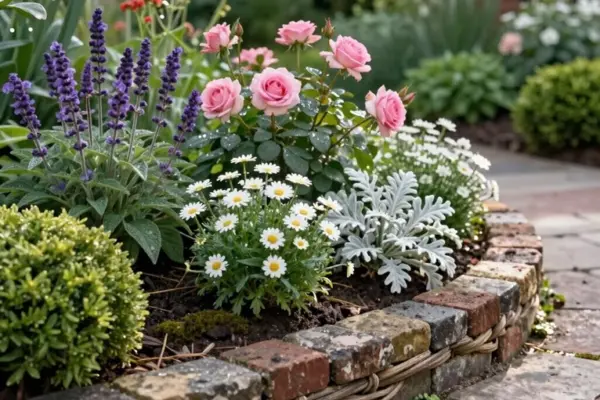
Natural stone borders give your garden a crisp, “always belonged here” look, whether you choose smooth river rocks for a simple edge or larger stones for more drama—hello, instant curb appeal!
You’ll need stones, a shovel, level, and rubber mallet. Cut a narrow trench, clear grass and roots, then level the base for cleaner edge maintenance and smarter drainage solutions.
Set river rocks along straight or gentle curves, tapping each one snugly into place. They’re affordable, beginner-friendly, and make your flower bed feel connected to the whole yard.
Want a showstopper? Try interlocking stone pillars. They take patience—and careful alignment—but create a continuous, sturdy border that shrugs off rain and freeze-thaw wiggles.
Classic Brick Borders
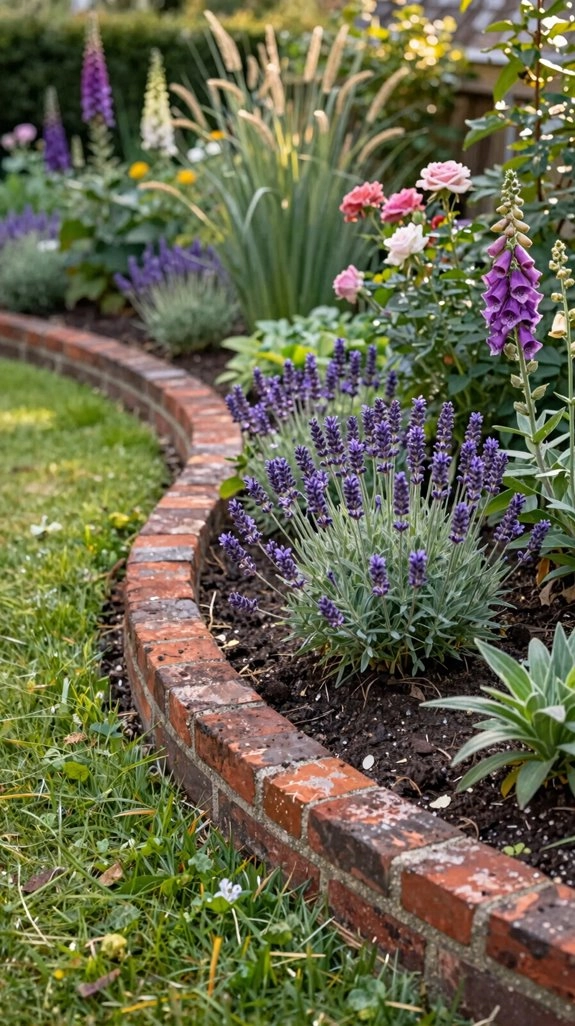
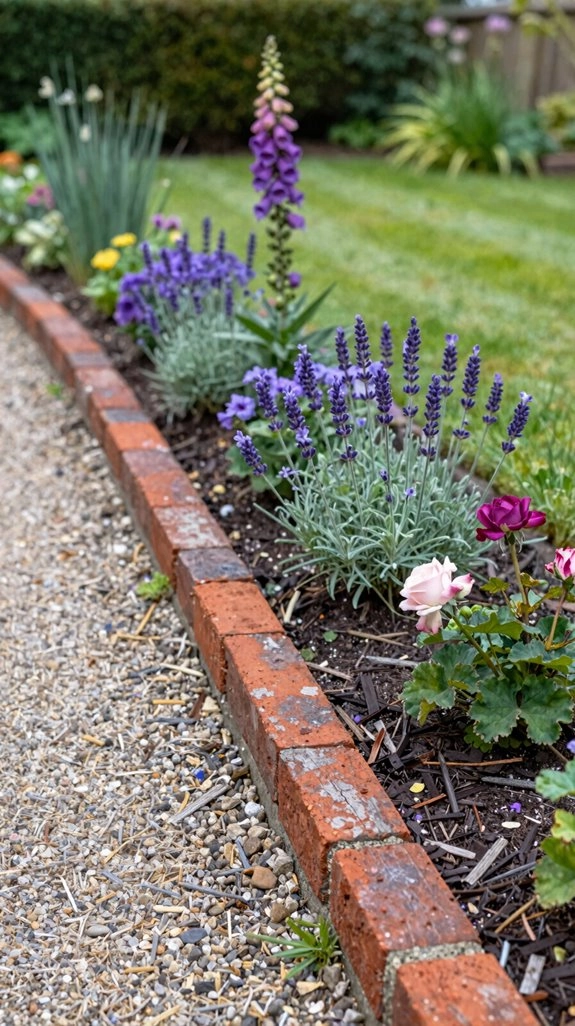
Classic brick borders bring neat, old-school charm to a flower bed, and they’re surprisingly doable for a weekend project—no high-end masonry degree required!
Gather bricks, a string line, level, shovel, and rubber mallet. These brick edging tips help your garden feel polished and welcoming.
- Measure the perimeter, allowing for cut corner bricks.
- Dig a shallow trench with a firm, even base.
- Lay bricks sideways, wide face down, for a low edge.
- Use string and a line level, then tap bricks straight.
You can stand bricks upright, too, but level lines matter most! Keep spacing even so mowing won’t shift them. Finish with waterproofing corner details for a crisp, lasting result.
Modern Steel Edging
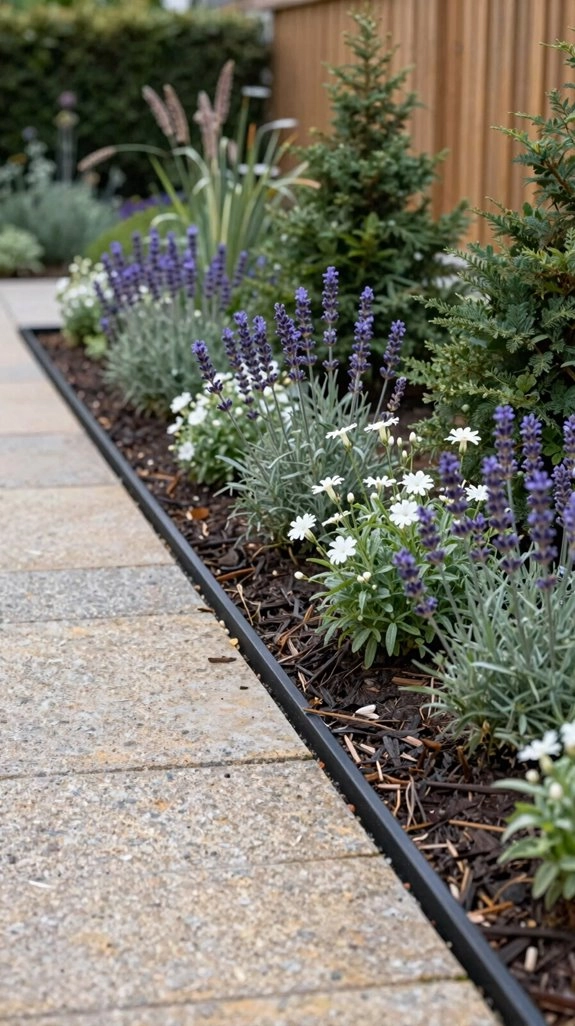
If you love a clean, modern garden look, steel edging can give your beds sharp lines or smooth curves without a lot of fuss—pretty slick, right? You’ll fit right in with gardeners who love tidy, low-maintenance spaces!
For simple installation tips, gather flexible steel strips, spikes, a string line, cut-resistant gloves, and a rubber mallet. Mark your border, set the strip level along the string, then bend it gently around curves.
No dig techniques make the job beginner-friendly: create a narrow channel, tap the edging into place, and drive spikes at even intervals. Steel stands up to weather for years, so your flower bed stays polished—not wobbly!
Rustic Wooden Borders
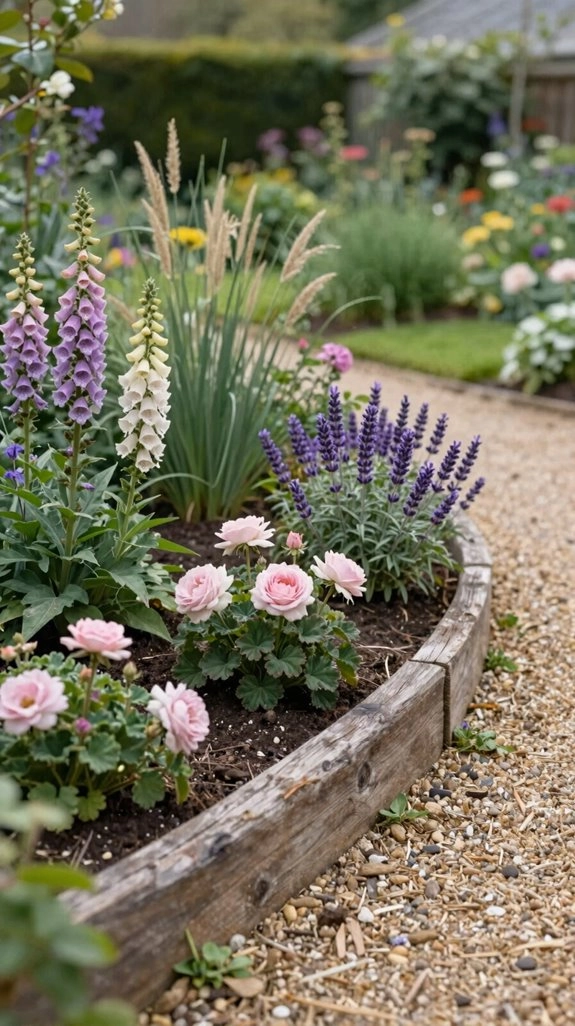
Rustic wooden borders bring a warm, lived-in feel to flower beds, and you can often make one with materials already hanging around your yard—score!
- Use a fallen trunk or thick branches: cut sections, edge the lawn, then nestle them tightly along the bed. You’ll get natural rustic timber durability for several seasons.
- Hammer woven willow twigs into place for cottage-garden charm. The willow edging lifespan is limited, so keep string trimmers away!
- Tap cedar shingles around curves for an easy, low-cost outline; mowers can wear them down.
- Want the strongest finish? Level the ground, cut pressure-treated landscaping timbers, and build a border that makes your garden feel proudly yours.
Living Plant Borders
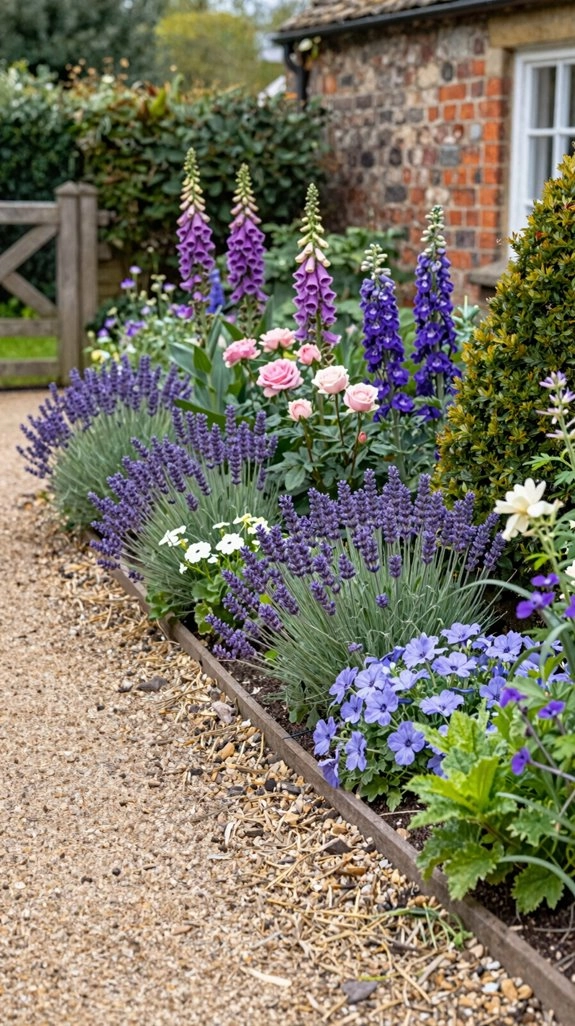
For a softer edge that keeps growing better with time, try a living plant border—no lumber, no stones, just a neat line of greenery!
Plant low shrubs, like boxwood, close together for a classic English-garden feel your whole neighborhood can admire. Pick a drought tolerant selection that matches your sun and soil, then mulch and weed while plants fill in—tiny gaps invite grass like it owns the place!
Shear the row for a crisp, welcoming line, or let it relax into a storybook curve. Wildflower edging adds a friendly, natural touch. Best of all, dense plants create a gradual lawn stop, keeping beds tidier without hard materials.
River Rock Borders
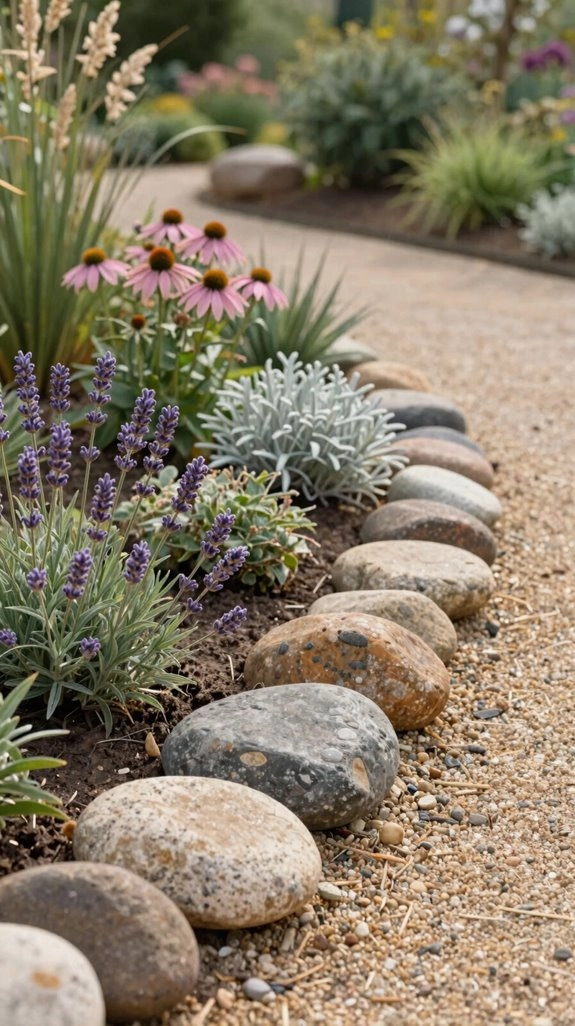
River rock borders give your garden a clean, natural edge with smooth little stones that look like they wandered in from a creek—minus the muddy shoes!
You’ll create a polished line that helps every flower bed feel like part of a cared-for neighborhood. It’s beginner-friendly, too!
- Dig a shallow trench along the bed.
- Add a barrier for weed control.
- Set uniform, matching stones evenly.
- Top them off after stormy weather.
Choose small or medium river rock in one color family for a crisp, welcoming look. Set each stone at the same depth, and mowing won’t blur your boundary. This simple outdoors maintenance trick keeps grass from creeping in—wow!
Concrete Garden Edging
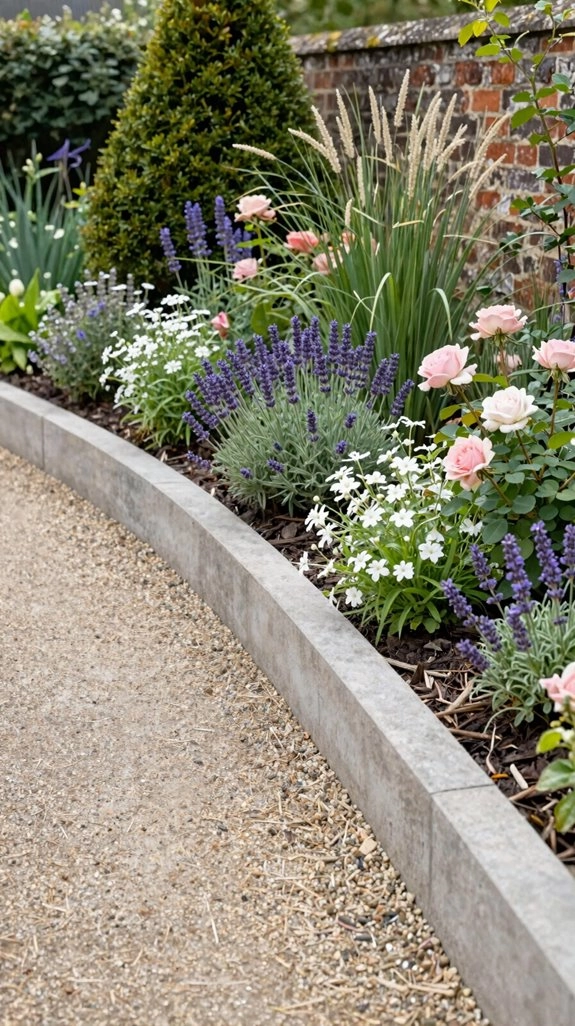
Concrete garden edging gives your flower beds a sharp, lasting outline, whether you want neat straight lines or graceful curves—no runaway grass allowed!
You’ll dig a shallow trench, compact the base, set forms, and pour concrete for a clean border that feels right at home beside your neighbors’ tidy gardens.
It’s a smart choice for paver walkway edging, since it won’t shift under busy feet, mowers, or eager trimmers.
Want a softer look? Use flexible forms to create stamped concrete curves that follow your beds like a custom frame—pretty impressive, right?
Seal it if you like, then check for small cracks after winter and patch chips early.
Gabion Stone Walls
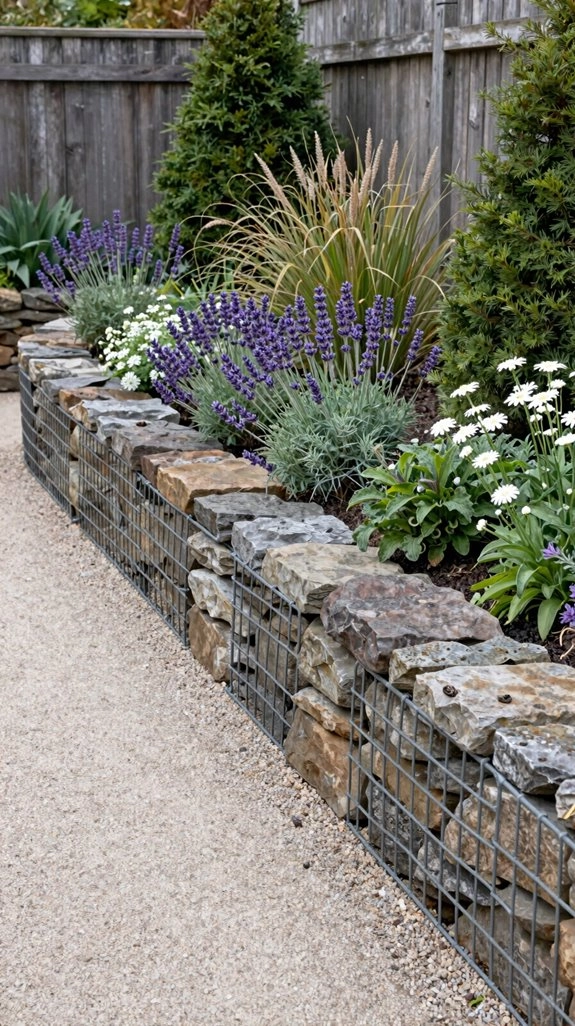
Gabion stone walls turn simple wire cages and rugged rock into a bold garden border or retaining wall—pretty cool, right? You’ll get an industrial look that helps your yard feel thoughtfully connected!
- Corrosion-resistant wire cages
- Clean, drainage-friendly stone
- Compacted gravel footing
- Level and liner
Start by leveling a gravel base, then set and line the cages before packing stones tightly. It’s beginner-friendly, though heavy lifting may recruit a helpful neighbor!
For sloped yards, this is where gabions shine: open gaps improve garden drainage and reduce pressure behind the wall. Choose stones that lock together, and your rugged border can stay strong for years—no rot, no fuss!
Terracotta Brick Borders
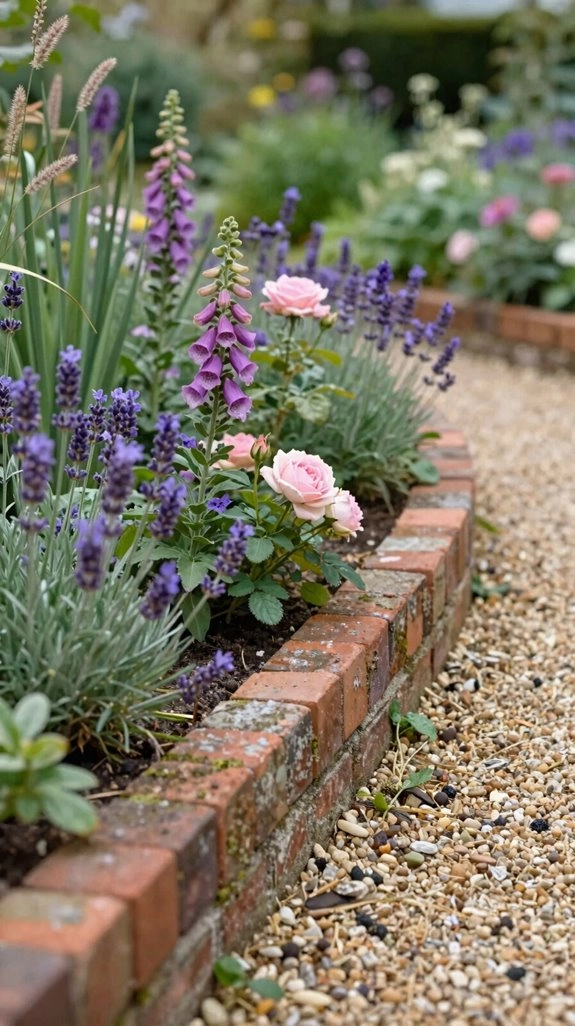
If rugged gabions feel a little too bold for your garden, terracotta brick borders bring in warm, classic charm without draining your budget! You’ll create a crisp divide between flowers and lawn, making your bed feel polished and welcoming.
Measure curves first, especially for scalloped pieces, then buy enough linear feet. Dig a shallow, even trench, compact the base, and include Drainage planning so water doesn’t turn your project into a wobbly mess!
Set bricks sideways, wide face down, or stand them upright for extra height. Use a string line, line level, and rubber mallet to keep every brick snug.
That careful prep boosts edging durability beautifully!
Woven Willow Edging
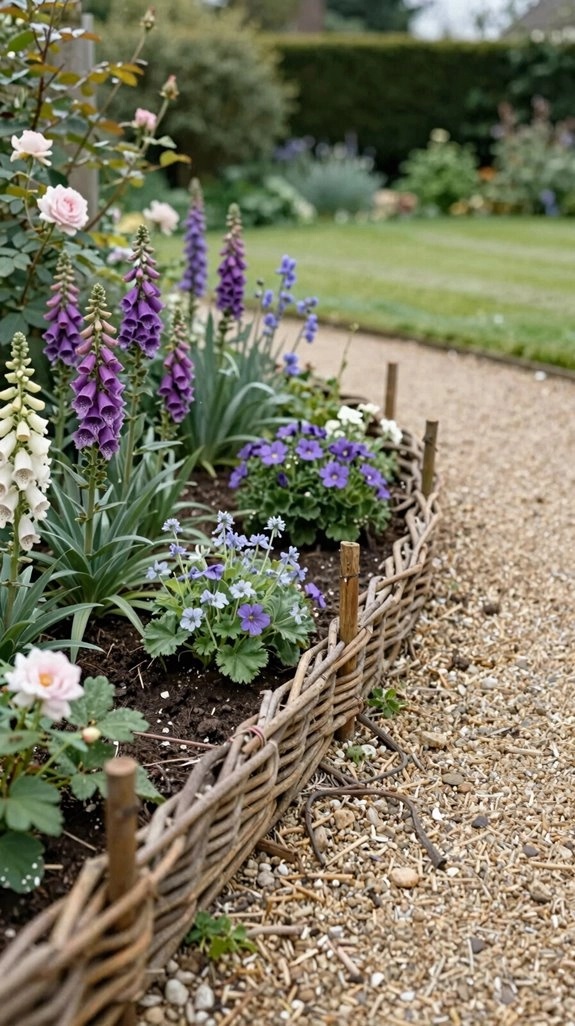
Woven willow edging gives flower beds a cozy, storybook look, and you can build it with flexible twigs, a few sturdy stakes, and a mallet—no special tools required!
It’s a low-cost, wildlife friendly project that helps your garden feel like part of the neighborhood. Follow these easy steps:
- Mark straight lines or gentle curves.
- Hammer sturdy stakes along the border.
- Weave flexible twigs tightly between them.
- Trim ends for a neat, handmade finish.
You’ll get a rustic border around beds or paths in an afternoon—pretty great! Keep it away from string trimmers, though; they can wreck the weave fast.
Plan seasonal maintenance, replacing damp or broken twigs as needed.
Corten Steel Borders
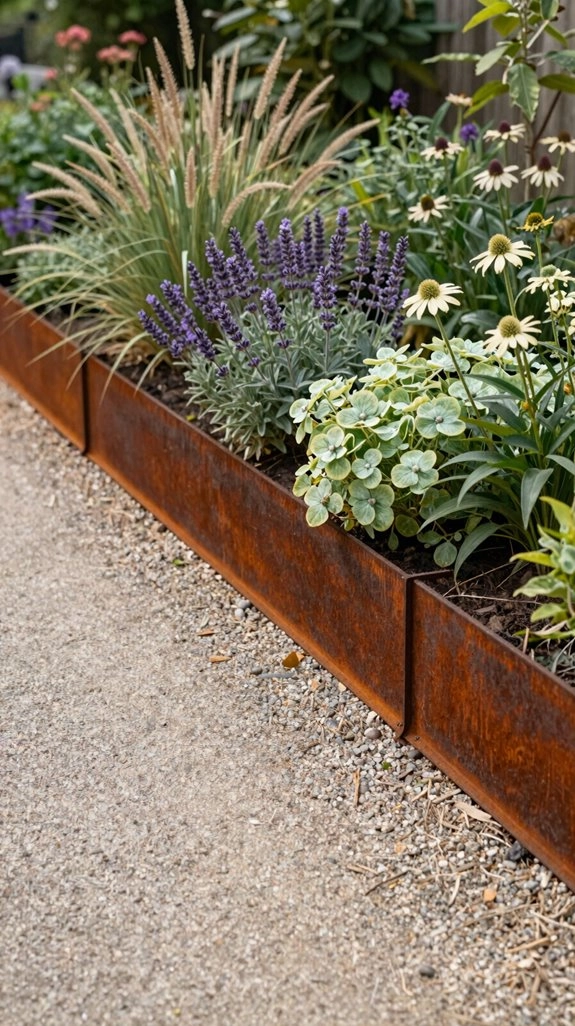
For a crisp, modern edge that still feels at home in the garden, Corten steel brings serious style! You’ll love how its warm, rust-toned finish makes green leaves and pale gravel pop.
For an easy DIY, use Corten strips, a saw rated for metal, and a shovel. Cut pieces to length, then follow edging placement tips: sink them a few inches into a shallow trench so mower traffic and rain won’t nudge them around.
Corten patina care is wonderfully simple—let it weather naturally! The color deepens over weeks, creating an industrial-natural look your garden crew will admire. Add liner behind it near pavers; early runoff can stain.
Recycled Material Borders
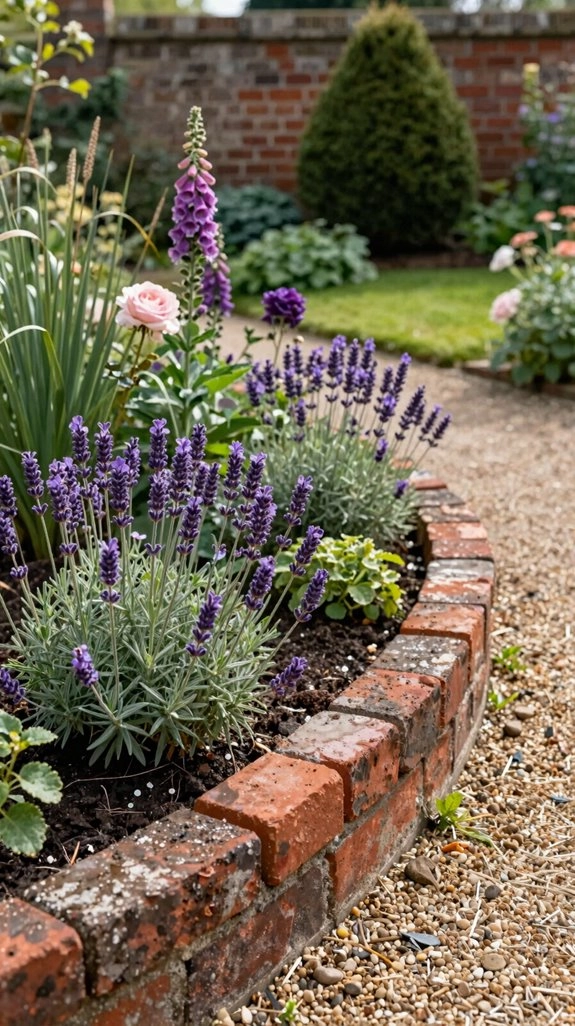
Recycled material borders turn castoffs into garden character, and you can build one without spending much—great news for your wallet!
- Press Reclaimed glass bottles upside down along a marked line; mix colors or make patterns for instant personality.
- Cut fallen branches into rustic timber posts, then hammer sections upright for a warm edge that lasts several seasons.
- Sink reclaimed plastic strips in a trench for long runs; after winter, give shifted pieces a quick spring tap.
- Weave willow twigs around stakes for a cozy country look, or try rubber edging topped with gravel in a 4-inch trench—surprisingly polished!
Curved Cottage Borders
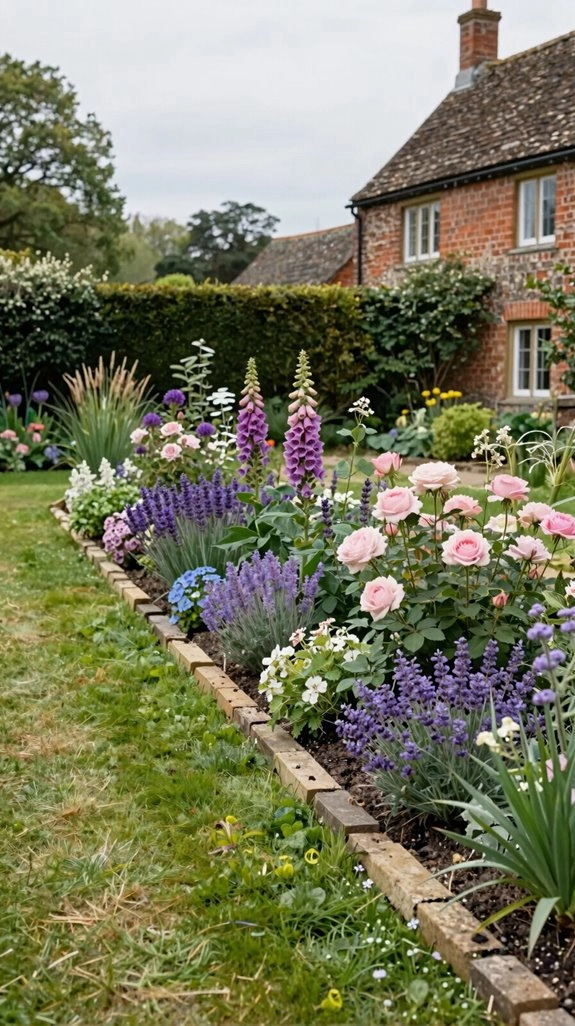
Curving a garden border gives even a simple bed that relaxed, storybook feel—like your plants wandered into place on purpose!
First, lay out your cottage pathmaking curve with a hose or string, then cut one clean arc using an edging spade. It’s affordable, beginner-friendly, and makes organic edging look planned, not wonky!
Add reclaimed log rounds for warm texture, or use stone pillars for a lasting, tucked-into-the-neighborhood look. Stone takes patience because each piece stays straight, so tight bends need more pieces.
For easier curves, hammer in flexible timber or bamboo edging. Finish with low perennial drifts or a living edge—your border will feel wonderfully welcoming!
Minimalist Modern Borders
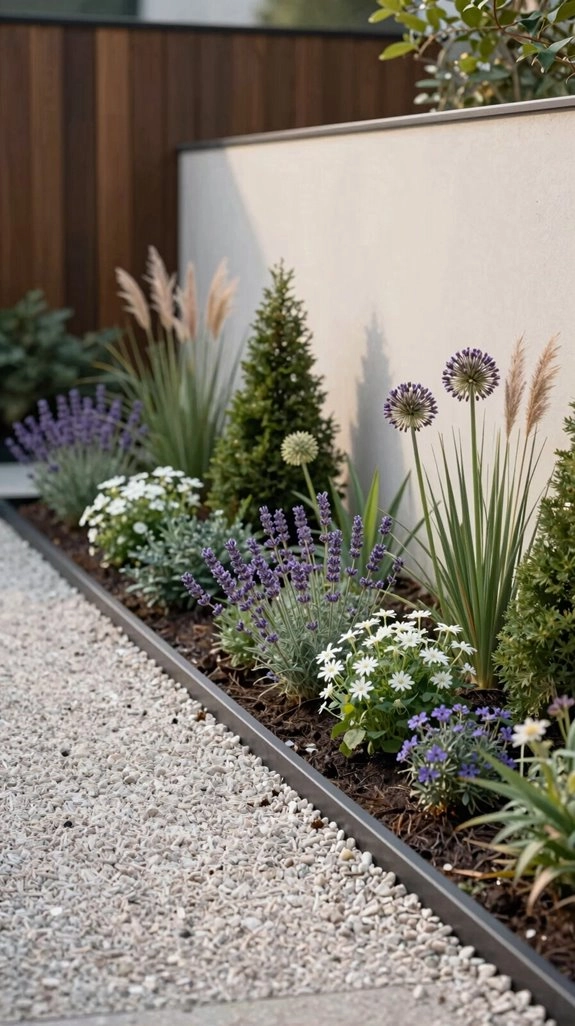
Minimalist modern borders look sharp because they rely on clean lines, simple materials, and a little bit of “everything has a place” energy!
- Use no dig straight lines with hammered-in metal edging for a crisp, welcoming finish.
- Shape effortless flexible curves with bendable sections; your bed still feels polished, not fussy.
- Prioritize low visible borders, matching edging height to plants so blooms shine.
- Keep positioning tools handy: stretch string, tap side-set bricks with a rubber mallet, and admire that architectural edge!
For an extra-neat shared-garden look, re-cut turf every year or two with a spade. Grass won’t sneak in—nice try, lawn!
Budget-Friendly DIY Borders
You don’t need a big budget to give a garden bed a clean, finished edge—just a few simple materials, a free afternoon, and a little enthusiasm! Cut a crisp line with a spade; it’s nearly free, though you’ll refresh it every year or two.
For a natural neighborhood-garden look, hammer in timber, willow, cedar shakes, or bamboo fencing. They’re easy to install, but keep mowers away!
Want longer-lasting? Dig a shallow trench and pound in plastic edging. It’s inexpensive, tidy, and may need spring tweaks after freezes.
Finally, try reclaimed bottle borders: sink upside-down glass bottles in a pattern. Your bed gets colorful sparkle—and everyone will ask where you found that idea!