How to Build a Pea Gravel Patio That Won’t Shift Over Time
- How to Build a Pea Gravel Patio That Won’t Shift Over Time
- Key Takeaways
- Prepare a Stable Base
- Install Landscape Fabric
- Add the Correct Gravel Depth
- Compact Each Layer
- Choose Strong Edging
- Control Weeds
- Refresh Gravel Seasonally
- Best Base Materials
- Installation Mistakes to Avoid
You’ll prevent shifting by excavating to firm soil, removing roots, then compacting it well. Add about 4 inches of compacted MOT Type 1, grade it so water drains away, and install rigid metal or stone edging. Lay overlapping garden fabric, then spread pea gravel about twice the stone size deep—around 40 mm for 20 mm gravel. Rake it level and lightly mist it. The real secret? A rock-solid base, not extra gravel; keep going for material tips and common mistakes.
Key Takeaways
- Excavate to firm soil, remove roots and rocks, then compact the subgrade thoroughly before adding any patio materials.
- Install and compact about 4 inches of MOT Type 1 aggregate in thin lifts, grading it to drain water away.
- Set rigid metal, stone, or paver edging into the compacted base to contain gravel and prevent border spread.
- Cover the compacted base with overlapping, stapled landscape fabric to block weeds and keep soil from mixing with gravel.
- Spread pea gravel at roughly twice the stone diameter, rake evenly, and lightly water it to settle the finished surface.
Prepare a Stable Base
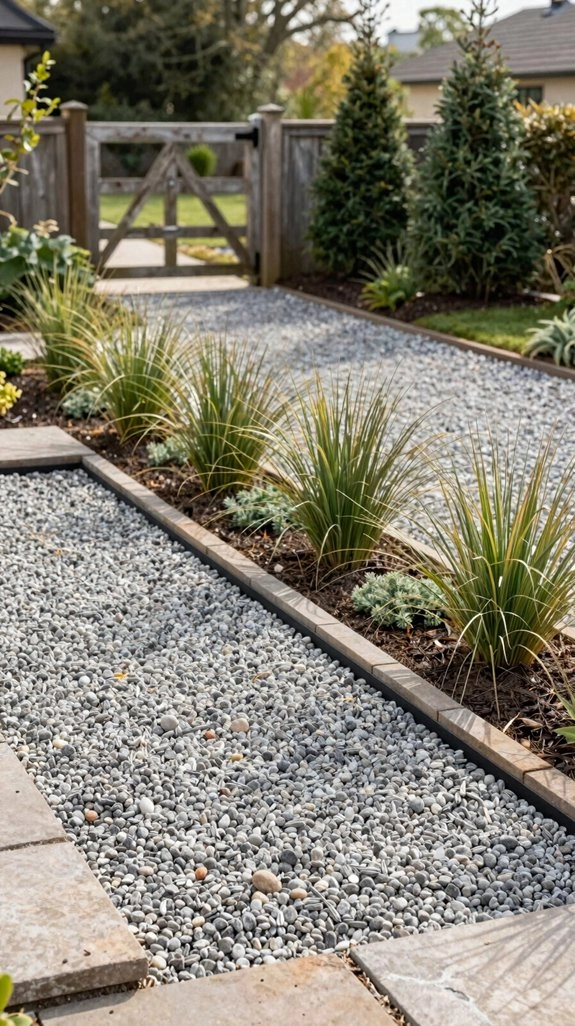
A stable pea gravel patio starts below the pretty stuff—because loose soil is where moving, sinking, and wobbly chair legs begin! You’ll excavate to bare soil, about 4 inches deep or deeper for your design, then remove roots and rocks.
Next, focus on soil compaction. Rent a plate compactor or use a hand tamper, and pack the ground until it feels firm underfoot. It’s sweaty work, but your future patio crew will thank you!
Add roughly 4 inches of MOT Type 1 aggregate, rake it level, and check drainage grading so water moves away.
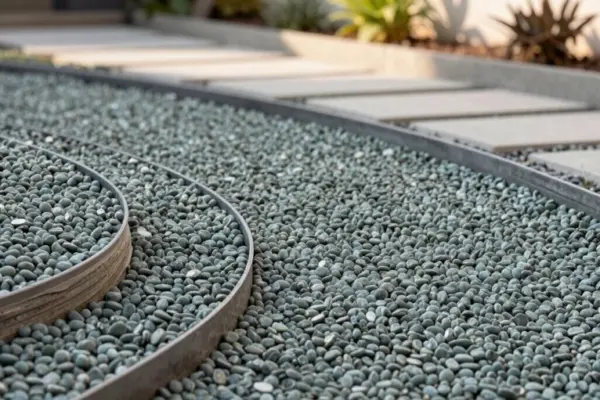
Finish with sturdy aluminum or stone edging; it keeps every layer from wandering off.
Install Landscape Fabric
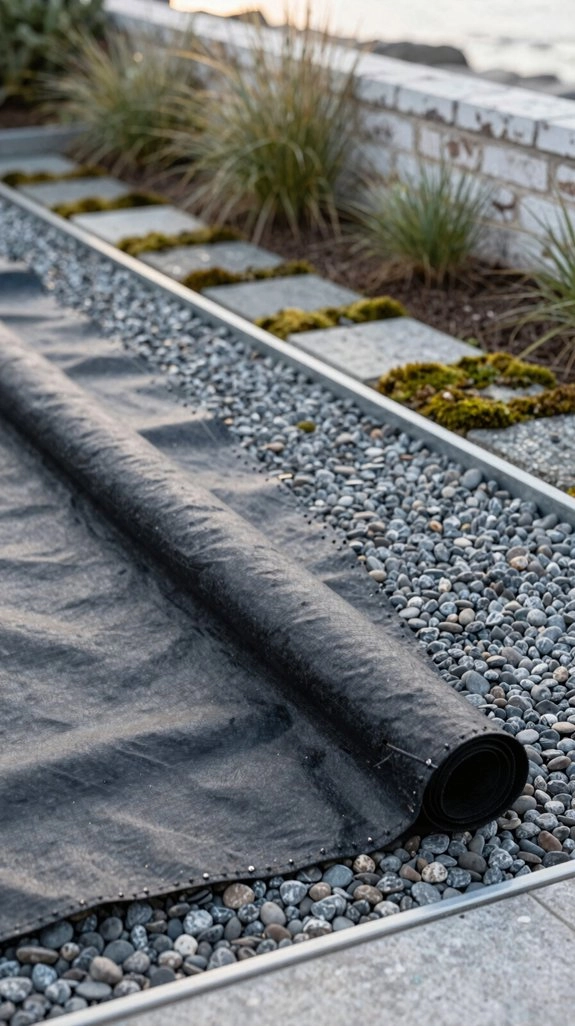
With the compacted base ready, roll out thick, good-quality ground-cover fabric across the entire patio floor and up along the edges. This simple weed-control layer keeps soil from sneaking into your gravel, so your patio stays clean and welcoming—no surprise weeds crashing the party!
Smooth the fabric flat against the grade; don’t stretch it or leave wrinkles that can create weak spots. Allow several inches of fabric overlap wherever pieces meet, then secure seam edges with landscape staples.
Finally, tuck the fabric beneath your edging restraints. That continuous border helps hold everything in place through rain, foot traffic, and years of backyard gatherings.
Add the Correct Gravel Depth
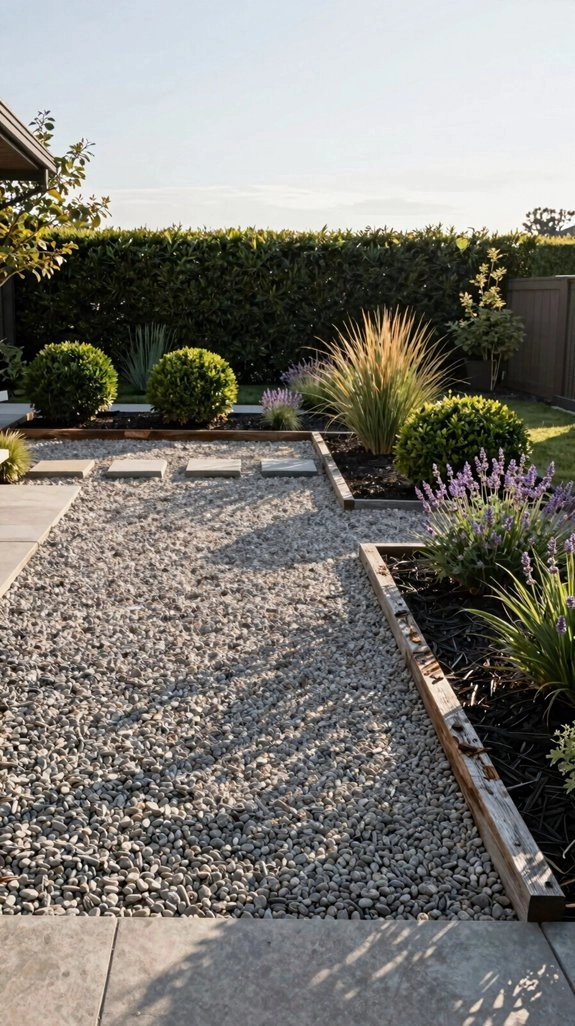
Spread your pea gravel to a depth of at least twice the size of each stone—so 20 mm pea shingle needs about 40 mm of gravel, for example. This helps prevent bare patches and keeps your patio welcoming for everyone.
Rake it into a consistent, uniform top layer, checking edges and corners as you go. Don’t skim it thin, but don’t overfill around narrow chair legs either—nobody wants a wobbly seat at dinner!
Work your Drainage planning into the final level, then lightly water the surface to settle it. For extra staying strength, rely on a firm support system below, not an overly deep gravel layer.
Compact Each Layer
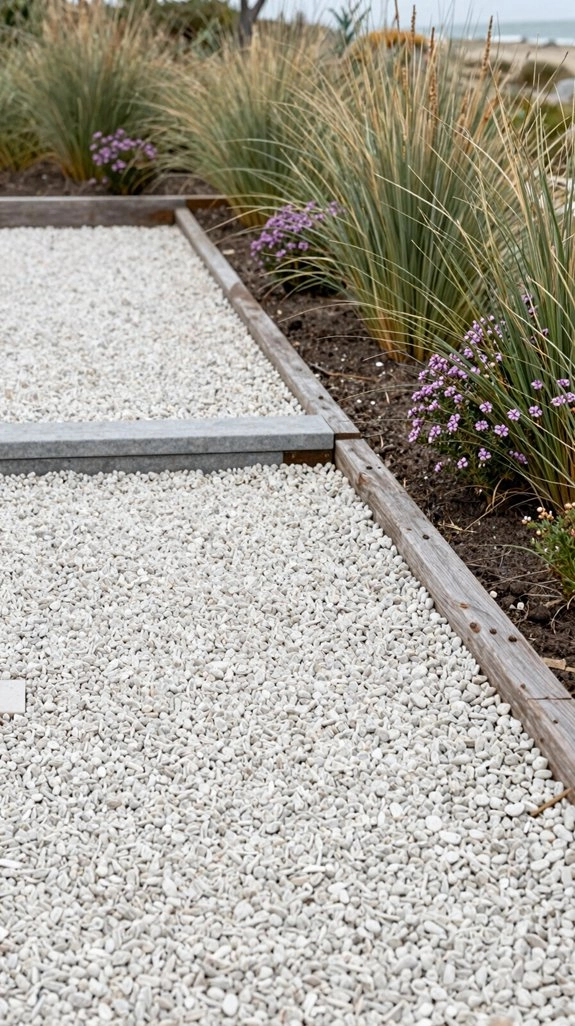
Always compact from the ground up, because even the prettiest pea gravel can’t hide a soft, sinking base for long!
Tamp bare soil first with a hand tamper or plate compactor for uniform grading across your patio.
Next, add base material in thin sections, about 4 inches total, using Layer by layer compaction.
Pack each section until it feels solid underfoot—those nonmoving lifts keep everyone’s gathering spot steady!
If you use DG, rake it flat, tamp it, then mist it lightly.
This moisture settling trick fills tiny low spots and reveals puddles before they become trouble.
Finally, spread pea gravel thinly, rake, tamp, and lightly water.
Choose Strong Edging
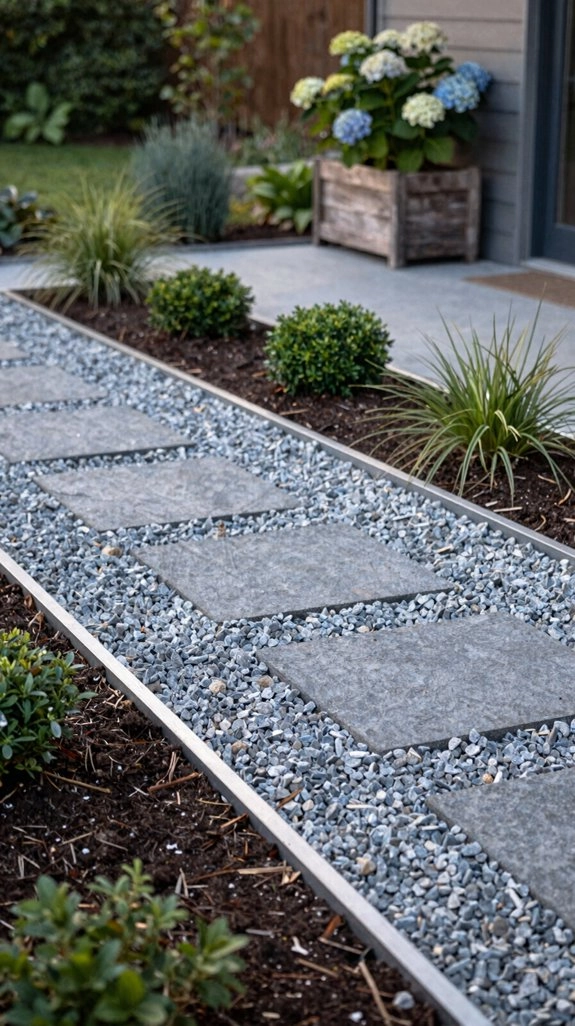
Strong, continuous edging acts like a curb for your patio, keeping those loose little stones from wandering into the lawn, flower beds, or your shoes—pea gravel has a sneaky side!
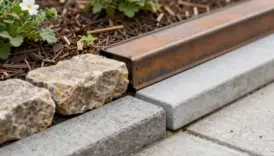
Choose rigid retaining borders, such as concrete pavers, stone blocks, or metal edging. Set them tightly at your finished patio grade, then bed them fully in compacted base so they can’t float or lean. Add edging wherever gravel meets steps, planting beds, or another surface—your whole outdoor space will look neatly connected!
If your patio meets a retaining wall, fill any open joint with aluminum restraint. That extra guard stops runoff and busy feet from nudging gravel outward.
Control Weeds
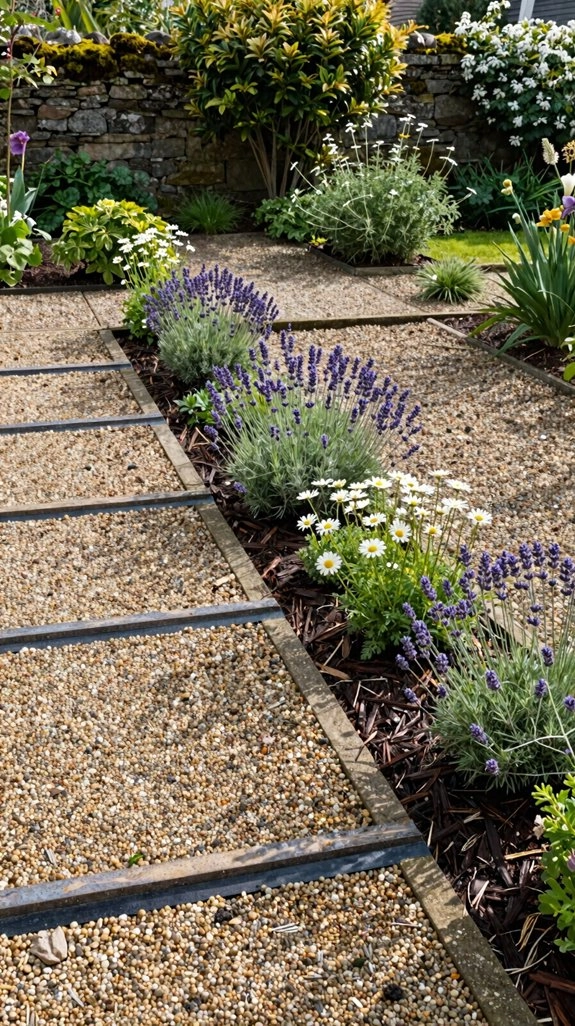
With your edging locked in place, it’s time to stop weeds before they turn your tidy patio into a surprise garden!
Lay thick ground cover fabric across the whole compacted base, including every edge and bottom line.
Overlap weed barrier seams generously, and seat them flat so water drains toward the wall instead of pooling underneath.
Thin fabric and gaps invite stubborn weeds to join the party—no thanks!
Next, add a couple of light sand layers before the pea gravel.
The sand cushions the ground cover fabric from sharp stones while keeping a clean barrier below.
Finally, maintain a slight slope and firm surface to prevent edge buildup of leaves and dirt, where weeds love to settle.
Refresh Gravel Seasonally
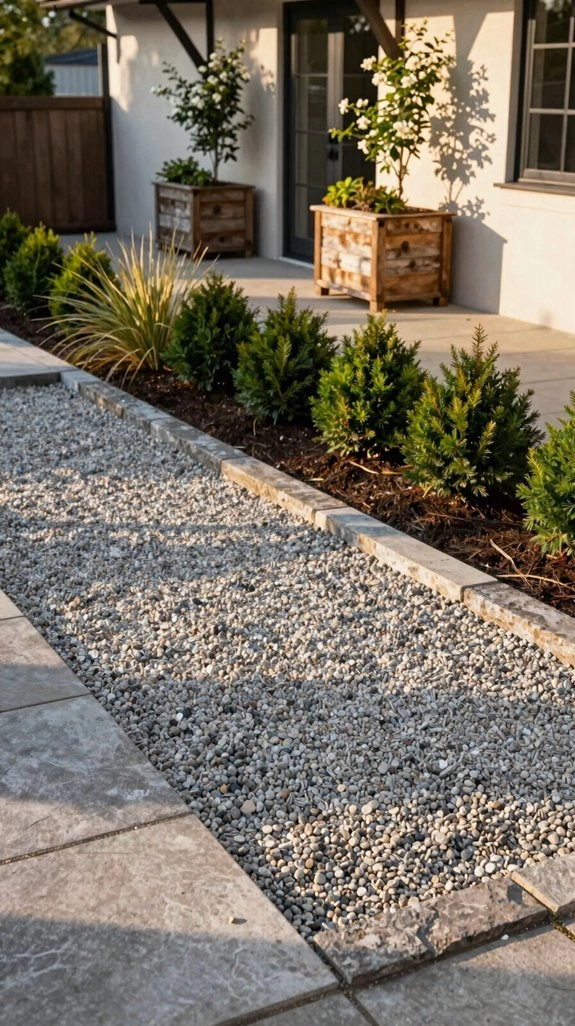
Each spring, give your pea gravel patio a quick refresh before patio season kicks off—your chairs, table, and bare feet will thank you! Use a leaf blower on low, or gently rake away leaves, so you don’t send gravel flying into the neighbor’s yard.
For Seasonal Raking, spread the stones back into an even 2–3-inch layer and fill low spots right away. Your furniture will sit steady, and everyone can relax together!
Next, try Weed Spotting: lift gravel only where weeds return, clear to the barrier, then replace it. After storms, run a straightedge along edging and refill gaps. Tamp thin lifts, water lightly—no plate compactor on top!
Best Base Materials
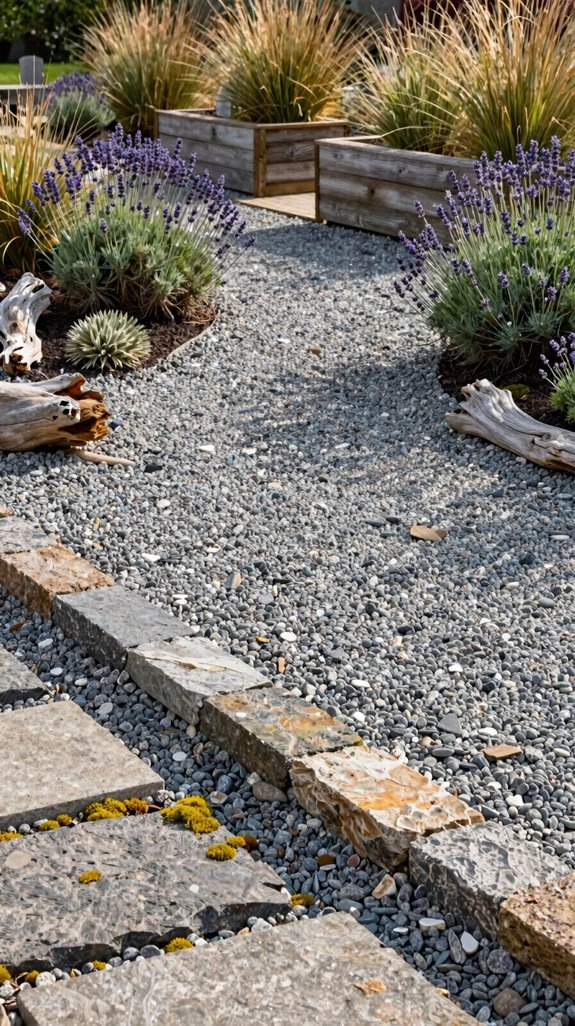
Start from the ground up: a 10 cm layer of compacted MOT Type 1 crushed aggregate gives your pea gravel patio the firm, drain-friendly footing it needs. It’s an affordable, beginner-friendly choice that helps your space feel solid and welcoming!
Lay thick landscape fabric above it for geotextile separation, so soil and gravel layers stay in their lanes. Fabric helps, but it can’t replace a proper base—no shortcuts, team!
Without Type 1, use fabric plus 2 inches of sand for cushioning. For chair-heavy hangouts, add a honeycomb grid. Want truly steady seating? Set slabs into the level base, then surround them with gravel.
Installation Mistakes to Avoid
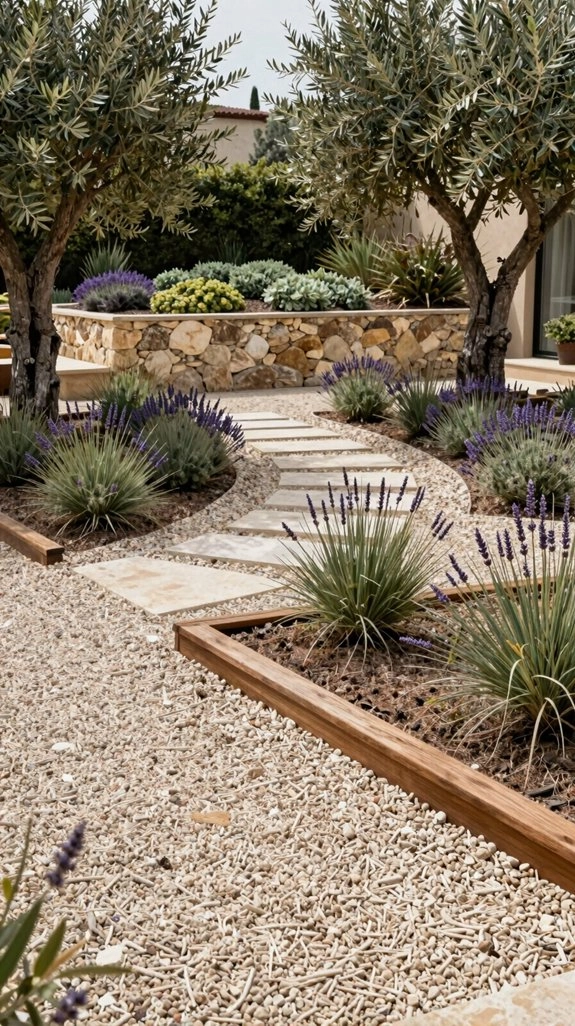
A few common slipups can turn a crisp pea gravel patio into a wandering, lumpy mess—no thanks! You’re building a welcoming hangout, so install sturdy aluminum or stone edging to keep gravel from escaping.
Next, check Drainage grading and compact your Type 1 base before adding gravel. Don’t toss pea gravel onto soft soil; it’ll settle into ruts faster than guests grab snacks!
Use landscape fabric wisely, with proper weed barrier overlap, rather than relying on one flimsy layer under everything. Screed each layer level.
Finally, add enough pea gravel—about twice its stone size in depth. Don’t aggressively compact it; pea gravel won’t cooperate.