How to Build a Backyard Water Feature Without a Pond
- How to Build a Backyard Water Feature Without a Pond
- Key Takeaways
- Choose the Right Location
- Select a Water Basin
- Install the Pump
- Hide Equipment Naturally
- Add Decorative Stone
- Incorporate Plants
- Simplify Maintenance
- Choosing the Right Pump
- Preventing Algae Naturally
Pick a sunny, well-drained spot near electricity, then bury a sturdy 2-foot basin and backfill around it. Add a 220–264 GPH submersible pump, tubing, and a secure outdoor cord cover—easy, usually budget-friendly! Cover the basin with a metal grate and hardware cloth, then arrange hefty rocks so water can splash without exposing the equipment. Add damp-soil plants in raised gravel beds. The hidden reservoir is the clever part; keep going for pump, algae, and winter tips.
Key Takeaways
- Choose a sunny, level location with nearby power access, good drainage, and room for seasonal pump maintenance.
- Bury a rigid, freeze-resistant basin about 2 feet wide to serve as the hidden water reservoir.
- Install a submersible recirculating pump rated around 220–264 GPH, connecting tubing to the desired spill point.
- Cover the basin with a level metal grate and hardware cloth, leaving a small access door for pump servicing.
- Arrange stable rocks and damp-soil plants above the reservoir, keeping water pathways clear and equipment concealed.
Choose the Right Location
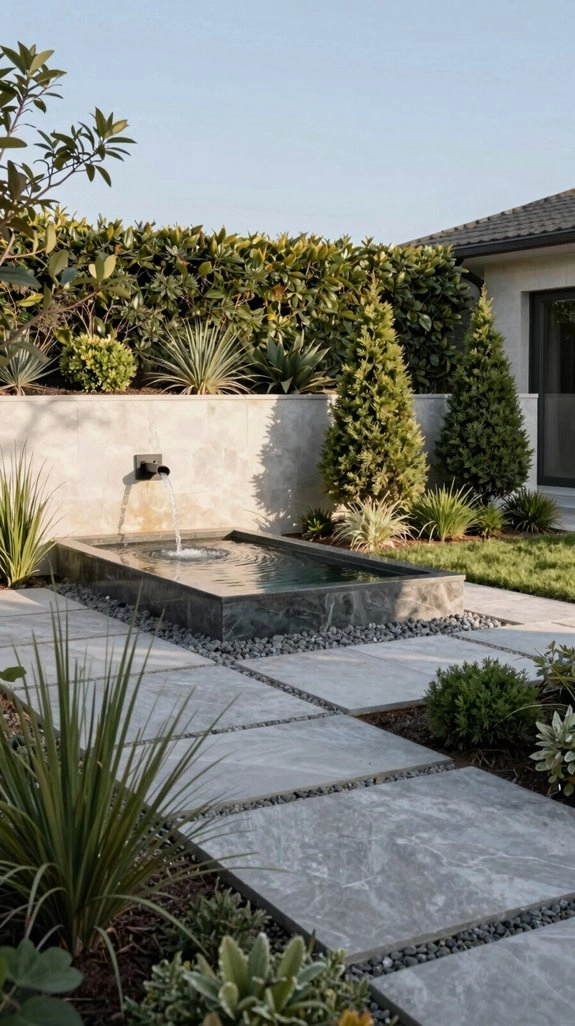
Before you dig, choose a spot that makes your fountain easy to run, fill, and enjoy—because a bubbling water feature loses some charm when you have to crawl through shrubs to service it!
Check Sunlight exposure first. Solar pumps need full-day sun, with no shade from trees, walls, or the fountain itself, or they’ll sputter like a tired lawn sprinkler!
Next, confirm electricity access. Your pump cord must safely reach an outlet or solar panel.
Look for firm ground, too. Soil stability helps your feature stay level, while drainage planning prevents puddles after rain. Leave room around the site for easy water checks and seasonal pump care.
Select a Water Basin
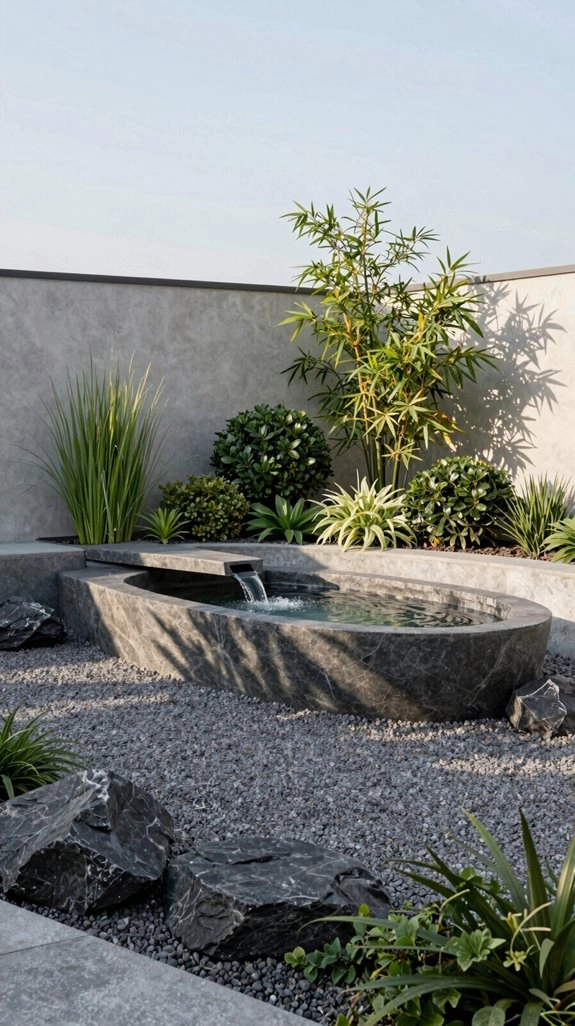
With your site picked out, it’s time to choose the hidden workhorse of the project: the water basin!
For Basins selection, choose a simple, rigid, planter-like container about 2 feet wide; many cost around $20 and create a tidy underground reservoir.
Skip fussy pond liner—buckets are easier to fit neatly.
Consider drainage considerations, too, and choose a basin that won’t crack when winter freezes hit your area.
Dig a hole, set the basin at your needed depth, and backfill around it for steady support.
Here’s the clever community-tested touch: plan a removable metal grate and hardware-cloth cover, keeping debris out while giving you easy access later!
Install the Pump
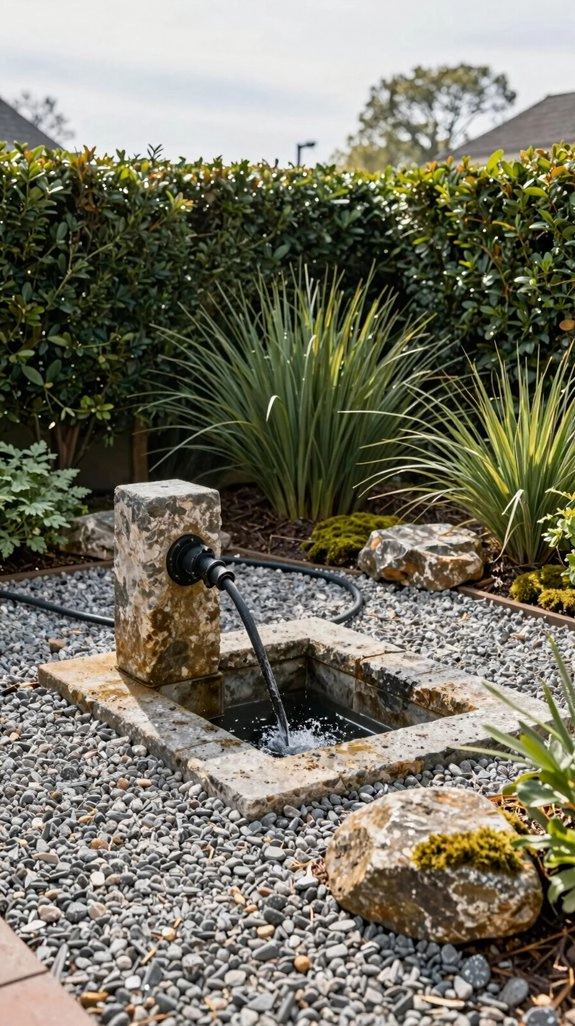
A small recirculating submersible pump is the heart of your pondless feature—it quietly sends water from the hidden basin back to the top, again and again!
- Choose a 220–264 GPH electric pump; check its Max flow rating and lift.
- Set it on the basin bottom, then cover it with cheesecloth or a food tent weighted by stones.
- Connect tubing to the spill point, and use a water-tight cord case outdoors.
- Fill the basin fully, switch it on, and make winter dry run checks routine.
A 12V solar kit works too, but add battery backup—clouds can be party poopers!
Your water will soon join the neighborhood’s soothing soundtrack.
Hide Equipment Naturally
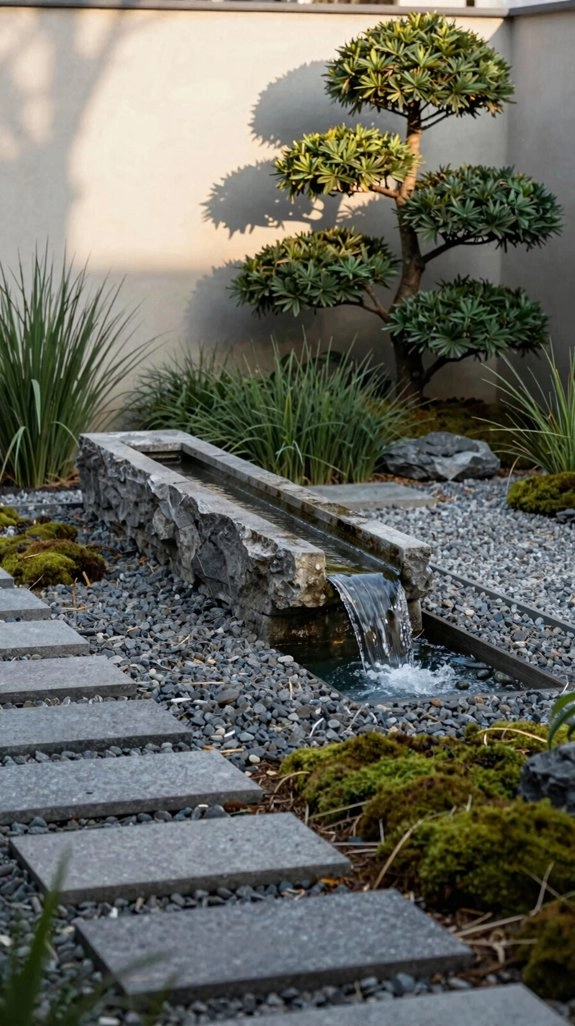
Once the pump is running, it’s time to make the mechanical bits disappear—like a tiny magician living underground! Set your 2-foot-wide, 2-foot-deep basin in the hole, then backfill firmly for built-in sound dampening.
Next, place a metal grate level with the soil and cover it with hardware cloth. Secure the mesh using garden staples, and tuck soil over the edges for natural camouflage.
Here’s the smart neighborhood-worthy trick: cut a small trap door in the cloth, so winter pump service won’t mean digging everything up!
If you use solar power, route the cable to a sunny panel spot while keeping the reservoir hidden.
Add Decorative Stone
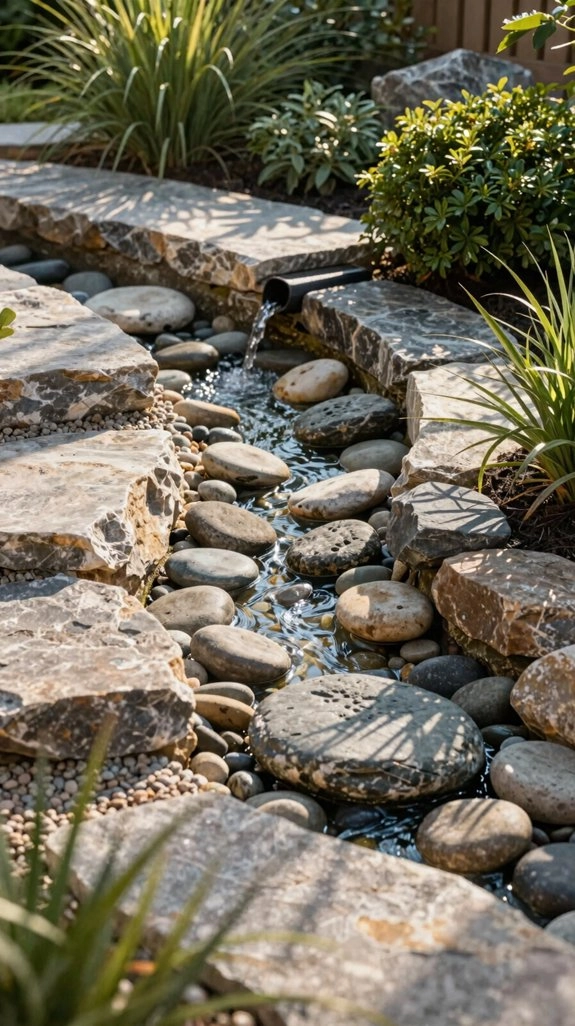
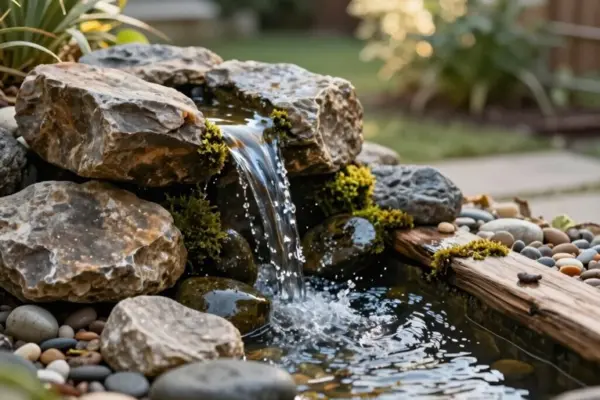
Now comes the fun part: decorative stone turns that hidden basin into a natural-looking water feature, not a backyard science project!
- Use Weatherproof anchoring: staple hardware cloth edges before covering them.
- Build stone stability with hefty rocks that won’t skate in the splash zone.
- Create a splash safe layout by lining the perimeter, leaving flow paths open.
- Protect accessible service access: keep a clear liftable “trap door” over the grate.
Fill the basin to its waterline first, then dress the top with stone. You’ll keep the pump happy and the surface believable.
For a waterfall effect, stack rocks into a hidden spill surface—your neighbors may ask who installed it!
Incorporate Plants
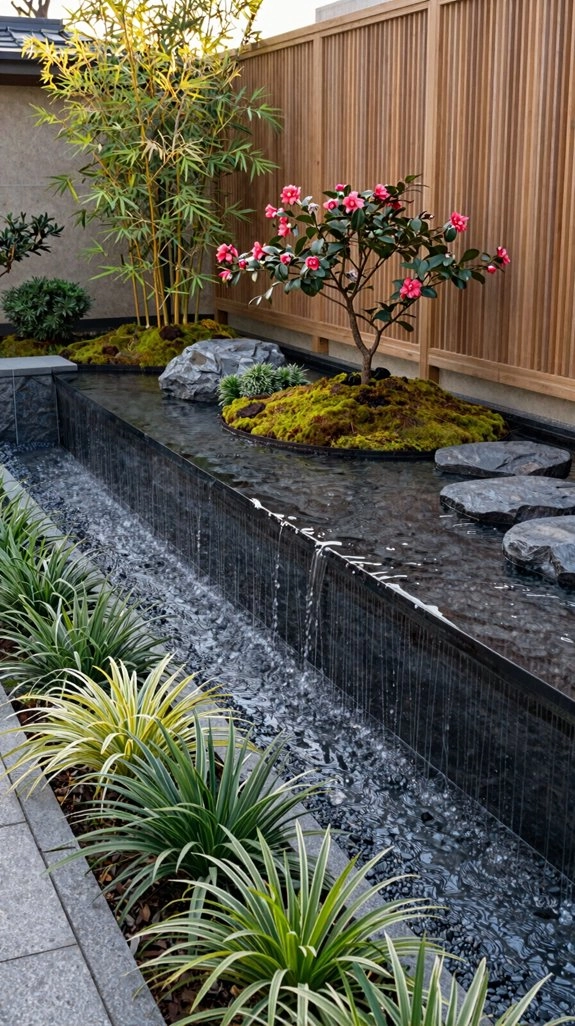
Plants add the soft, living finish that makes your stone-covered water feature feel like it belongs in the yard—not like it landed there from a landscaping catalog!
Choose plants that like damp soil but won’t sit underwater, such as small edging grasses or creeping ground covers. For waterproof planting, set them in gravel beds or planters above the basin line.
Keep a safety gap between roots and the hidden grate, so nothing crowds the pump area. Small containment sleeves make this easy and inexpensive—no root jungle below your rocks!
Tuck planters near the splash zone, then cover their edges with decorative stone. You’ll get a lush, settled-in look without turning your feature into a leafy clog factory.
Simplify Maintenance
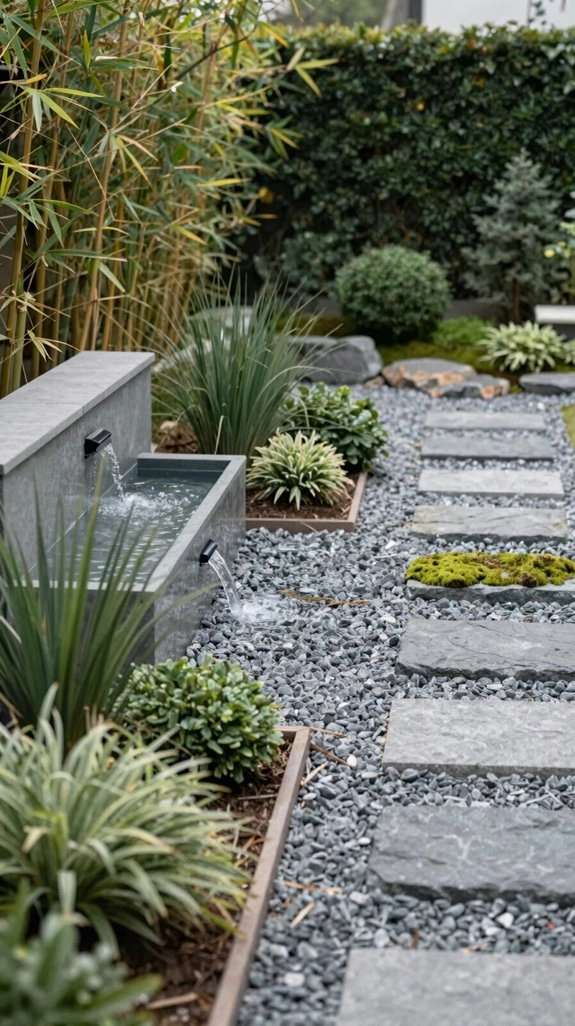
A pondless recirculating feature keeps maintenance wonderfully simple, because the water disappears into a hidden basin instead of becoming a tiny pond with fish, algae, and a daily to-do list.
- Add hardware cloth and a metal grate for pump protection and debris screening; leaves stay out, hooray!
- Build a small trap door for clean access, so you can lift the pump without moving rocks.
- Keep the basin full and use a scheduled run for dry run prevention and less wear.
- If shade visits your yard, add a battery backup to a solar setup; your waterfall can keep welcoming everyone into the evening.
You’ll spend more time enjoying your shared outdoor retreat, not babysitting it.
Choosing the Right Pump
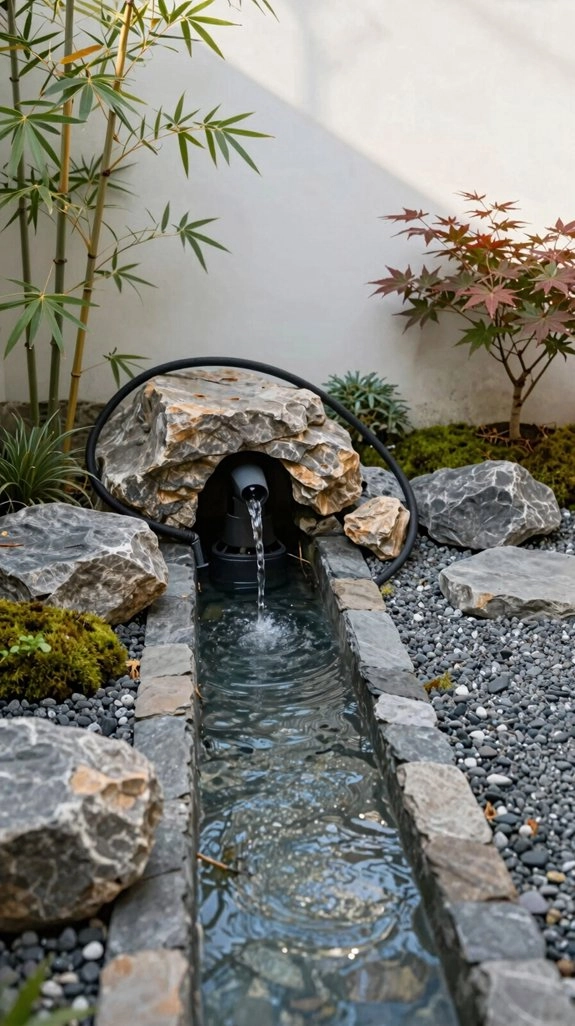
Choosing the right pump sets the whole mood of your pondless feature, from a gentle bubbling trickle to a cheerful little waterfall that actually reaches the top rock—no sad dribbles allowed!
For reliable flow consistency, choose a 110–120V electric submersible pump, such as 220 GPH with a five-foot lift. Check that its cord safely reaches your outlet.
Your Energy source can be solar, too! A 12V, 10W pump suits sunny spaces, but shade reduces power. For smart max lift selection, measure the vertical rise before buying.
Finally, test each nozzle spray pattern with the included heads. Add a battery backup to solar, and your gathering spot can keep bubbling into evening!
Preventing Algae Naturally
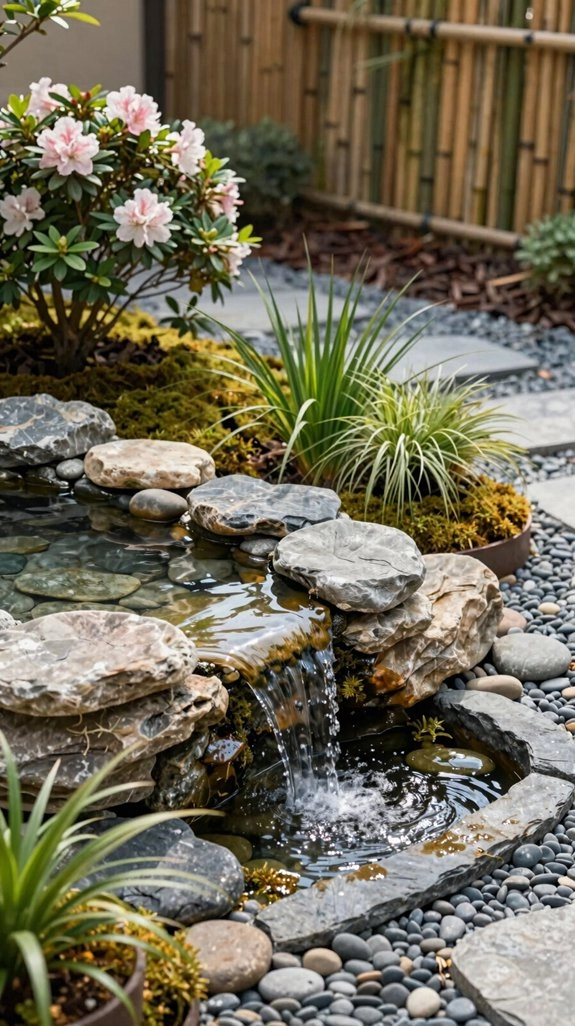
With the pump creating that happy little splash, you’ll want to keep the water clear instead of letting it turn into pea soup!
- Use light blocking: cover the buried basin with a metal grate and hardware cloth.
- Practice nutrient control: add a screen or filter bag to catch leaves and sediment.
- Maintain continuous flow: run your 10–20 watt pump longer each day, checking water levels.
- Try hardware screening cleanup: rinse trapped gunk before it feeds new algae.
Solar fountain? Keep its panel fully sunny, since partial shade causes slow, stagnant breaks. Your feature will stay fresh, welcoming, and ready for neighbors to admire!