17 DIY Raised Garden Bed Ideas That Make Growing Food Easier
- 17 DIY Raised Garden Bed Ideas That Make Growing Food Easier
- Key Takeaways
- Cedar Raised Beds
- Galvanized Metal Beds
- Tiered Garden Beds
- U-Shaped Layouts
- Keyhole Gardens
- Elevated Raised Beds
- Corner Garden Beds
- Beds with Trellises
- Stock Tank Gardens
- Modern Minimal Designs
- Budget-Friendly Builds
- Herb Raised Beds
- Stone-Framed Beds
- Rolling Planters
- Kid-Friendly Gardens
- Small Backyard Layouts
- Weekend DIY Projects
These 17 DIY raised garden bed ideas make growing food easier, tidier, and more productive! Start with simple cedar frames, galvanized beds, or a stock tank, then try tiered, U-shaped, keyhole, stone, herb, or elevated designs. Add eight inches of soil, drainage holes, and hardware cloth where pests dig. Rolling planters suit patios, while kid-friendly and compact beds save space. Most use affordable lumber and basic tools, and each delivers fresher harvests with less bending and weeding. Keep exploring for the cleverest build!
Key Takeaways
- Build sturdy 4-by-8-foot cedar beds with untreated, two-inch boards for durable, comfortable food-growing space.
- Choose galvanized metal beds or stock tanks for quick setup, earlier soil warming, and simple maintenance.
- Design U-shaped, tiered, keyhole, or elevated beds to maximize space and improve planting access.
- Provide at least eight inches of soil, six-to-eight hours of sunlight, and reliable drainage for healthy roots.
- Add weed barriers, half-inch hardware cloth, and three-foot paths to control weeds, deter pests, and simplify care.
Cedar Raised Beds
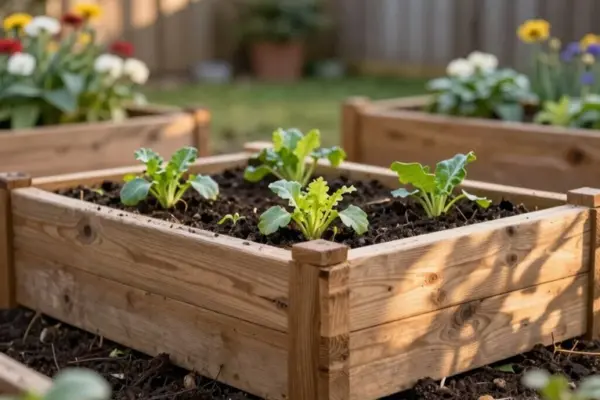
Cedar raised beds are a favorite for good reason: they look beautiful, resist rot naturally, and can handle years of outdoor weather without turning your garden into a wobbly science experiment!
Choose untreated boards about 2 inches thick, then build a 4-by-8-foot frame with stacked boards for comfortable soil depth.
Before filling it, focus on Moisture management and drainage planning so roots don’t sit soggy.
Good airflow and tidy pathways support pest prevention, too!
Costs can shift as cedar prices change, so measure first and compare suppliers.
Secure corners carefully, and check kit compatibility.
Your reward? A sturdy, welcoming bed that makes growing food feel wonderfully doable!
Galvanized Metal Beds
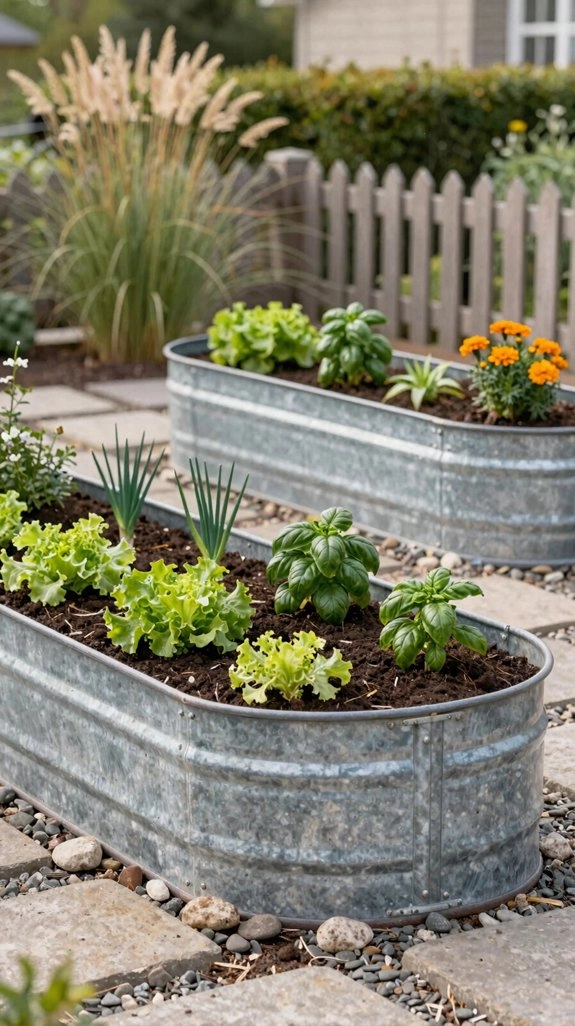
If you want a modern garden bed that warms up quickly, galvanized metal is a bright, sturdy choice!
Repurpose a food-safe stock tank or cattle trough, then place it level where you’ll grow.
It’s simple, durable, and usually beginner-friendly, though a full bed gets seriously heavy!
Before adding soil, drill drainage holes every couple of inches across the base.
Good soil drainage keeps roots from sitting in soggy mud.
Add casters with brakes if you need mobility, but lock them firmly.
Here’s the bonus: metal provides thermal mass, warming soil earlier in spring and holding heat later into fall.
Skip unknown coatings or liners, and enjoy your shiny harvest station!
Tiered Garden Beds
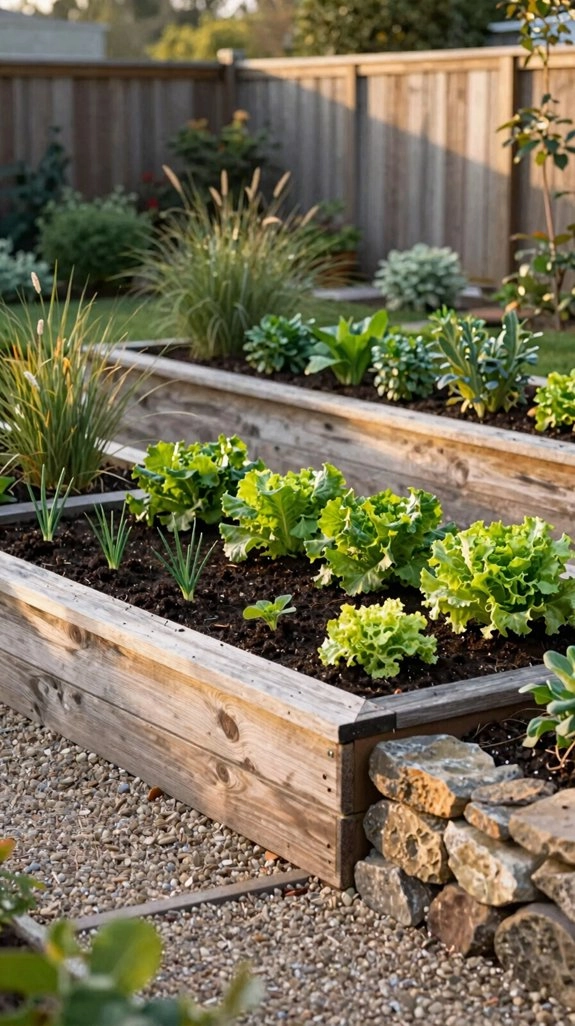
Tiered garden beds add extra growing space without spreading across your whole yard! Stack smaller, shallower boxes on larger ones, using sturdy corners and simple lumber. You’ll create several planting levels—perfect for making your garden feel like a welcoming little community!
Start with a liner or weed barrier beneath each tier, and add half-inch hardware cloth if voles or moles visit. Use soil depth planning to give deep-rooted plants at least eight inches.
Keep beds about four feet wide so you can reach the center comfortably.
Try sunlight zoning: place trellised tomatoes higher, where they’ll catch better light. The upper level also reduces bending—your back will cheer!
U-Shaped Layouts
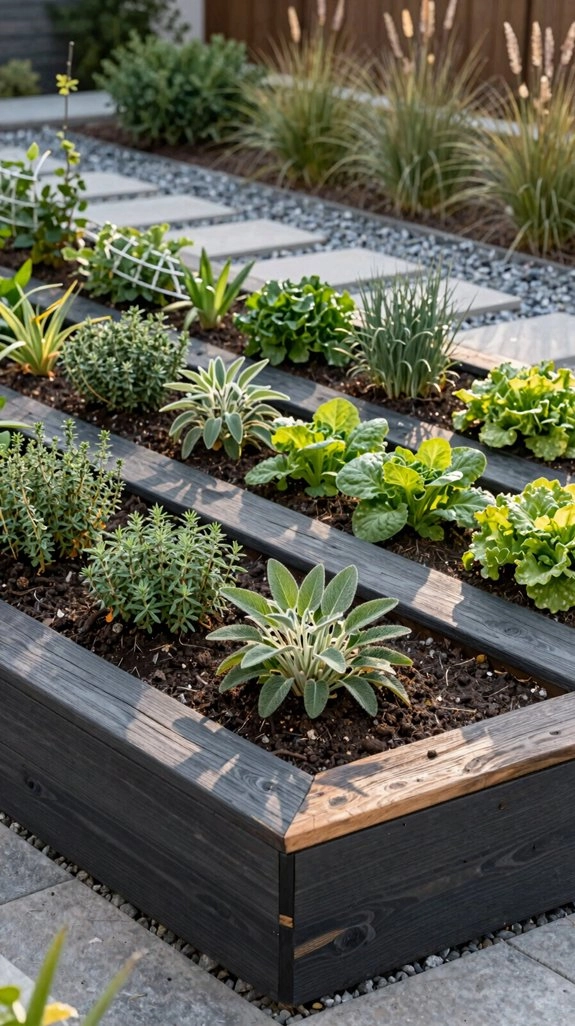
U-shaped raised beds keep your garden compact while leaving the open side clear, so you can reach the center without stepping on precious soil—what a win!
Plan each arm about 4 feet wide for comfortable Accessibility reach, then place the U beside a patio or path where plants receive 6–8 hours of sun.
Build with boards, corner brackets, rich soil, and compost; leave the center open for your compost workflow and daily harvesting.
Add trellises along outer arms for tomatoes or melons, with shorter greens inside.
Run a removable soaker hose around the inner edge.
If critters dig, add hardware cloth beneath those sections—easy protection, happy roots!
Keyhole Gardens
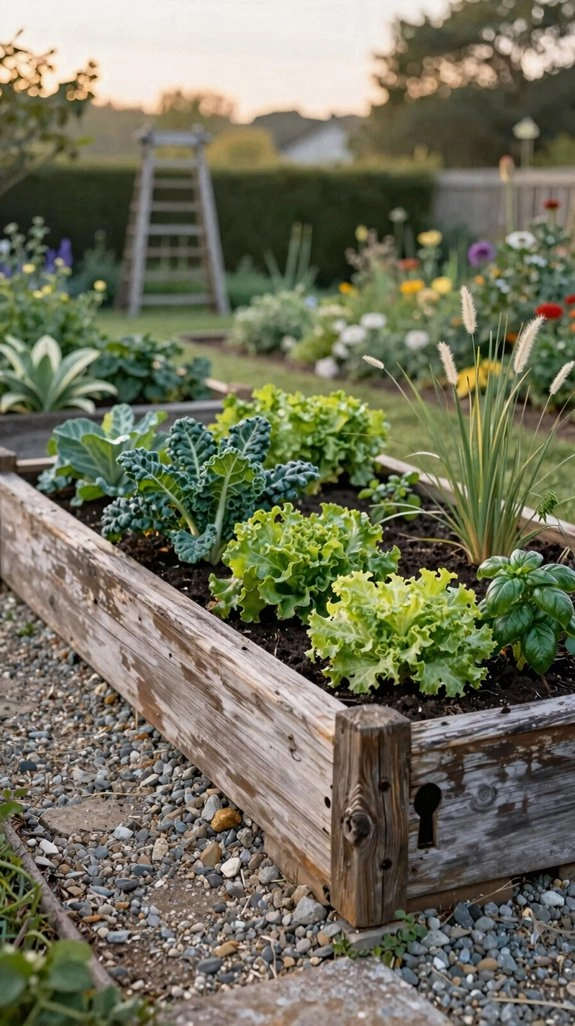
Keyhole gardens make growing easy and efficient, with a circular or teardrop-shaped bed and a small opening that lets you reach the center without stepping on the soil—clever, right!
Build the frame with cedar or other durable boards, then leave room for a central compost chamber.
Add quality soil, aiming for at least eight inches for deep-rooted crops.
Practice compost layering with kitchen scraps and garden waste to support soil moisture and feed plants over time.
Your easy access keeps soil loose, while mulch helps with weed control.
Best of all, you’ll harvest more comfortably—no awkward stretching, muddy shoes, or garden gymnastics!
Elevated Raised Beds
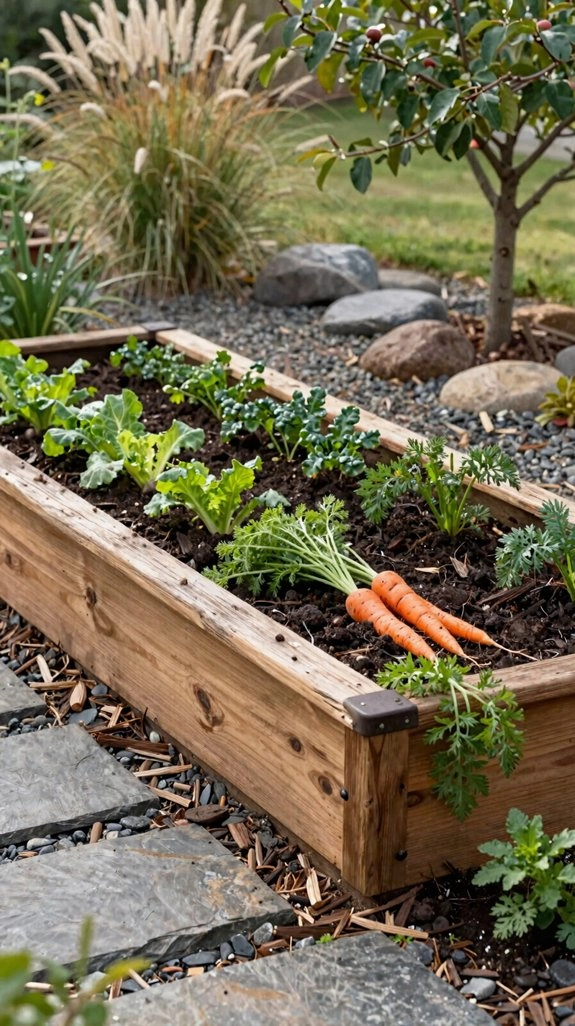
Elevated raised beds bring your garden up where you can reach it, making planting and harvesting much easier on your back and knees—what a relief! You’ll love tending plants without constant bending, especially if mobility or back pain makes ground-level gardening tough.
Build a sturdy cedar frame on safe, durable legs, using simple tools, screws, and a raised bottom. Keep it level and stable, though this project takes more planning than a bed on the ground.
Add quality soil amendment, drain holes, and hardware cloth underneath for extra pest protection from voles, moles, and rabbits.
The result? Fresh food, fewer aches, and a welcoming garden everyone can enjoy!
Corner Garden Beds
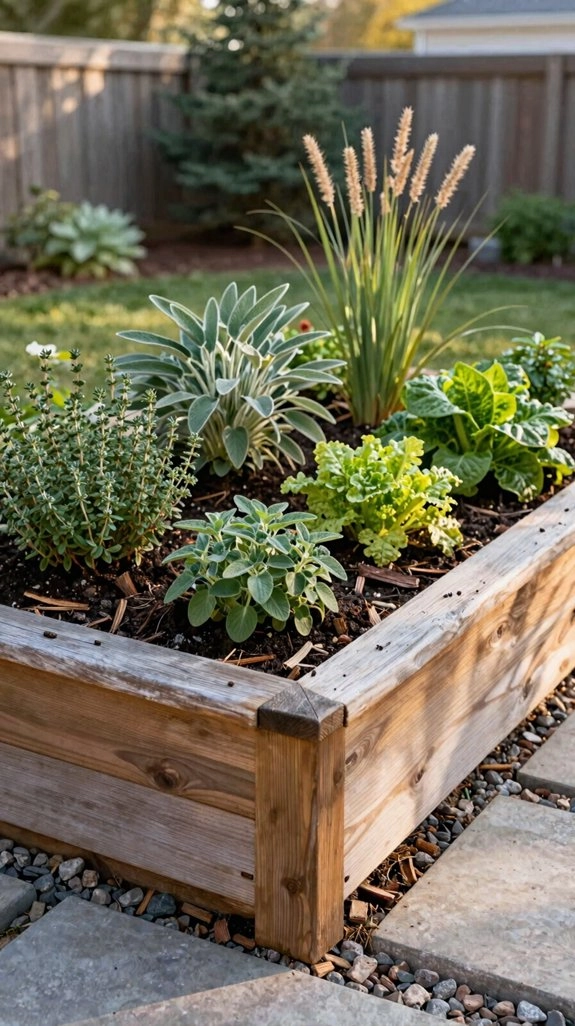
Corner garden beds turn those often-wasted spaces into neat, productive growing spots, and they’re surprisingly simple to build!
They’re perfect for joining neighbors, sharing harvests, and making every inch count.
Choose powder-coated aluminum corner brackets, caps, or stackable planter blocks, then slide your boards into the slots.
Check that the corner hardware fits your board thickness, especially if you’re using two-inch lumber.
This shortcut saves tricky measuring and keeps assembly beginner-friendly!
For sturdy results, let the soil-filled box provide weight instead of burying posts, which can rot faster.
Finish with critter barriers: staple half-inch hardware cloth underneath to block voles and moles while preserving drainage.
Your corner is now hardworking!
Beds with Trellises
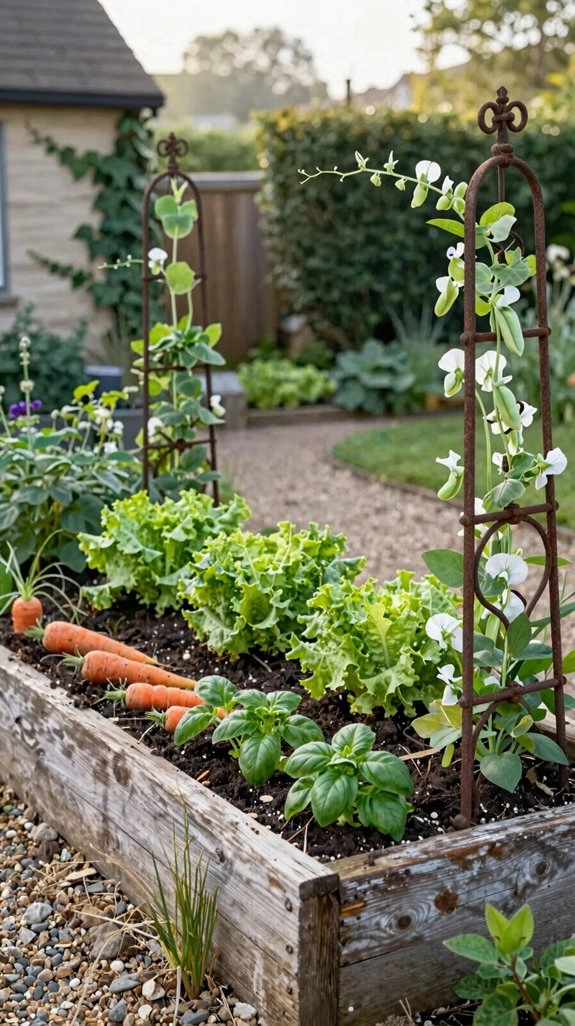
Give your raised bed more growing room by adding a trellis right at the corners! Extend safe, untreated 4×4 posts about 8 inches above the boards, then use them to support climbing plants and simple PVC hoops.
For a beginner-friendly 4-by-8-foot bed, attach netting clips or create a string trellis for pole beans and indeterminate tomatoes. Staple half-inch hardware cloth underneath for bird protection and to discourage digging critters.
Keep your Soaker hose reachable, adjusting it as vines climb. The biggest payoff? You’ll gain a leafy wall of food without blocking paths, and your garden will feel like a welcoming little growing community!
Stock Tank Gardens
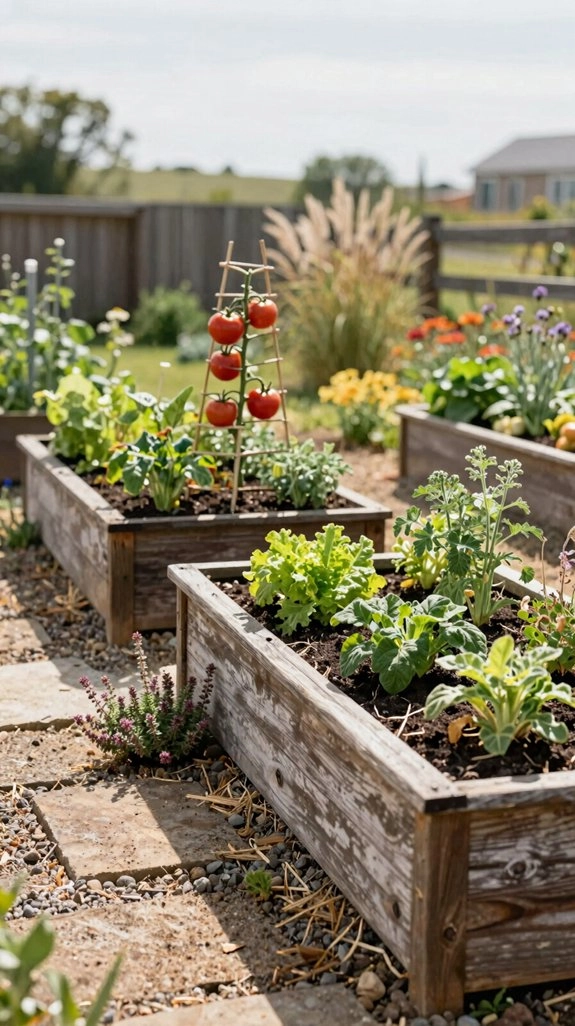
If you want a sturdy raised bed without building one from scratch, a food-safe galvanized stock tank is a fantastic shortcut!
Drill drainage holes every couple of inches, then set the tank where you want it before adding soil—it gets surprisingly heavy.
Fill it with compost and quality topsoil, keeping the mix loose so roots won’t sit soggy.
You can investigate Waterproof lining options, though many food-safe tanks work well without one.
Add casters with brakes or sturdy supports if you need mobility.
Plant herbs, tomatoes, or peppers, and enjoy warmer soil that extends your harvest.
For chilly weather, add Winter soil insulation around the tank!
Modern Minimal Designs
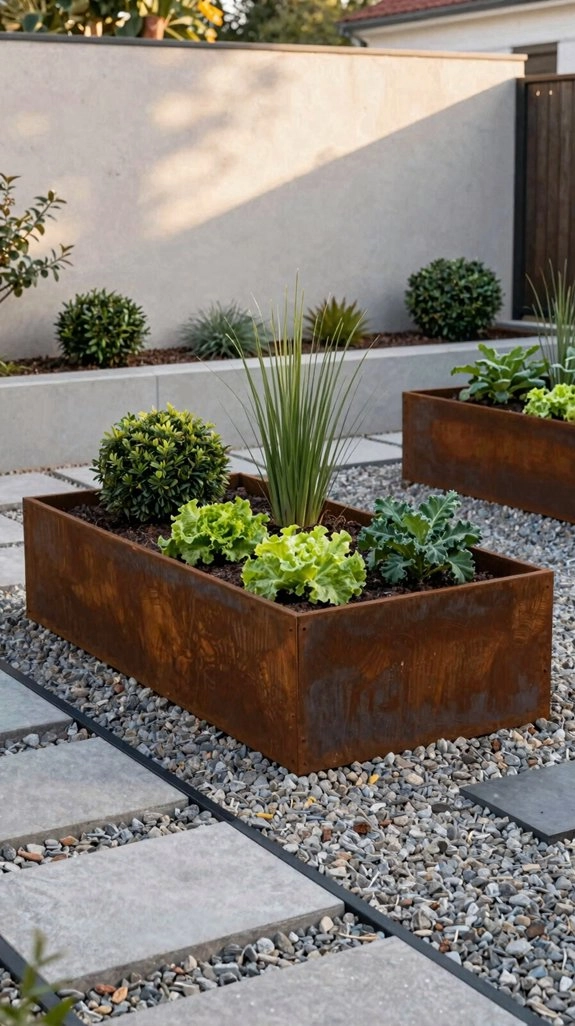
For a clean, modern raised bed, start with rot-resistant cedar or redwood boards about 2 inches thick—they’ll create crisp lines and hold up beautifully outdoors!
Add sleek corner hardware or hidden caps, matching the board thickness, for quick assembly without fussy joinery.
Fill it with rich compost and watch Soil health support strong growth.
Leave room for drainage upgrades, such as gravel beneath the bed or extra outlet holes.
For an even sharper look, mount corrugated galvanized steel panels to buried supports, creating one straight, low-bulk form.
Prefer easier access?
Build an raised planter on sturdy legs.
It’s trickier without a flat bottom, but your back will cheer!
Budget-Friendly Builds
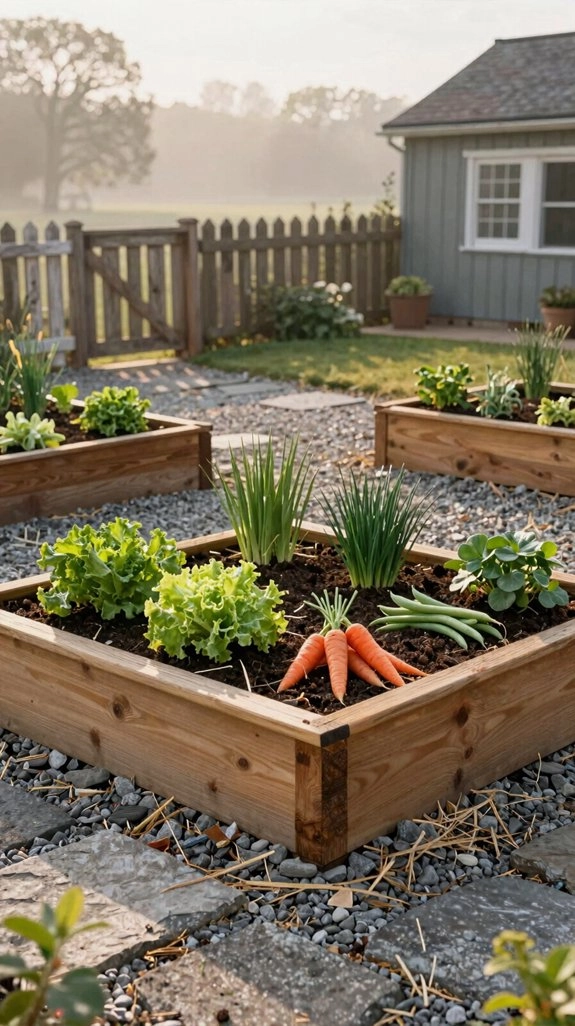
Save money by choosing simple materials and smart shortcuts—pine boards can build a sturdy raised bed for less, though they won’t last as long as cedar or redwood. Replace boards later, or choose reclaimed lumber that hasn’t been chemically treated.
For an easy block bed, level the base with paver sand, stack three or four courses, and add soil. Corrugated panels also work when buried posts and corner braces keep them from bowing. Planning drainage matters, so drill holes in tubs, troughs, or pallets before filling.
Budget for quality soil and aim for an eight-inch compost depth. Surprise: stock tanks make nearly instant beds!
Herb Raised Beds
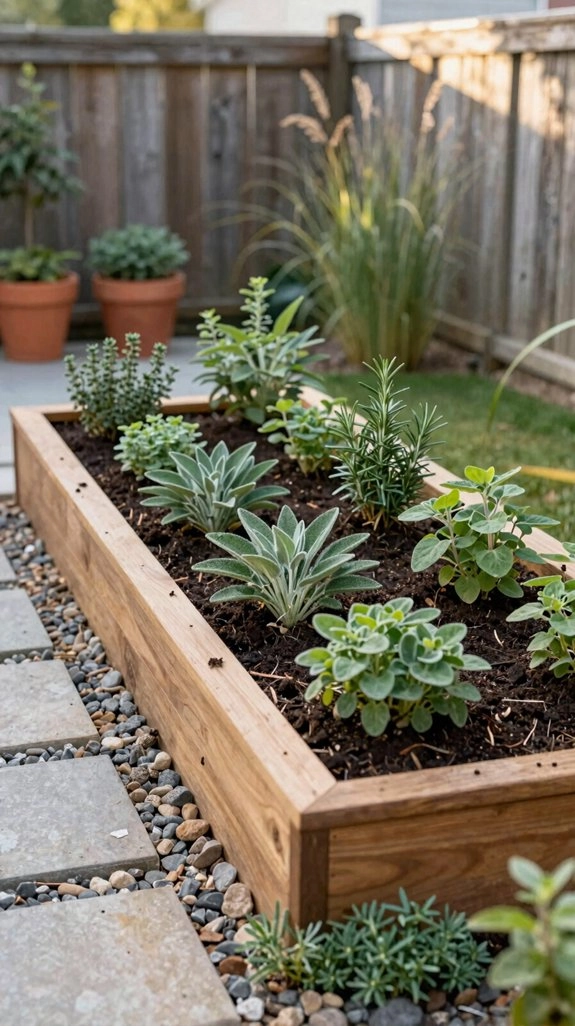
Herb raised beds make growing basil, thyme, parsley, and mint feel easy, especially when you give them at least 8 inches of soil and a sunny spot with 6–8 hours of direct light.
Choose cedar or redwood boards, then add a weed barrier and drainage holes so roots won’t sit soggy.
Fill the frame with compost soil, and keep it 2–4 feet wide, so you can harvest without stepping inside.
A half-inch hardware-cloth base helps deter hungry diggers!
Arrange herbs by watering needs, label each one, and enjoy fresh flavor near your kitchen.
You’ll grow confidently—and belong among fellow garden makers!
Stone-Framed Beds
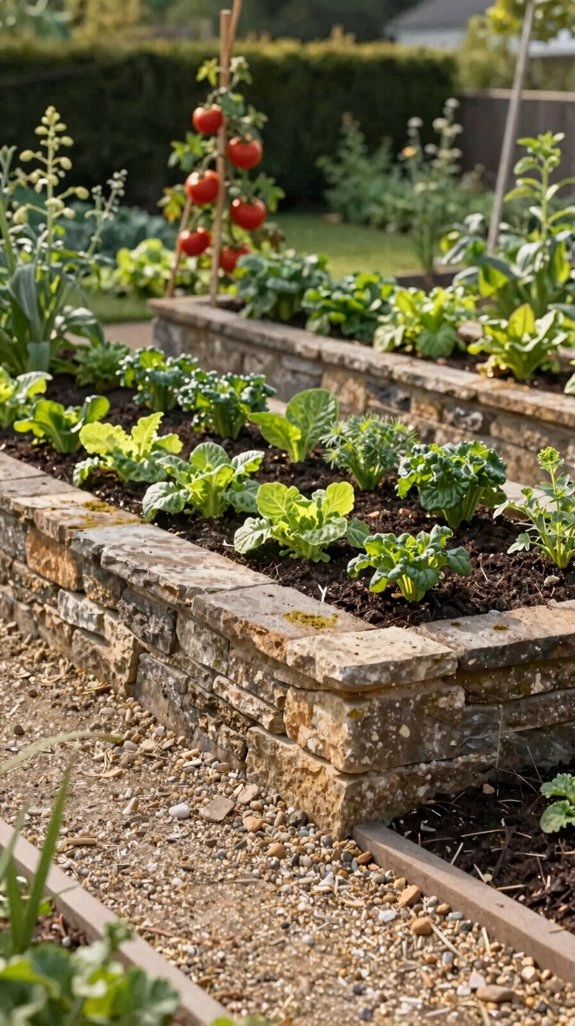
Stone-framed beds bring a neat, sturdy look to your garden without requiring ornate carpentry!
Outline a rectangle with rocks or square patio stones, then fill the center with separate raised soil.
1. Level the first course with dirt or paver sand, keeping stones steady and drainage consistent.
2. Add Weed barrier lining beneath the soil; hardware cloth helps block moles and voles.
These Drainage solutions reduce weeds and soil loss.
3. Fill with at least 8 inches of soil, and choose a spot with 6–8 hours of sun.
Bricks or blocks work too—stack only 3–4 high, and let mortar cure completely.
Your neighbors will feel welcome gathering around this cheerful, productive border!
Rolling Planters
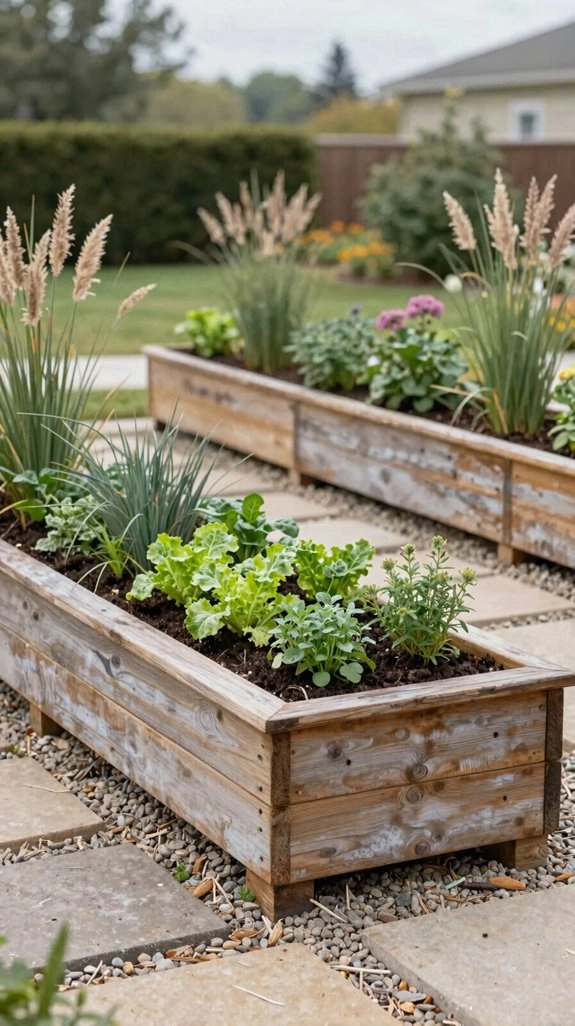
Rolling planters bring raised-bed gardening to patios, driveways, and uneven yards—just roll your plants toward 6–8 hours of sun or away from a sudden heat wave!
Build a box from cedar boards, corner posts, and sturdy casters; a 16–20-inch height keeps bending manageable.
Before adding soil, drill drainage holes and fit a liner or weed barrier that holds soil while letting water escape.
These drainage considerations prevent a soggy root zone.
Choose caster locking options, then brake every wheel before watering—your bed shouldn’t take a surprise vacation!
The payoff is huge: you can level tricky spaces by moving the garden, not rebuilding it.
A sunny harvest follows you!
Kid-Friendly Gardens
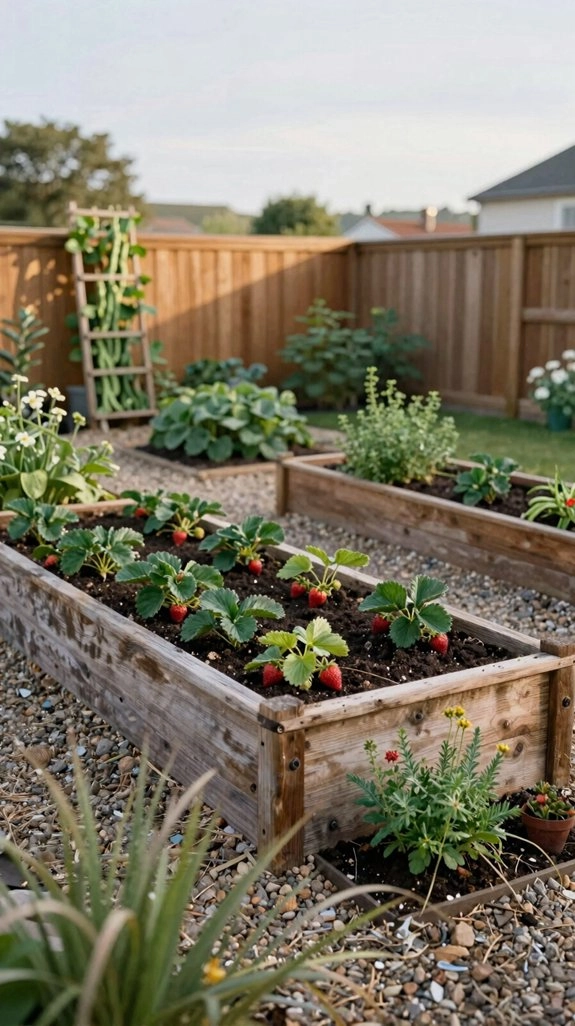
Turn gardening into a hands-on adventure by building kid-friendly raised beds that are easy to reach, investigate, and care for! Stack approximately 26-inch boards to create beds about 16½ inches tall, so children can plant, weed, and harvest comfortably.
- Leave 3-foot paths around a 4-by-8-foot bed, giving everyone room to move a small wheelbarrow without stepping on soil.
- Staple ½-inch hardware cloth underneath to deter voles while preserving drainage.
- Extend corner posts eight inches for bird netting or spring plastic, then add a hose bib and soaker hose.
Add Composting lessons, and finish with joyful Harvest celebrations for the whole garden crew!
Small Backyard Layouts
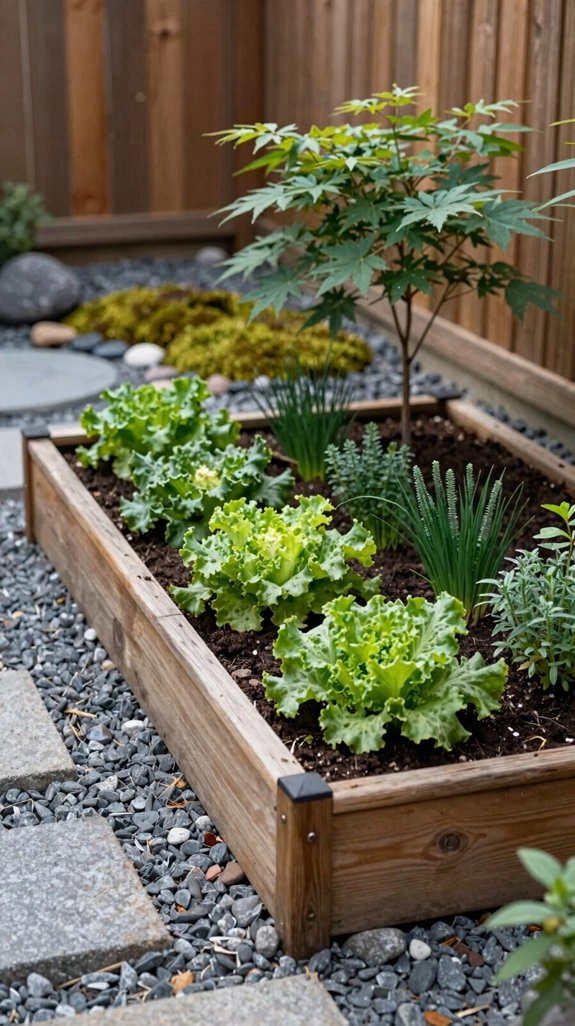
For a small backyard, start with a compact 4-by-8-foot raised bed, leaving about 3 feet of space around it so you can reach the center and roll in a wheelbarrow without crushing your plants.
Choose a level spot with 6–8 hours of sun access, then clear sod and smooth the ground with paver sand or gravel.
Want more growing room? Arrange two or three smaller beds with consistent spacing and compact pathways.
Add at least 8 inches of compost-rich soil for sturdy roots.
Corner posts can support temporary row covers, while hardware cloth underneath blocks hungry critters without stopping drainage.
Small spaces can grow big harvests—hooray!
Weekend DIY Projects
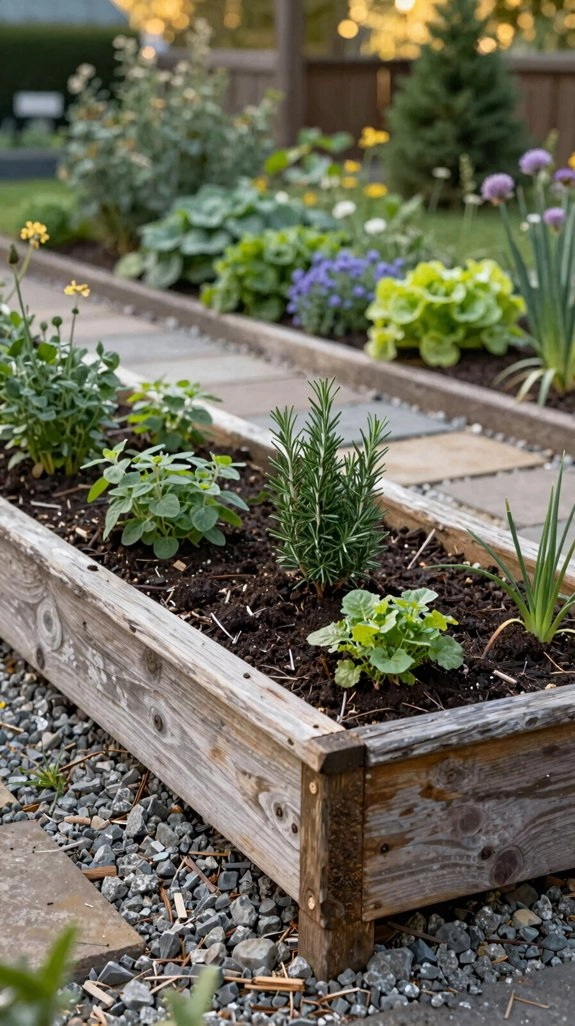
This weekend, build a simple 4-by-8-foot raised bed and turn a sunny corner into a ready-to-grow garden—what a win! Choose cedar or redwood boards at least two inches thick, then use quick leveling with sand or soil adjustments.
- Classic box: Add corner supports, line the base with weed cloth, and fill eight inches deep with compost-rich soil. You’ll have sturdy space for greens and tomatoes!
- Trough garden: Drill drainage holes in a galvanized tub, add soil, and skip soggy roots.
- Easy care: Install a hose bib and removable soaker hose for weekend watering. Gather a friend, share the harvest, and celebrate your new garden crew!