Rainwater Harvesting: A Practical Guide to Saving Water at Home
- Rainwater Harvesting: A Practical Guide to Saving Water at Home
- Key Takeaways
- How Rainwater Harvesting Works
- Benefits for Homes and Gardens
- Choosing the Right Collection System
- Rain Barrels vs. Storage Tanks
- Filtering and Water Quality
- Using Collected Water Safely
- Garden Irrigation Ideas
- Maintenance Throughout the Year
- Common Mistakes to Avoid
- Is Rainwater Harvesting Worth It?
Rainwater harvesting lets you catch roof runoff with gutters, downspouts, a screened barrel or tank, and a first-flush diverter, so your yard gets free water instead of your drain. Start small with a cheap rain barrel, or go bigger with a tank for garden beds, pots, or even toilet flushing. Add leaf guards and filters, keep it opaque, and you’ll cut bills, curb puddles, and maybe become the neighbor with the happiest tomatoes—there’s more to discover!
Key Takeaways
- Rainwater harvesting collects roof runoff through gutters, downspouts, screens, and a first-flush diverter into a storage tank or barrel.
- A simple rain barrel is the easiest beginner system, while larger tanks store more water for longer dry periods and added uses.
- Size systems using roof area and rainfall; about 1 inch on 1,000 square feet yields roughly 623 gallons.
- Use captured rainwater for gardens, pots, toilet flushing, and other non-potable needs to reduce city water use.
- Keep water clean with leaf guards, inlet screens, opaque tanks, and routine maintenance, and treat for potable use only when tested.
How Rainwater Harvesting Works
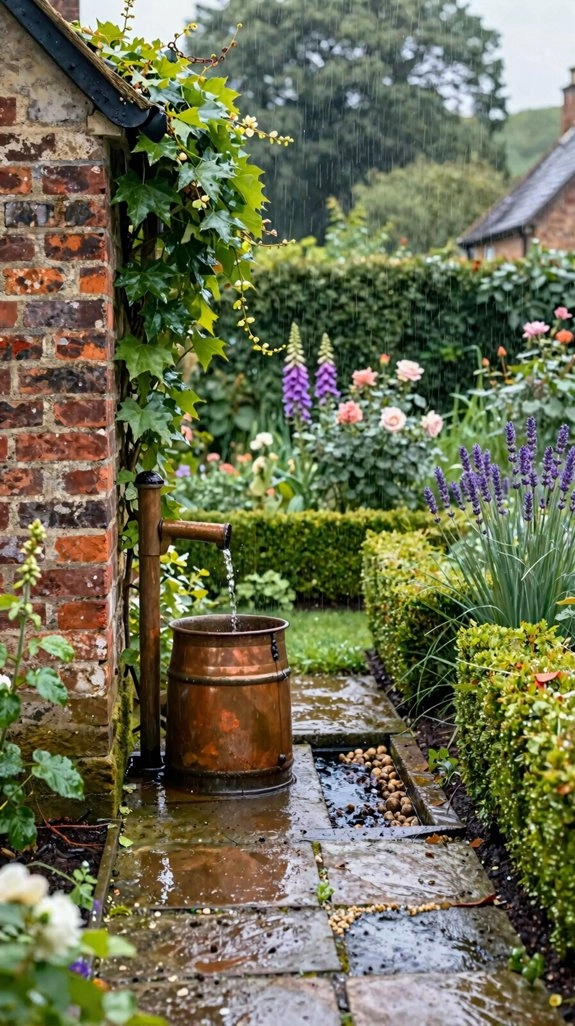
Rainwater harvesting is pretty simple at heart: you gather the rain that falls on your roof, guide it through gutters and downspouts, and send it into a storage tank instead of letting it rush away down the drain. You’re really building a little team, with screens, filters, and a first-flush diverter working together so your setup feels neat and welcoming.
For roof runoff capture, start with leaf guards or a rain head, then size the first flush sizing around 1–2 gallons per 100 square feet of roof. After that, your tank stores cleaner water, while overflow and bug screens keep pests out. Nice, right!
Benefits for Homes and Gardens

Once you’ve got that roof runoff headed into a tank, the fun part kicks in: using it around the home and garden instead of letting it vanish down the drain!
You can swap in rainwater for garden beds, pots, and even toilet flushing, which eases pressure on city water when restrictions hit.
Nice bonus: stormwater reduction helps cut puddles, flooding, and erosion right where you live.
A quick estimate? One inch of rain on 1,000 square feet gives about 623 gallons, plenty for serious yard drought relief.
Best of all, you’re building a self-sufficient home, and that feels pretty great!
Choosing the Right Collection System
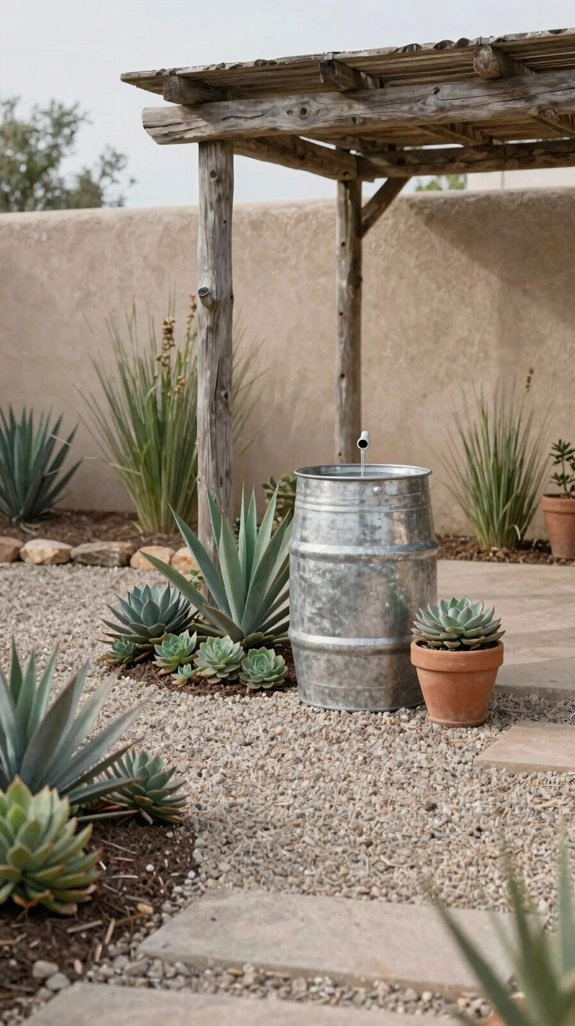
For a beginner-friendly DIY, a rain barrel usually needs just the basics: the barrel, a sturdy stand, a downspout diverter, and a screened lid. Choose the Rainwater System that fits your roof and yard, and let System Sizing start with rainfall, roof area, and about 75–90% collection. Nice, right?
If you want more capacity, move up to a dry or wet setup. Keep Downspout Routing simple, and add a first-flush diverter for dirty early runoff. Check Water Tightness, plan Tank Placement low enough, and use Vertical Piping when needed. You’ll build a system that works, not whines.
Rain Barrels vs. Storage Tanks
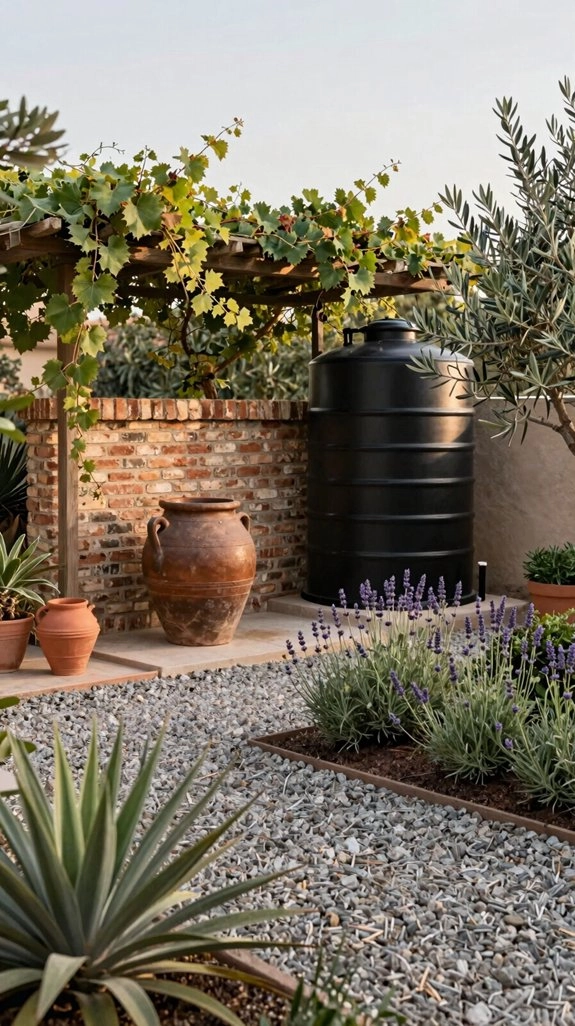
If you’ve got the basics of collecting rainwater down, the big question is how much storage you really need—tiny and simple, or bigger and more stronger?
Rain barrels sit by a downspout and catch roof runoff for watering plants or quick chores, so they’re friendly, cheap, and easy to join your crew.
Need more? Storage tanks hold much more, using the same formula: gallons = rainfall × roof area × 0.623.
Add a first flush diverter to both, and bigger tanks can handle longer dry spells, irrigation, and even pumps or auto-fill gear.
Nice upgrade, right!
Filtering and Water Quality
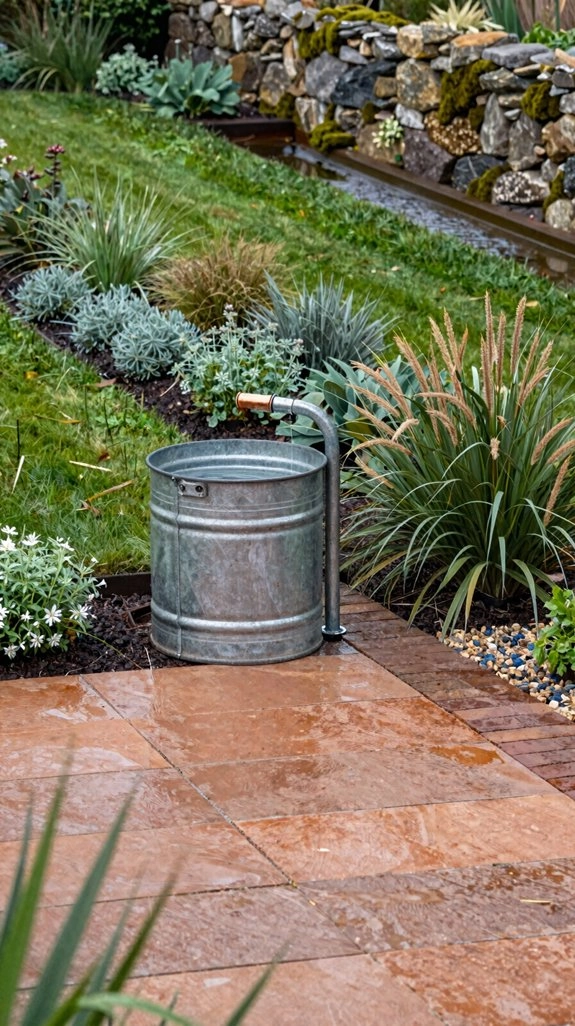
Before your rainwater ever reaches the tank, you can give it a quick cleanup with a few simple filters, and that makes a big difference! Start with sediment pre screening: add gutter leaf guards, a rain head, or a tank inlet screen to catch leaves, twigs, and annoying mosquitoes.
Use a first-flush diverter, sized for your roof, so the dirtiest water skips the tank. Nice, right?
Keep the tank opaque, and cover vents and overflow with mesh and flap valves. Clean parts after heavy rains, and if you want Activated carbon filtration, add it later for a fresher finish.
Using Collected Water Safely
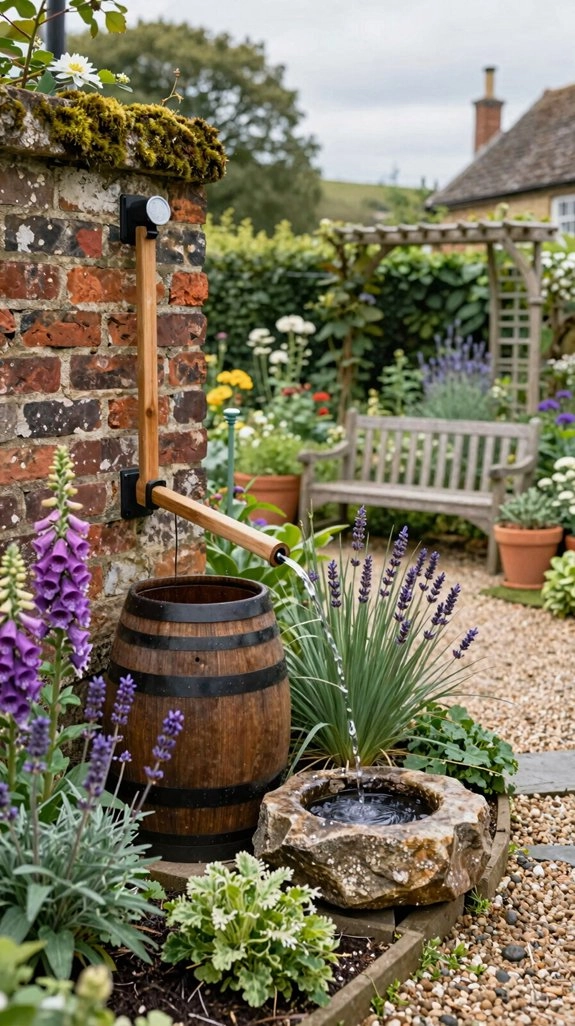
Now that your rainwater has been filtered and the grubby stuff’s been screened out, you’ve got to use it the smart way, because clean-looking water isn’t always ready for every job! For health safety, match the water to the task: keep potable use for tested, disinfected water, and use less treatment only where safe.
Protect system sanitation by keeping the tank opaque, sealing the overflow with an insect-proof flap, and checking the inlet so roof contamination doesn’t sneak back in.
Every few months, clean screens, inspect cracks, and flush sediment. That little routine? Big peace of mind, plus mosquito prevention and fewer surprise gunk gremlins!
Garden Irrigation Ideas

When you want to turn rain into a thirsty-plant helper, start with the basics: catch it from your roof, send it through gutters and downspouts into a tank, then let a pump push it into your garden lines at about 30 psi. Nice, right?
- Try rain barrels for small beds; they’re simple, cheap, and easy to move.
- Use drip irrigation for steady soil moisture, with a filter after the pump so emitters don’t clog.
- Match your setup to your weather, size storage for dry gaps, and check filter maintenance on a schedule. Bigger roofs can bring big rewards—wow!
Maintenance Throughout the Year
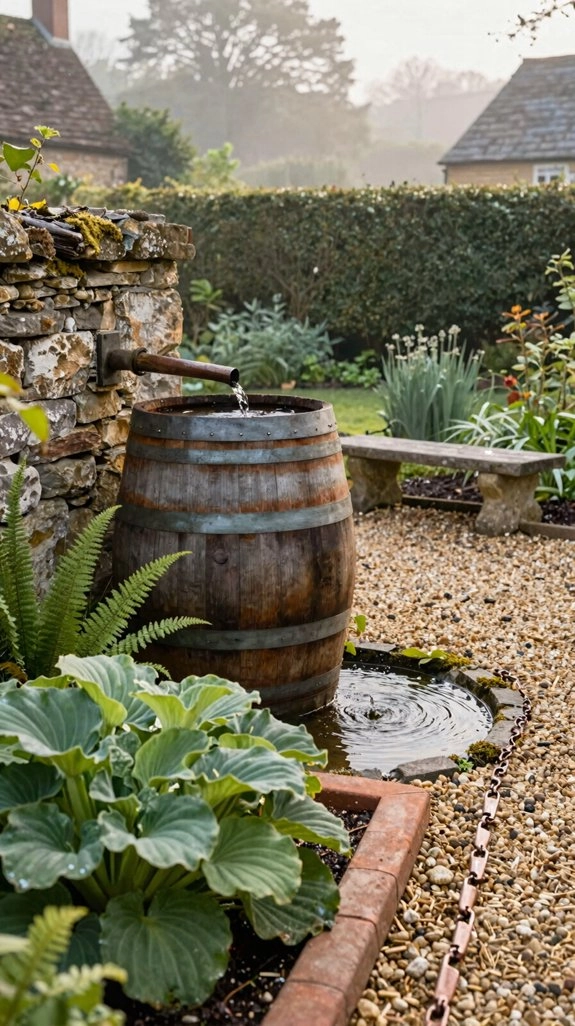
A great garden setup still needs a little TLC, and that’s especially true once the rain starts doing the heavy lifting! You’ll stay ahead with a simple Seasonal inspection: after big storms and dry spells, check the roof, gutters, and screening for damage or gunk.
Every 6 months, do filter maintenance by cleaning gutters, downspouts, rain heads, and the first-flush cleaning parts, so runoff keeps moving cleanly.
After each rainfall, empty the standpipe, then give the tank leak checks a quick look and watch the water level monthly. A tiny blowdown now can save a big headache later!
Common Mistakes to Avoid
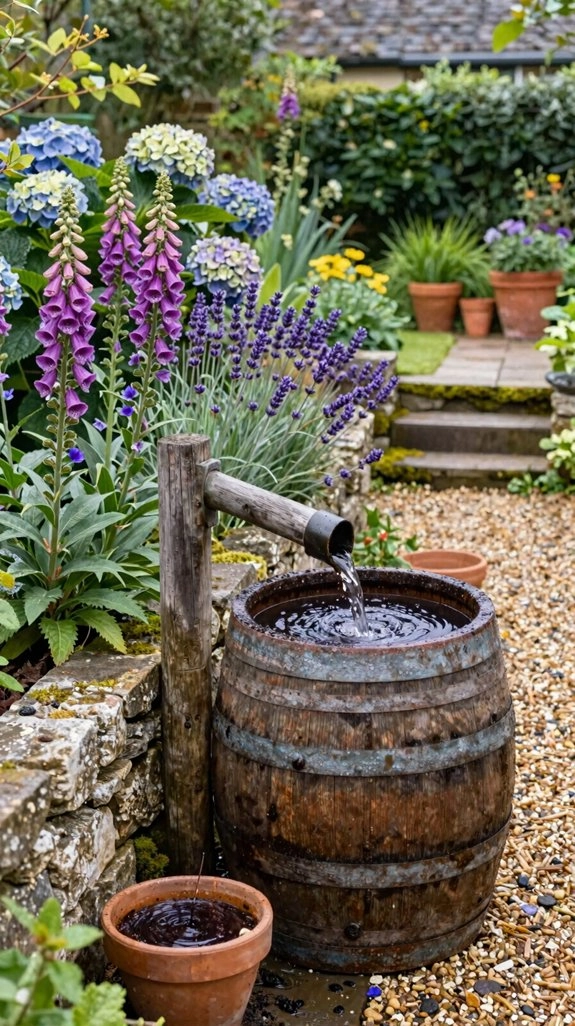
Even the best rainwater system can trip over a few sneaky mistakes, and the mess usually starts small! You’ll fit right in when you dodge these common slips, because smart setup saves headaches.
- Skip leaf guards, and dirty water sneaks in; use screens, then clean them after big rains.
- Trust first flush diverters, sized right, so the grimy start doesn’t hit your tank.
- Nail storage sizing, plus overflow protection, because too-small tanks waste water and too-big ones sit awkwardly.
Check gutters, roof, and screens often, and your system’ll stay friendly, tidy, and ready!
Is Rainwater Harvesting Worth It?

So, is rainwater harvesting worth it? Absolutely, if you like smart savings and a little backyard teamwork! You can grab free, fairly clean water for toilets or lawn care, and that means real Water restriction savings. A 2,000-square-foot roof in San Antonio can collect about 30,000 gallons a year—wow! That’s plenty for Seasonal demand matching, especially when summer thirst hits your grass.
The catch? Storage sizing isn’t perfect, so you’ll guess a bit. Still, if you keep filters clean and tanks maintained, your system can pay off nicely. It’s like having a rainy-day buddy on your side!