Indoor Herb Garden Ideas That Are Easy and Practical
- Indoor Herb Garden Ideas That Are Easy and Practical
- Key Takeaways
- Why an Indoor Herb Garden Works
- Best Herbs for an Indoor Herb Garden
- Choose a Movable Herb Planter
- Pick Potting Mix That Drains Well
- Start With Healthy Herb Starters
- Add Drainage to the Bottom
- Plant and Fill Each Compartment
- Water Your Herb Garden for the First Time
- Place Herbs Where They Get Sun
- Keep Herbs Growing With Water and Pruning
- Watering the Right Amount
- Pruning for New Growth
- Keep Herbs Compact
- Fix Common Indoor Herb Problems
You can make indoor herb growing easy and practical with a sunny window, drainable pots, and potting mix that won’t stay soggy. Start with basil, parsley, or thyme in small containers, then water only when the top inch feels dry. Snip tips often to keep plants bushy, and rotate pots weekly for even growth. If your stems get leggy, add a grow light—simple, cheap, and surprisingly effective! There’s even more to adjust your setup next.
Key Takeaways
- Put herbs in a sunny south-facing window to prevent leggy growth and keep basil, thyme, and parsley thriving.
- Use pots with drainage holes and well-draining potting mix to avoid soggy roots and indoor mold.
- Choose easy herbs like basil, mint, parsley, oregano, thyme, and rosemary based on your light and watering routine.
- Water only when the top inch of soil feels dry, since indoor herbs dislike overwatering.
- Pinch and harvest often, turn pots weekly, and move plants with a handle for easier care and even growth.
Why an Indoor Herb Garden Works
If you’ve ever wished dinner could come with a fresh little sprinkle of basil or a snip of thyme, an indoor herb garden makes that happen fast!
You get Herb Flavor Control, so your meals taste brighter, and you enjoy a Kitchen Convenience Boost every time you cook.
Put pots in a sunny window, because weak light makes herbs stretch and sulk.
Use containers with drainage holes, fill them with potting mix, and water when the top inch feels dry.
Rotate plants weekly for even growth, and keep an eye out for leggy stems.
Start in spring, and you can enjoy fresh snips for months!
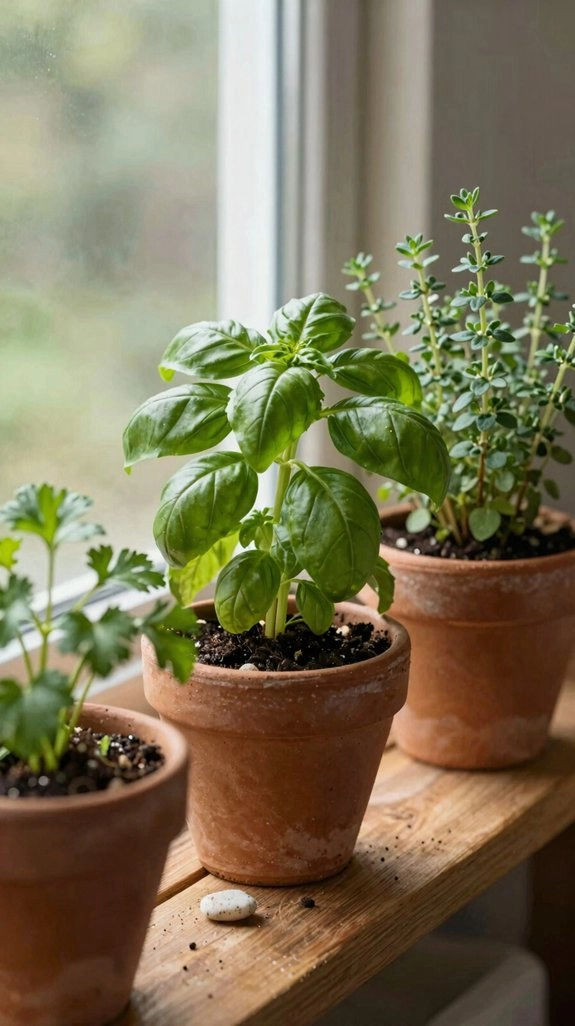
Best Herbs for an Indoor Herb Garden
Choosing the right herbs makes your indoor garden feel a lot more fun right away!
Basil loves warmth and bright light, so it’s perfect with kitchen herb pairing for pasta nights.
Mint grows fast and tough, great for tea or sweets, but give it its own pot.
Parsley stays easy with steady moisture and light, and it adds a fresh finish.
Oregano and thyme handle strong sun and little watering, while rosemary asks for abundant light and less watering.
Check light requirements, and if your windows fall short, use supplement lighting; it can even help with microgreens support.
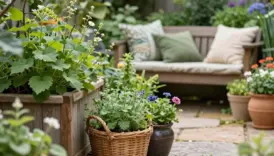
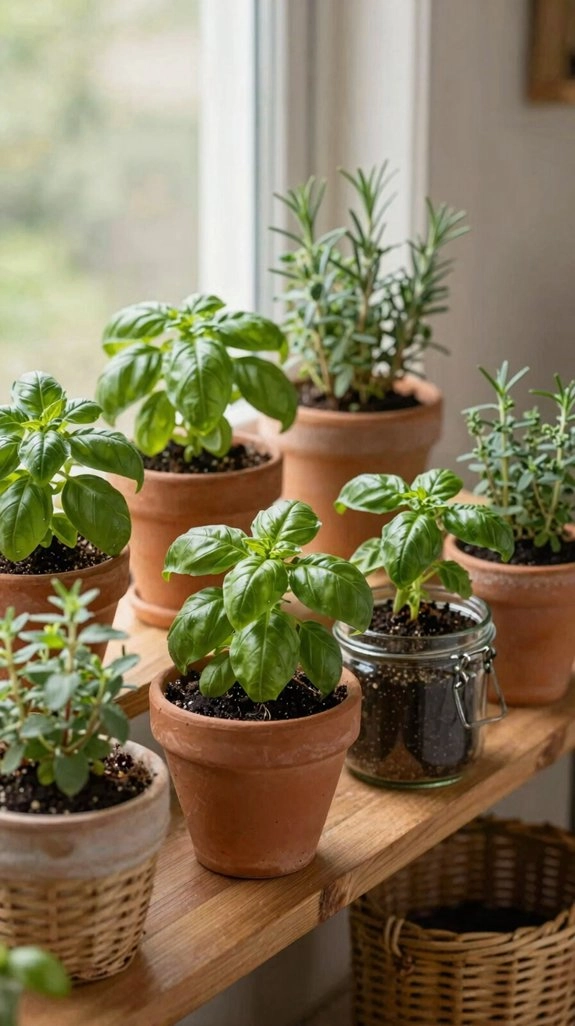
Choose a Movable Herb Planter
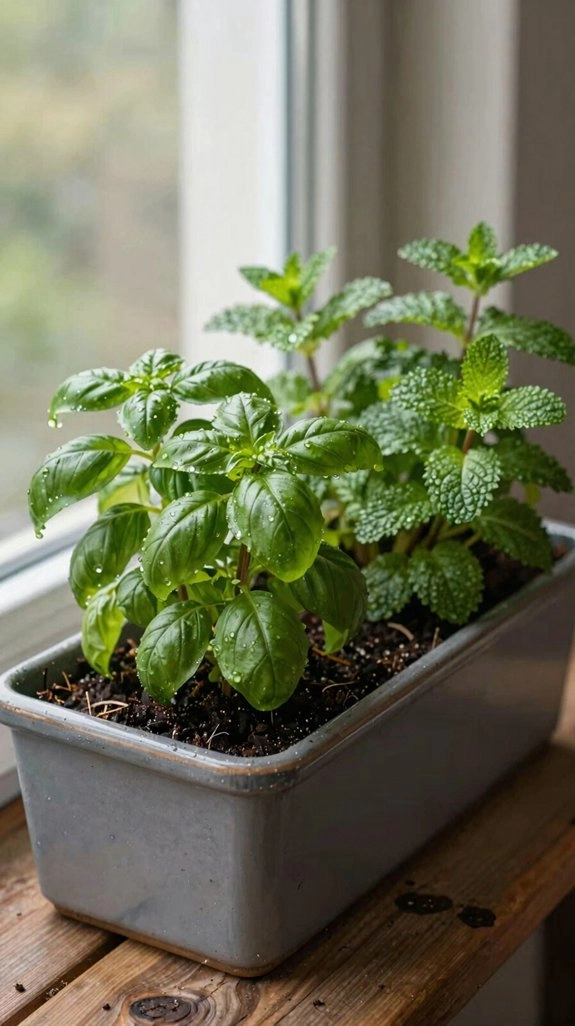
A movable herb planter can save your sanity when spring weather gets moody, and it makes herb care feel a lot less like a juggling act! Choose a caddy or box with a handle, so you’ve got handle portability for sunny porches and kitchen corners alike.
For seasonal protection, move it fast when a cold snap rolls in, like gardeners in Ohio do. Use herb starters such as rosemary, sage, oregano, thyme, parsley, or basil, so you can skip the wait and enjoy quick replanting.
Add a simple base in each compartment, then snip often to keep plants compact and happy.
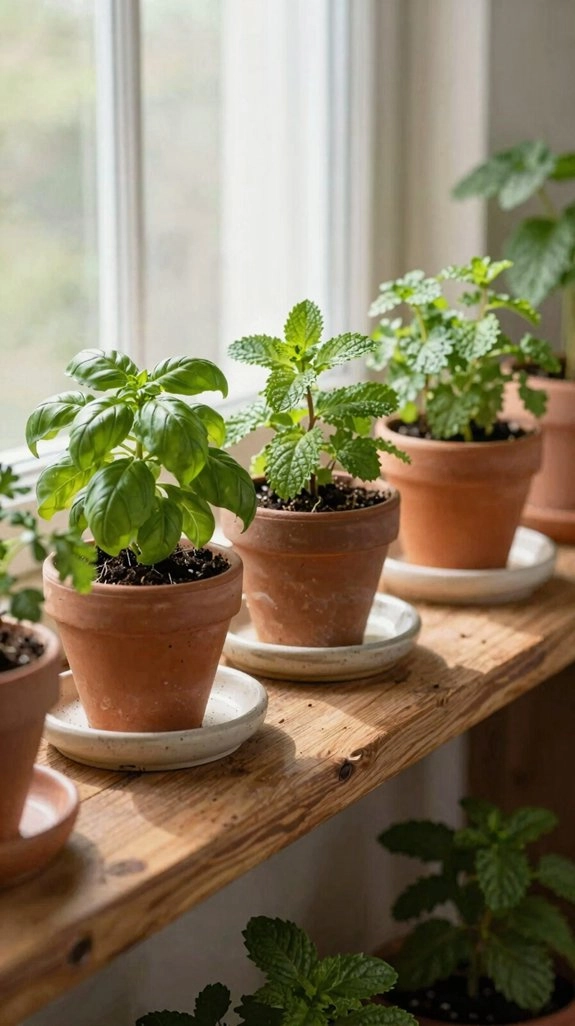
Pick Potting Mix That Drains Well
Set your herbs in pots with drainage holes, then fill them with the mix and give them a light watering only when the top inch feels dry. Nice and easy, right? You’re building a tiny herb crew that likes to breathe!
- Choose well-draining indoor potting mix, not outdoor soil.
- Add drainage friendly components like perlite or coarse sand.
- Keep moisture balance by checking the top inch before watering.
- Use a small gravel backup layer only if your container needs help.
These aeration additives boost root oxygenation, so your basil and mint stay perkier, not soggy.
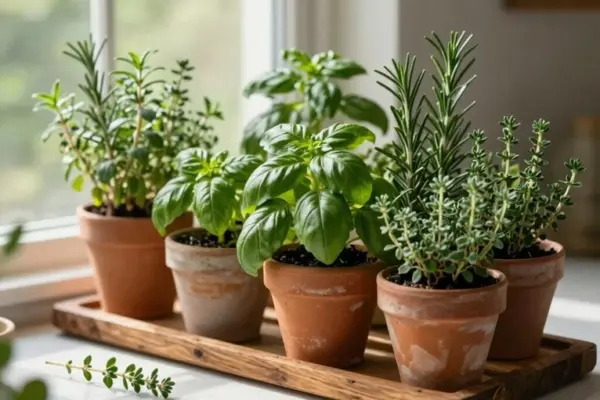
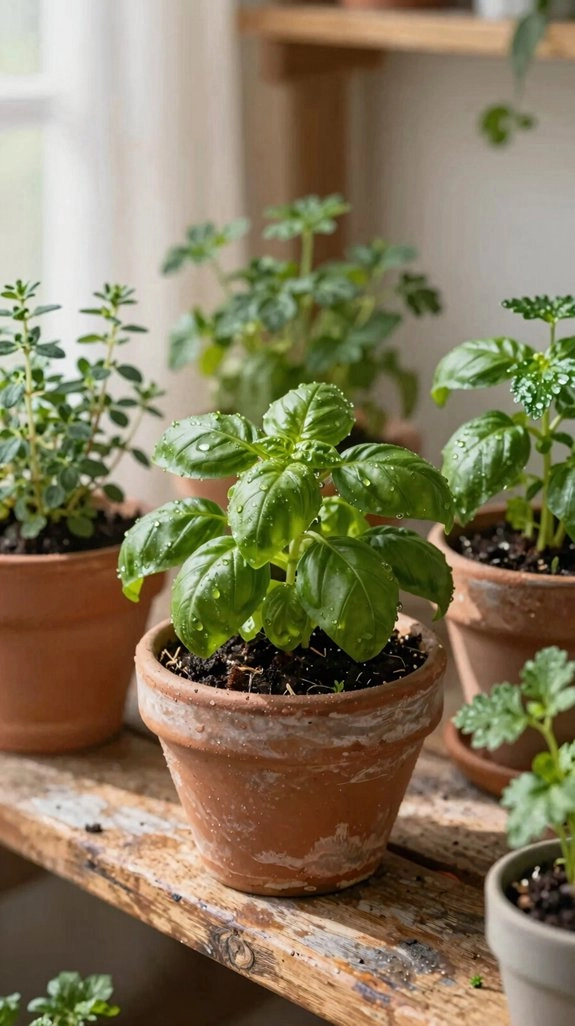
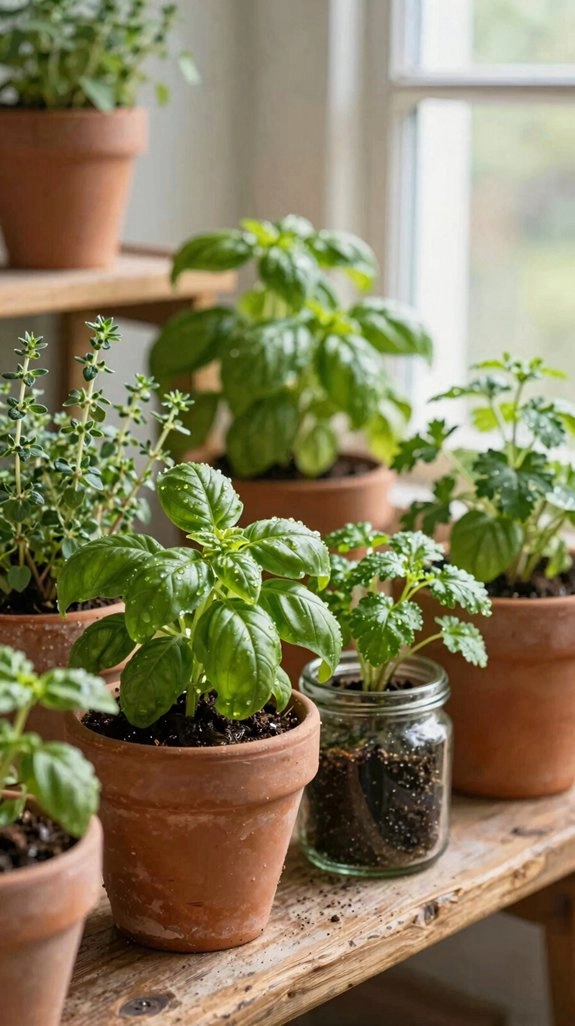
Start With Healthy Herb Starters
Healthy herb starters can make your indoor garden feel like it got a head start, and honestly, that’s great news if you’d rather skip the nail-biting seed stage!
Pick indoor-friendly herbs like basil, thyme, oregano, parsley, sage, and rosemary, then inspect starter vigor before you buy.
Look for firm stems and bright leaves, because weak plants fade fast indoors.
When you bring them home, identify sturdy leaves, slip each starter into its own spot, and handle roots gently to avoid transplant shock.
A small, careful start helps you join the thriving-herb club fast, with less drama and more dinner-worthy sprigs!
Add Drainage to the Bottom
Once your herbs are settled in, the next big win is keeping their roots out of a soggy mess! You’re building a little plant crew here, so give them smart drainage from the start.
- Pick pots with holes; they’re cheap, easy, and let extra water escape.
- If you can’t drill, add a drainage layer of about 1 inch of aquarium gravel, then use a well-draining mix.
- Set up a saucer setup or pot footings, so runoff doesn’t flood the base.
- After watering, follow the “top inch dry” rule. That tiny check saves roots, and the gravel benefits shine!
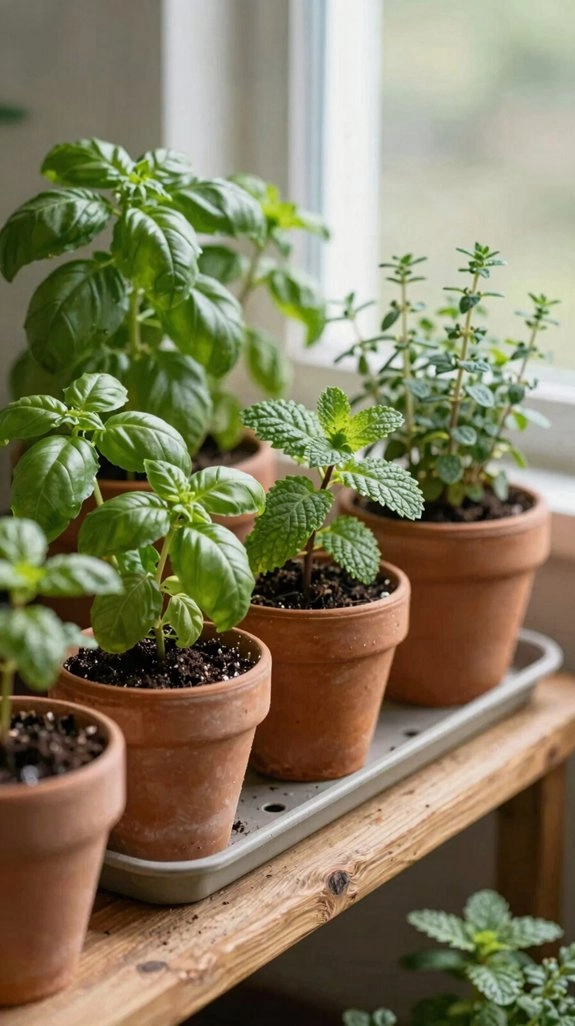
Plant and Fill Each Compartment
A tidy little herb crew is ready to move in! Grab a galvanized utensil caddy with six sections, and place each starter in its own snug spot. Trim off biodegradable pot tops or slip out plastic containers so roots don’t feel cramped, then tuck in about 1 inch of aquarium gravel for compartment drainage planning.
Now comes the easy part: set each plant in, then do Soil gap filling with garden soil around the sides. Gently press it in, and voilà, no awkward root air pockets! A small starter watering helps the soil settle, and herbs like thyme, oregano, and rosemary love these cozy quarters.
Water Your Herb Garden for the First Time
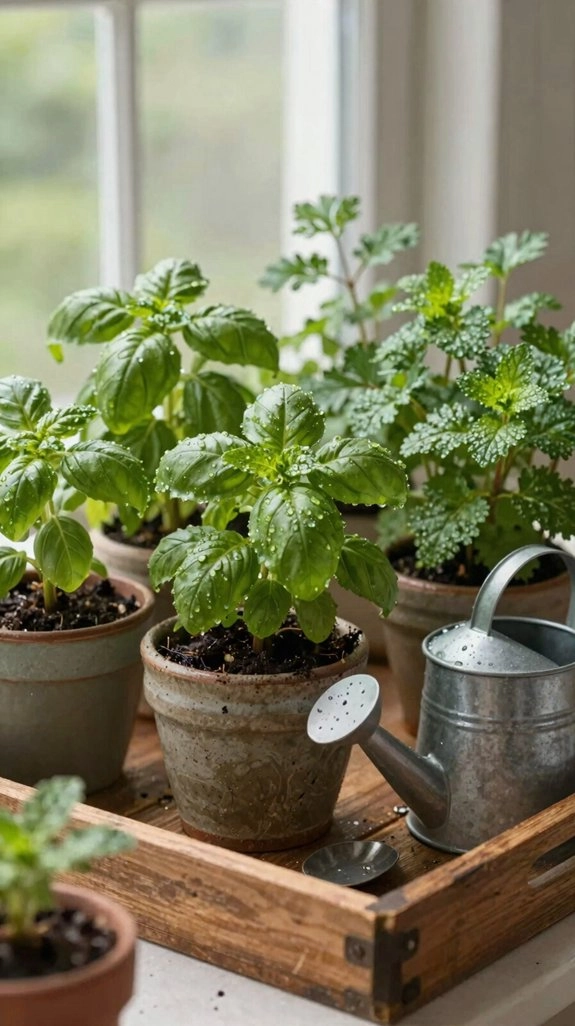
Give your new herb garden its first little drink right after planting, just enough to settle the soil snugly around each starter. Then pause, friend—your job isn’t to soak it into a swamp! Follow these quick checks:
- Use Drainage fundamentals: pots need holes, plus airy mix or a little gravel.
- Water slowly, then let every pot drain fully; no soggy saucers.
- Touch the top inch of soil, and water again only when it feels dry.
- Watch for yellow leaves, and give gentle light acclimation near a bright window so mistakes don’t snowball.
That’s it—you’re already growing with the herb crowd!
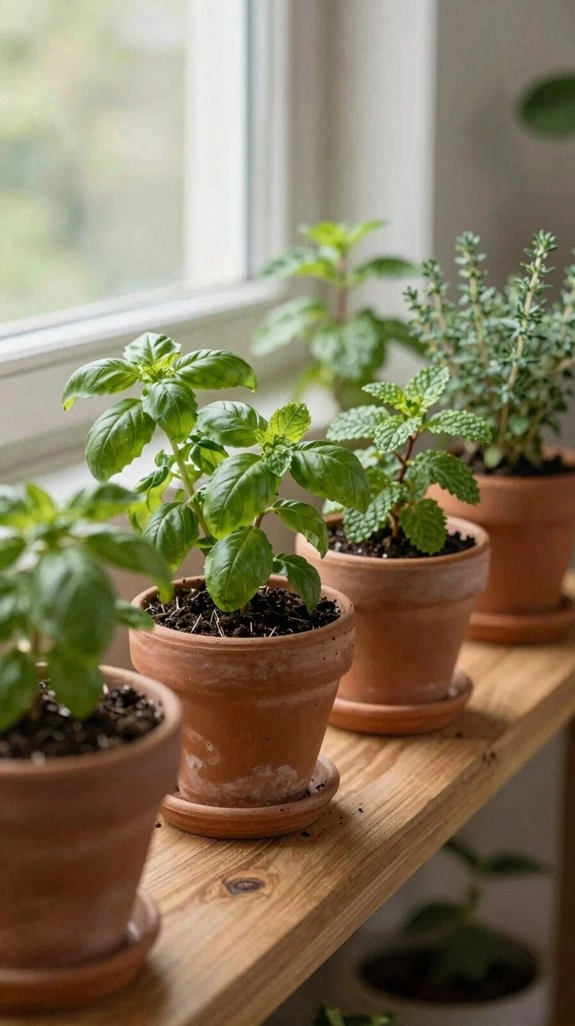
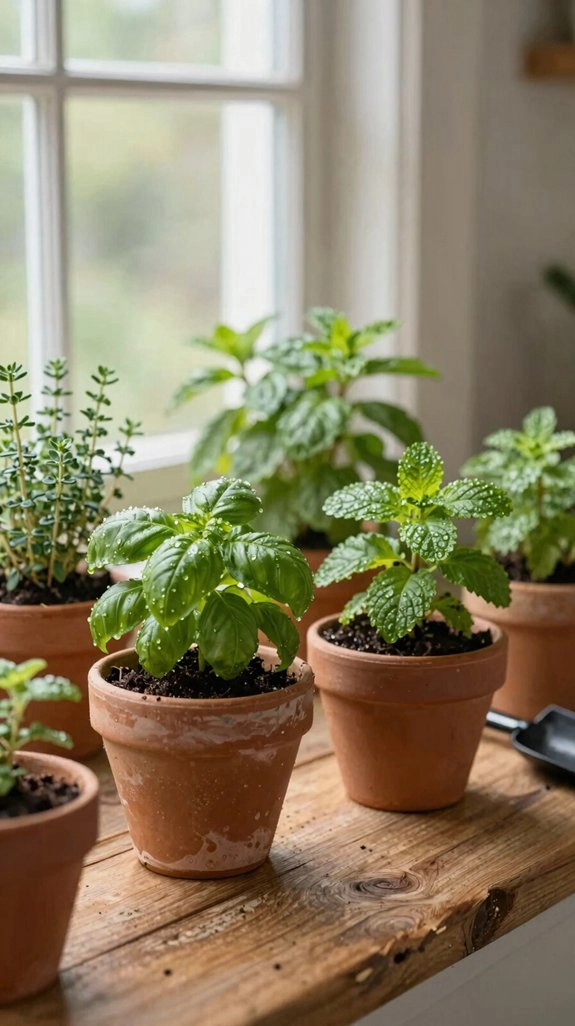
Place Herbs Where They Get Sun
By the brightest window you’ve got, set your herbs where the sun can actually do its job—think south-facing windowsills, or any spot that gets several hours of direct light each day. Sun direction matters, because low light invites lanky stems, not the sturdy little kitchen champs you want!
If you’re building a tray or using a few pots, rotate pots every week for uniform growth. That simple move helps with leggy prevention, and it’s practically free. A winter window can still work, but if light feels weak, try grow light options.
Match basil, rosemary, thyme, and oregano to sunny spots, and you’ll feel like part of a happy herb club!
Keep Herbs Growing With Water and Pruning
Keep your herbs happy by watering only when the top inch of soil feels dry, then giving the pot a good drink without turning it into a swamp—roots hate that!
Snip the top growth often, especially those tender little tips, and you’ll push out fresh shoots, make the plants bushier, and keep them from getting weirdly tall and floppy.
Want the best part? Frequent trimming helps compact herbs stay productive in small pots, so you get more flavor with less plant drama.
Watering the Right Amount
When you water indoor herbs, less drama usually means better results! Start with soil moisture testing: touch the top inch, and if it’s dry, give your herbs a small drink. After planting starters, don’t baby them daily, just follow that simple rhythm.
- Check drainage hole checks before watering.
- Use well-draining mix or a gravel layer.
- Skip standing water, it’s a soggy trap.
- Water again only when the soil feels dry up top.
That’s the sweet spot, friend—steady moisture keeps herbs happy, compact, and ready for your kitchen, not shrinking and sulking!
Pruning for New Growth
For basil, oregano, and thyme, start at the top and pinch or snip the newest growth first, since that soft tip is the part most likely to keep the plant full and productive. Nice, right! Use clean snips, and cut back to healthy leaf nodes, not bare stems, so your herbs bounce back fast.
With pinch versus cut, you can choose the gentler nip or a quick trim, but never remove more than one-third at once. Follow pruning frequency guidelines by checking weekly, and keep soil lightly moist, not soggy.
After pruning, rotate the planter toward the light, and fresh shoots won’t lean like sleepy little goblins.
Keep Herbs Compact
Once you’ve got your herbs settled in, a little water-and-prune rhythm can make all the difference! Keep them cozy, not soggy, and your little indoor crew will stay bushy, happy, and ready to snip.
- Water when the top inch is dry; watch moisture stress signs like droopy leaves or crispy edges.
- Choose small containers with drainage, because container size limits matter, but pruning helps.
- Follow harvest frequency rules: pinch the newest tips often, and your herbs won’t turn tall and woody.
- Try light rotation tips—turn pots weekly for even growth. It’s cheap, easy, and honestly, kind of magical!
Fix Common Indoor Herb Problems
A few common herb hiccups can usually be fixed fast, and your plants will thank you with a big leafy comeback!
If stems get leggy, they want more light, so move them to a sunny south window or add a grow light.
Yellow leaves or sudden wilting? Check water; indoor herbs hate soggy shoes, so water only when the top inch feels dry.
For Common Pest Control and Indoor Herb Browning, inspect leaves, wipe pests, and trim damaged bits.
Mold on soil means too much moisture and poor airflow, so open a window.
If growth stalls, refresh mix, feed lightly, and use draining containers.