Grape Vine Trellis Ideas That Look Rustic and Functional
- Grape Vine Trellis Ideas That Look Rustic and Functional
- Key Takeaways
- Why Grapevines Need a Trellis
- Rustic Grape Trellis Materials
- Choose Wood or Metal Supports
- Wood Frame Options
- Metal Support Benefits
- Mixing Rustic Materials
- Set Up a Post-and-Wire Trellis
- Build a Trellis From Saplings
- Use a Cattle Panel Trellis
- Add a Weathered Lattice
- Build a Grape Pergola Overhead
- Train Grapevines on Wire
- Space Trellis Wires for Growth
- Wire Spacing For Growth
- Room For Vine Expansion
- Plant Grapes After Setup
- Prune Grapes for Orderly Growth
- Why Pruning Matters
- Remove Dead Growth
- Shape For Better Yields
- Improve Airflow to Prevent Disease
- Add Privacy With a Trellis
- Privacy Trellis Placement
- Dense Vine Coverage
- Pair Grapes With Other Climbers
- Keep the Trellis Looking Rustic
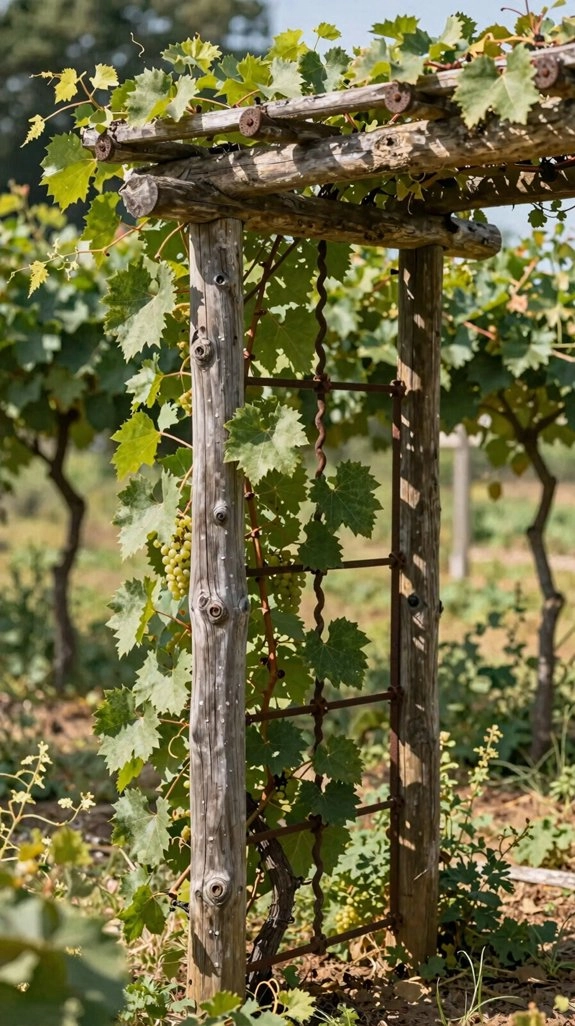
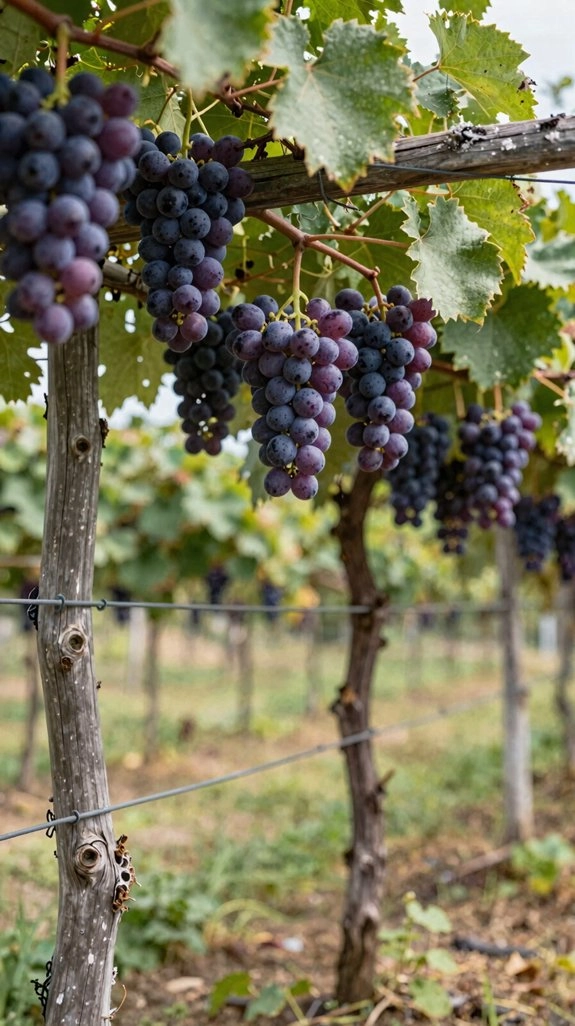
You can give grapevines a rustic, useful home with a simple post-and-wire trellis, weathered wood, or even saplings tied into a frame. Use 4×4 posts, galvanized wire, and pre-drilled holes, then space rows about 18 inches apart and keep wires tight. That setup helps vines climb, breathe, and stay easy to prune, while adding a cozy farmhouse look. Want a bigger wow factor? A pergola or cattle panel can be the sneaky winner next.
Key Takeaways
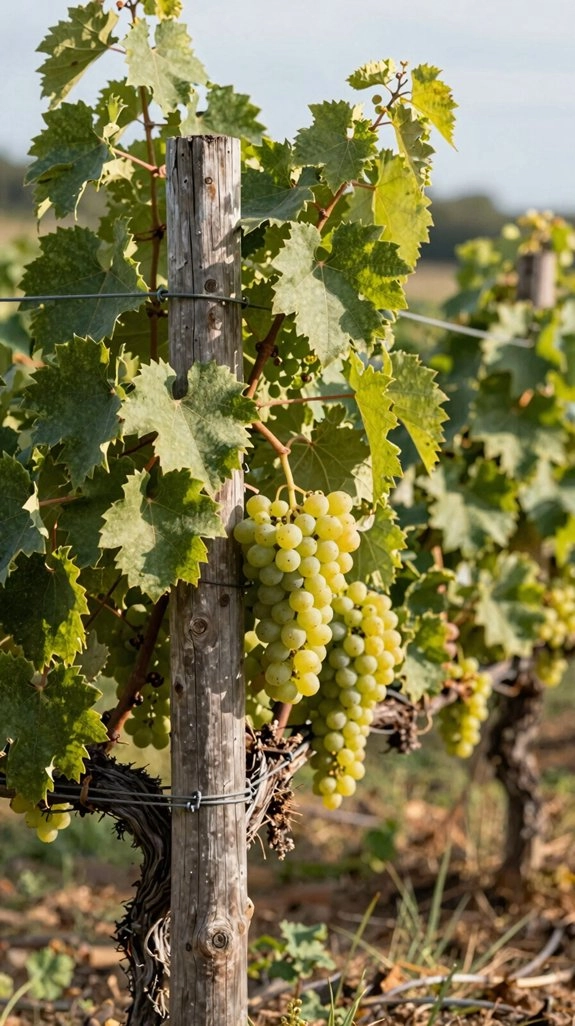
- Use weathered wood posts with galvanized wire for a rustic look and strong vine support.
- Space posts about 5 feet apart and set them 1½ feet deep for stable trellis construction.
- Run 3–4 horizontal wires about 18 inches apart to guide grape canes neatly.
- Pre-drill matching holes in each post, then tighten wires with ferrules, washers, and stoppers.
- Plant grapes in full sun and prune regularly to improve airflow, fruit quality, and easy harvesting.
Why Grapevines Need a Trellis
If you’ve ever watched a grapevine start to sprawl like it owns the whole yard, you already know why a trellis matters!
You give those curling tendrils a sturdy place to grab, and the vine climbs instead of flopping around.
With training system basics, you keep growth tidy, boost airflow, and let sunlight reach leaves and fruit, which helps cut mildew trouble.
A trellis also holds the vine’s weight, so pruning and harvesting feel way less like wrestling a green octopus.
For trellis durability tips, choose a strong frame, check ties, and guide shoots early for healthier, happier vines!
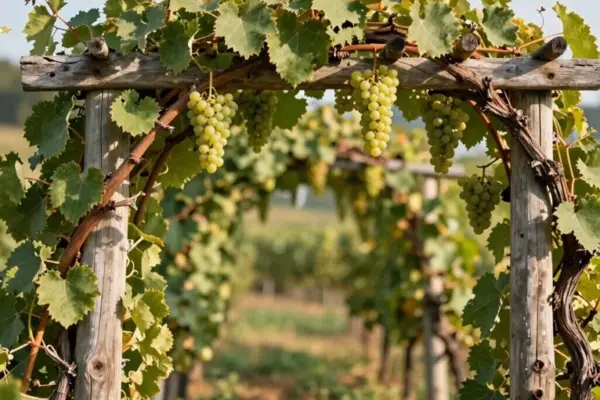
Rustic Grape Trellis Materials
Rustic grape trellis materials can be as pretty as they’re practical, and that’s the fun part! You can build a warm, welcoming setup that helps your vines feel right at home.
- Try Natural vine selection with flexible bittersweet, then weave it through your frame for a soft, lived-in look.
- Repurpose maple or beech for sturdy pieces, and keep cuts simple for a small rail-style trellis.
- For Rustic hardware choices, use weathered 4×4 posts with galvanized wire, so your vines stay tidy.
- Bury sidepieces about 10 inches deeper than you want the trellis to stand, and it’ll feel solid, not wobbly.
Choose Wood or Metal Supports

You can go traditional with sturdy wood frames, like pressure-treated 4×4 posts or hardwood braces, and they’ll give your vines a warm, classic look without acting traditional about it!
If you want a more functional setup, metal supports and evenly spaced wires help your grapes climb cleanly, spread out better, and catch more sun and breeze.
And if you’re after the best of both worlds, mix wood and metal, because a solid metal anchor under a handsome wood frame can be the quiet hero your trellis needs.
Wood Frame Options
A strong grape trellis starts with a frame that can shrug off wind, fruit, and a few seasons of growth without wobbling around like a nervous scarecrow! You fit your garden gang with rustic design options that feel sturdy and warm.
- Use 5½-foot sidepieces and 2½-foot crosspieces for a classic wood look.
- Add 1-foot frame corner bracing to keep joints tight.
- Sink the sidepieces about 10 inches deeper than your target height.
- For a hybrid, keep maple or beech wood and add wire.
Predrill holes, fasten everything snug, and your vines’ll train evenly, with less fuss and more cheer!
Metal Support Benefits
Metal supports can make your grape trellis feel like it went from “nice garden project” to “wow, that thing means business!” Heavy-gauge galvanized or stainless steel wire helps hold the vines in tidy rows, resists rust, and keeps leaves lifted off the ground, which means better airflow and less chance of powdery mildew showing up like an unwanted guest.
You’ll also love how durable hardware keeps tension steady, so your spacing stays neat season after season. That means fewer wobbly adjustments and more time enjoying the harvest crew.
For a simple setup, stretch wire at fixed intervals, add sturdy fasteners, and let your vines settle in.
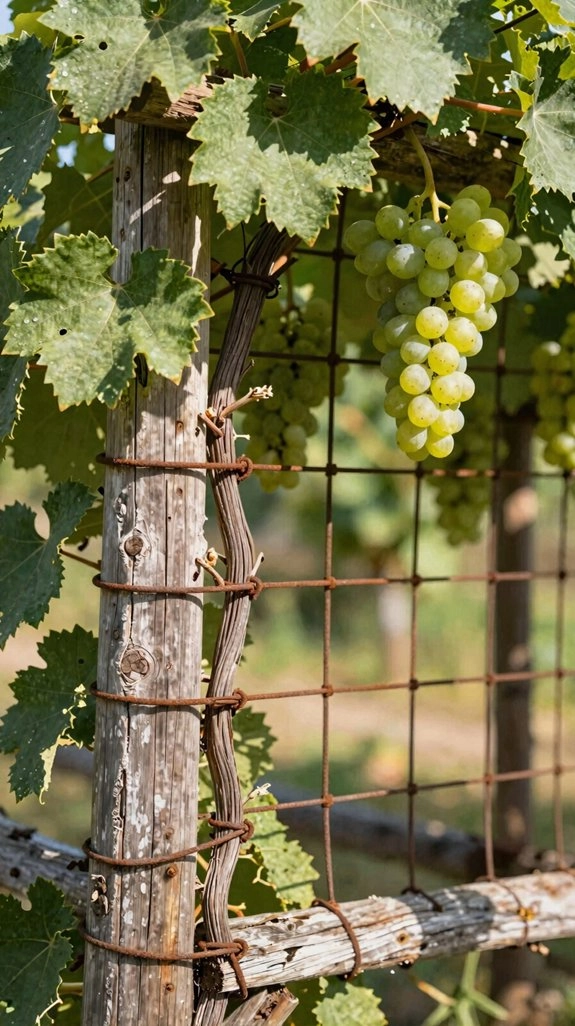
Mixing Rustic Materials
When you want a trellis that feels warm and handmade but still holds up to hungry grape vines, mixing rustic wood with strong wire is the sweet spot!
- Use 8-foot 4×4 pressure-treated posts, then add galvanized wire.
- Try maple or beech sidepieces for a wood-and-vine frame.
- Space horizontal runs about 1½ feet apart for easy training.
- Add weatherproof finishing, and choose color matched wiring.
You’ll get a sturdy setup that still looks like it belongs in a garden story.
Bury sidepieces about 10 inches deep, and your frame won’t wobble when the vines get bossy!
Now that’s rustic charm with backbone.
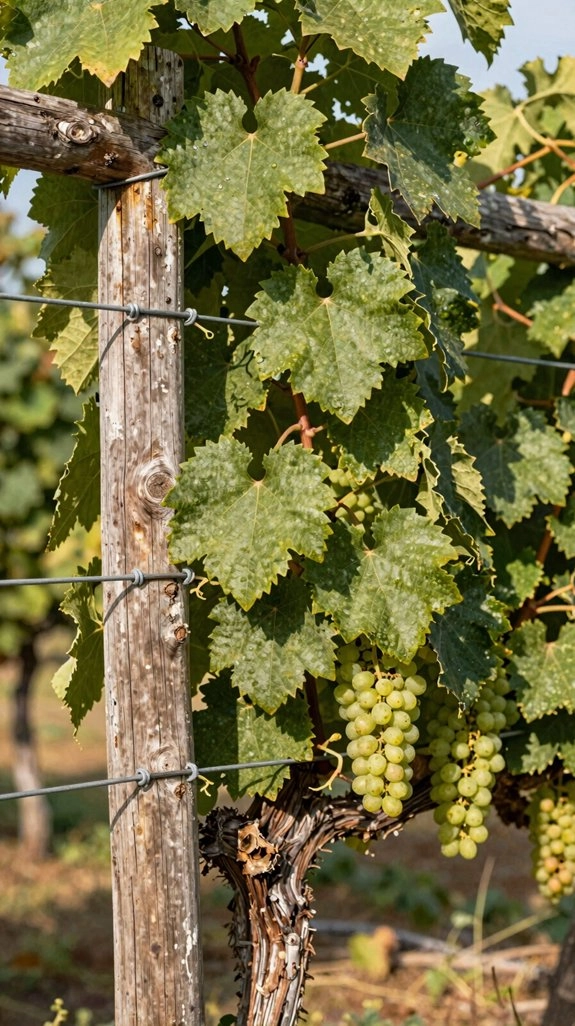
Set Up a Post-and-Wire Trellis
To get your grape trellis standing strong, start by marking the layout in full sun with steady 5-foot spacing, then dig post holes about 1½ feet deep for your 4×4 wooden posts and set each one at the same depth so the line stays true.
For a rustic finish, choose pressure-treated posts, then use weathering techniques that fit your garden style, and you won’t need tool free installation magic—just a drill, wire, and care.
Next, drill holes at each 1½-foot wire height, thread heavy-gauge galvanized wire through, and pull it taut.
Finish with a washer, ferrule, and stopper, then plant!
Build a Trellis From Saplings
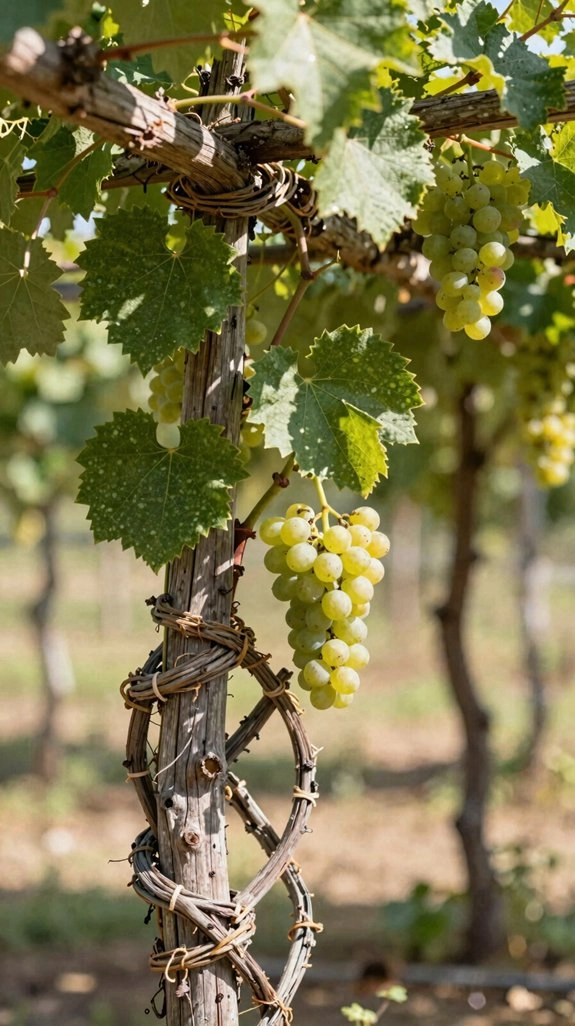
- Choose flexible saplings or woody vines that bend well.
- Build a simple frame with two sides, two crosspieces, and braced corners.
- Pre-drill, screw, and square the frame before you fasten it tight.
- Guide leaders onto horizontal supports, then trim with loppers.
Do your Compost soil prep first, then use Vine season pruning to keep growth tidy.
Set the trellis where sun and airflow can do their job, and your grapes will feel right at home!
Use a Cattle Panel Trellis
If you want a trellis that feels sturdy and still looks right at home in a rustic garden, a cattle panel trellis is a fantastic pick! You’ll get a rigid, galvanized grid that gives your grape vines steady support and that charming farm-garden vibe.
Use Backyard placement tips to set it in full sun, along posts or a fence line, so shoots climb up instead of flopping on the soil.
Weave the main stem and leaders through the openings, and let tendrils do the rest—nature’s tiny climbers!
For Weatherproofing solutions, fasten the panel tightly and keep about 5 feet between supports. That keeps it firm, airy, and easy to harvest.
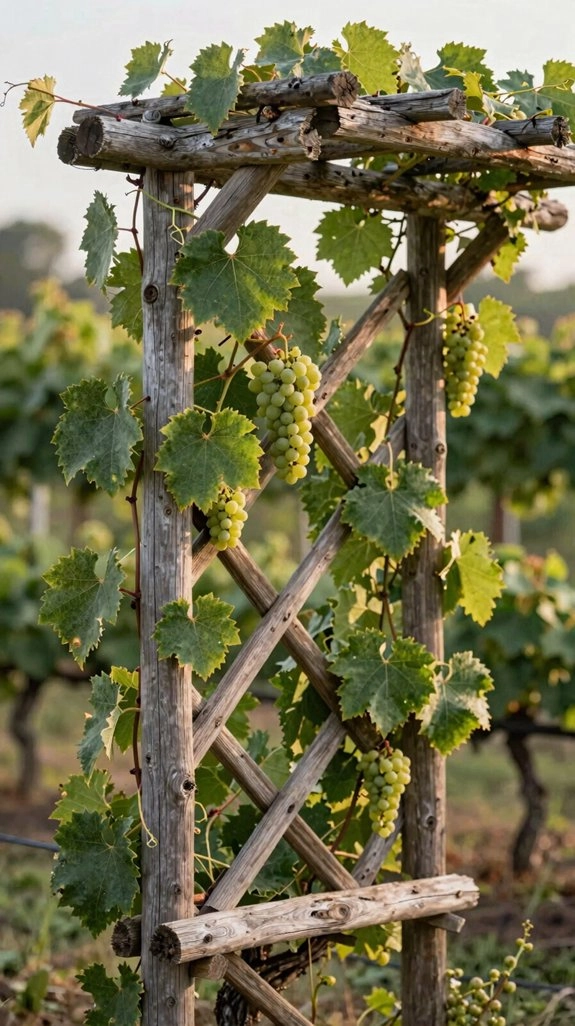
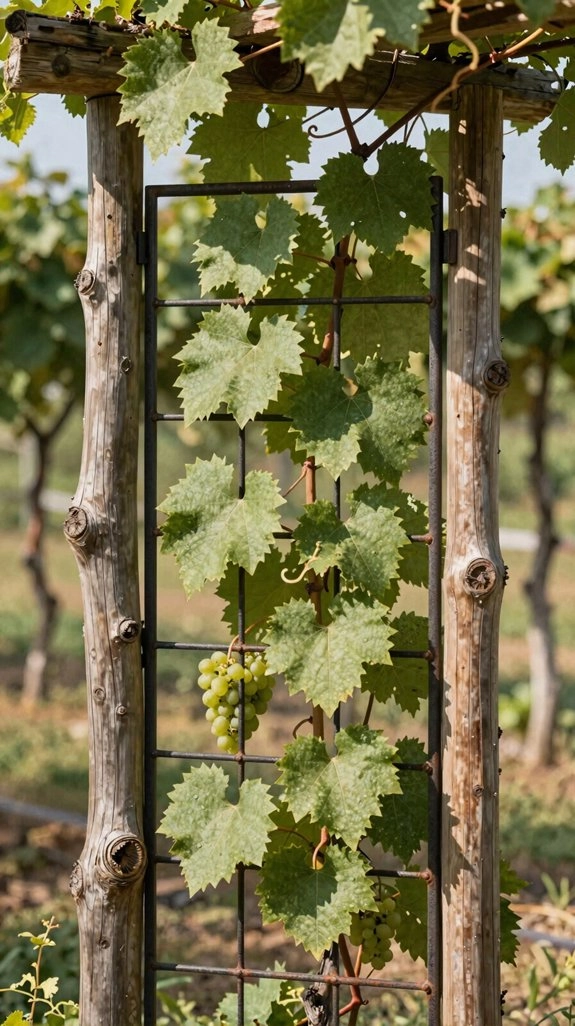
Add a Weathered Lattice
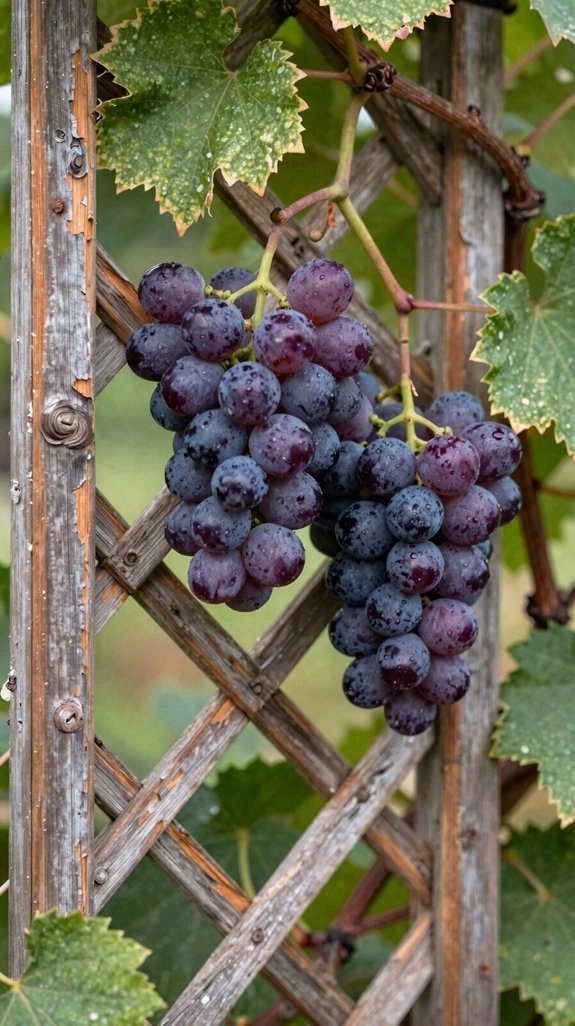
A weathered lattice can bring that same sturdy, farm-style charm to your grape setup, but with a softer, handmade look that feels like it’s been hanging around for years—in a good way!
Choose cedar or rough-sawn pine, then use Rustic aging techniques with small nicks and saw cuts.
- Space slats 1–2 inches apart.
- Keep your Lattice airflow design open.
- Mount it to 4×4 posts.
- Train vines with regular ties.
Let it age in place, then touch up only rub spots.
You’ll get a cozy, grape-loving frame that helps leaves breathe and clusters stay happy—nice, right?
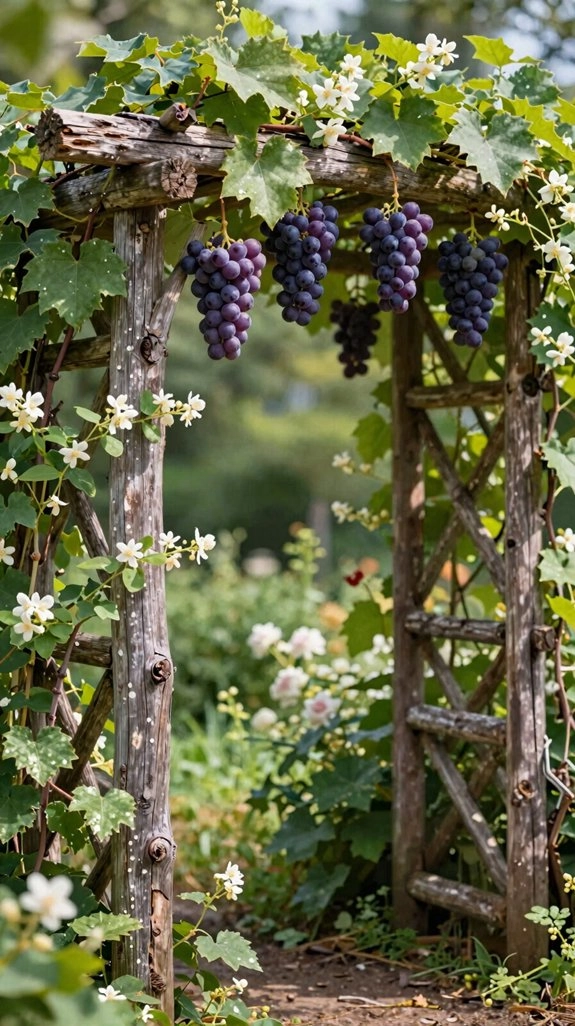
Build a Grape Pergola Overhead
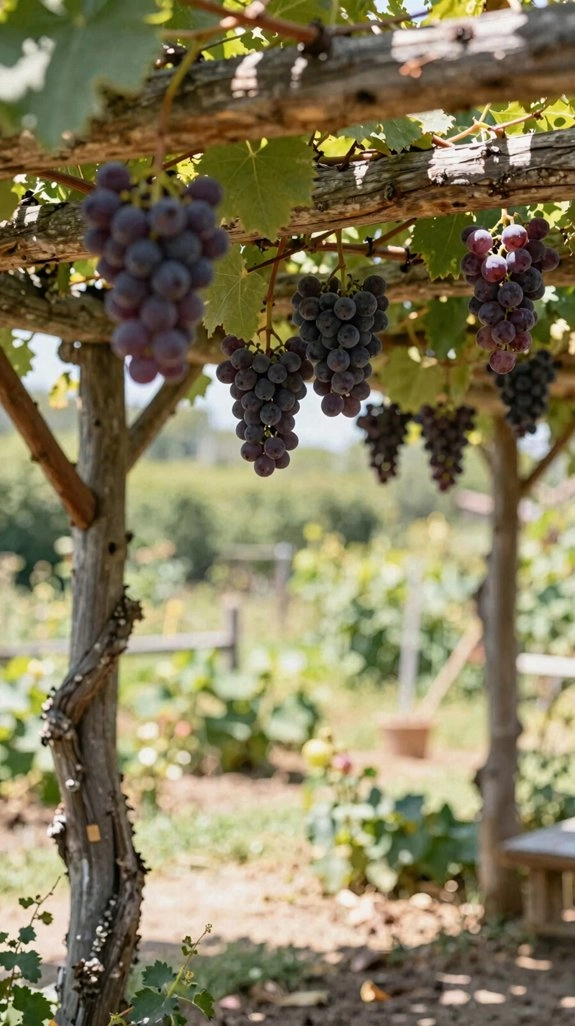
With a grape pergola overhead, you can turn an ordinary sunny spot into a cool, leafy hangout that works hard and looks great! Use sturdy 4×4 posts set in full sun, then add long beams and crosspieces so the frame stays steady. It’s beginner-friendly, not elaborate-pants engineering, and it gives you real shade for family chats.
Next, run galvanized wires across the top, keeping them taut with ferrules, then space them for easy vine growth. That helps airflow, cuts mildew, and keeps grapes off the ground. With good pruning, mulch maintenance, and smart irrigation timing, your canopy stays tidy, fruitful, and welcoming!
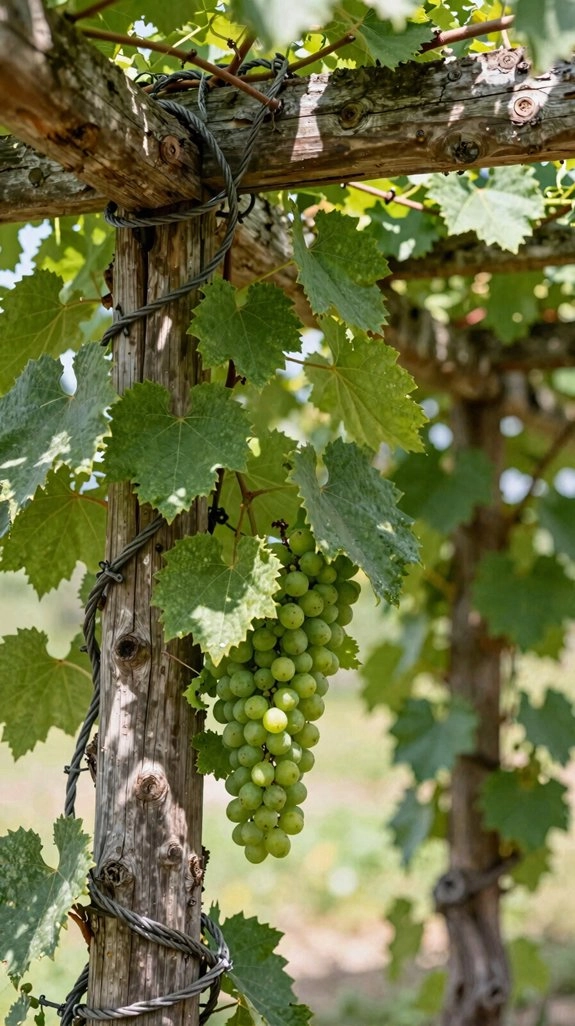
Train Grapevines on Wire
Once your wire trellis is in place, you can start training the grapevines right onto it, and that’s where the magic really begins! You’ll feel like part of the crew as your vine settles in and climbs. Keep trellis alignment straight, then guide the trunk upward and tuck leaders onto each wire level.
- Thread wire through the second holes, then the third.
- Add the fourth row for a final run.
- Keep every line tight and neat.
- Finish with washer, ferrule, and stopper.
With seasonal tightening, your trellis stays firm, fray-free, and ready for happy growth. Cheap, simple, and sturdy—nice!
Space Trellis Wires for Growth
Space your trellis wires about 18 inches apart, and you’ll give each grape shoot room to stretch out in neat, happy layers—no wrestling match required! Start at an end post, run each horizontal stainless-steel wire through the drilled holes in order, and keep the tension even so the vine can grow with good airflow and less chaos.
A tight setup with a washer, ferrule, and stopper at the last post keeps everything steady, and that simple trick can make the whole trellis feel polished instead of wobbly.
Wire Spacing For Growth
As your grape vine starts reaching for the sky, giving it the right wire spacing makes a huge difference! You’ll feel right at home with a simple 3–4 row setup, marked every 1½ feet, so each leader gets its own spot. That steady rhythm helps with canopy balance and makes seasonal adjustments easier, too.
- Drill matching holes in each post for clean lines.
- Keep wires taut and level to stop sagging.
- Space runs about 18 inches apart for even support.
- Use simple tools, not elaborate gear, and you’re set!
This setup looks rustic, costs little, and keeps growth tidy and cheerful.
Room For Vine Expansion
If you want your grape vines to stretch out happily instead of getting all tangled up like a bowl of spaghetti, start with wire spacing that gives them room to breathe!
You’ll feel right at home with horizontal stainless steel wires set about 1½ feet apart, starting 1½ feet above the ground, then climbing in steady steps.
Mark posts in 5-foot spans, drill matching holes, and pull each wire through in order.
Add a washer, ferrule, and stopper at the top, and keep every run tight.
Good rootstock selection and neat vine training knots help your canopy expand cleanly, with no saggy drama!
Plant Grapes After Setup

With the posts in place and those wire runs pulled tight, you can go ahead and plant your grapes right away—yes, right after setup!
Pick varieties from a grower’s guide, so your trellis fits their spacing and growth style.
Plant in full sun, follow depth and amendment directions, and keep the wire layout steady for good airflow and ripening.
- Match vines to your frame
- Add companion planting helpers nearby
- Use seasonal soil care for stronger roots
- Train new shoots onto the wires fast
That quick start helps your vines feel at home, and it keeps fruit off the ground too!
Prune Grapes for Orderly Growth
Pruning isn’t just tidy-up work—it’s how you keep your grapevine on track and make your trellis look great!
You’ll want to snip out dead or extra growth, then guide the main trunk and leaders upward so they don’t start doing their own wild little grapevine dance.
With the right cuts, you’ll get better sunlight, healthier leaves, and fruit that’s easier to pick, plus less mildew drama later on.
Why Pruning Matters
When grapevines get a little too happy, they can turn into a leafy knot that seems determined to take over everything! Pruning helps you keep the vine in a neat rhythm, so the trunk and trained leaders grow where they should. That order makes your trellis feel friendly, not wild, and it’s easier for you to belong to the harvest club.
- Disease prevention starts with cleaner spacing.
- Better air circulation helps leaves dry faster.
- Sunlight ripening boosts sweeter fruit.
- Fewer extra shoots mean easier care and quicker picking.
Best of all, your vine stays sturdy, balanced, and ready for another season!
Remove Dead Growth
A tidy grapevine starts with a little tough love, and dead or damaged growth is the first stuff to kick out! You’ll feel like part of a smart garden crew when you snip it away, because disease prevention pruning keeps trouble from spreading and lets new shoots shine.
Use clean pruners, spot gray, brittle, or broken wood, then cut it off close to healthy tissue.
Next, thin crowded canes so air can move and the vine stays easy to read at a glance.
This simple winter recovery care saves energy, keeps your trellis neat, and helps you grow healthier clusters, not chaos!
Shape For Better Yields
Even the happiest grapevine can turn into a leafy tumbleweed, so your goal here is to shape it for better yields by keeping growth neat, open, and easy to manage.
- Pruning timing: prune when the vine rests, and you’ll steer energy to fruit, not fluff.
- Balanced canopy: keep light and air moving, so clusters ripen sweeter and mildew stays sulky.
- Trunk training: guide the main trunk and leaders along the trellis, and tendrils’ll do the clingy work for you!
- Shoot reduction: thin crowded new growth, then smile when your rows look tidy and productive.
Improve Airflow to Prevent Disease
Guide those grapevines up a trellis, and you’ll do more than save space—you’ll help them breathe! Keep shoots organized on wires spaced apart, and don’t let leaves flop onto the ground.
That open shape lets breezes slip through, dries rain fast, and helps you dodge rust and powdery mildew.
Prune out crowded growth and dead wood, and you’ll feel like a backyard vine whisperer.
Full sun helps, too, so pick a bright spot if you can.
With mulch moisture control and seasonal disease scouting, you’ll stay ahead of trouble, and your vines will thank you with healthier, happier clusters.
Add Privacy With a Trellis
Want a little more privacy, without building a giant wall? Place your trellis along the fence line or patio edge you want to screen, then train your grape vines over a sturdy frame with supports about 1½ feet apart so the leaves pack in nice and dense.
Give it full sun, keep pruning the extras, and you’ll end up with a leafy green screen that feels natural, looks charming, and won’t make your yard feel boxed in!
Privacy Trellis Placement
If you’re hoping to turn a plain fence or patio edge into a leafy little privacy wall, a grape-vine trellis can do the trick beautifully! Put it where you need privacy sightlines blocked, and let the sun do its work.
- Pick full sun, about 6–8 hours.
- Set posts 5 feet apart, sunk 1½ feet deep.
- Run wires every 1½ feet for easy climbing.
- Try corner extending placement, aiming toward your seating spot.
After that, plant vines at the base and train the main stem upward. It’s simple, sturdy, and feels like your own garden nook!
Dense Vine Coverage
Dense privacy doesn’t happen by accident, but wow, a grape trellis can get you there faster than you might think!
You’ll want a rustic frame with sturdy wires or crosspieces spaced about 1½ feet apart, so your vines spread wide instead of climbing like shy little beanpoles.
Put it in full sun, keep the canopy off the ground, and guide each tendril along the supports.
Prune often to keep the wall thick, not scraggly, and bury the side supports for strength.
That steady leaf canopy density boosts pest control, blocks views, and gives you a cozy, living screen.
Pair Grapes With Other Climbers
Along the trellis, grapes can team up with other climbers to make the whole setup look fuller and work harder, too! With smart companion plant pairing, you can mix grapes with woody vines like wisteria or bittersweet for rustic charm and quick coverage. Choose tendril friendly climbers, use shared training methods, and keep both plants on the same frame with horizontal runs about 1½ feet apart.
- Pick a second vine with full sun tolerance.
- Use simple posts and wires, not ornate gear.
- Guide stems upward early.
- Keep growth off the ground for easier pruning, airflow, and harvests.
Keep the Trellis Looking Rustic
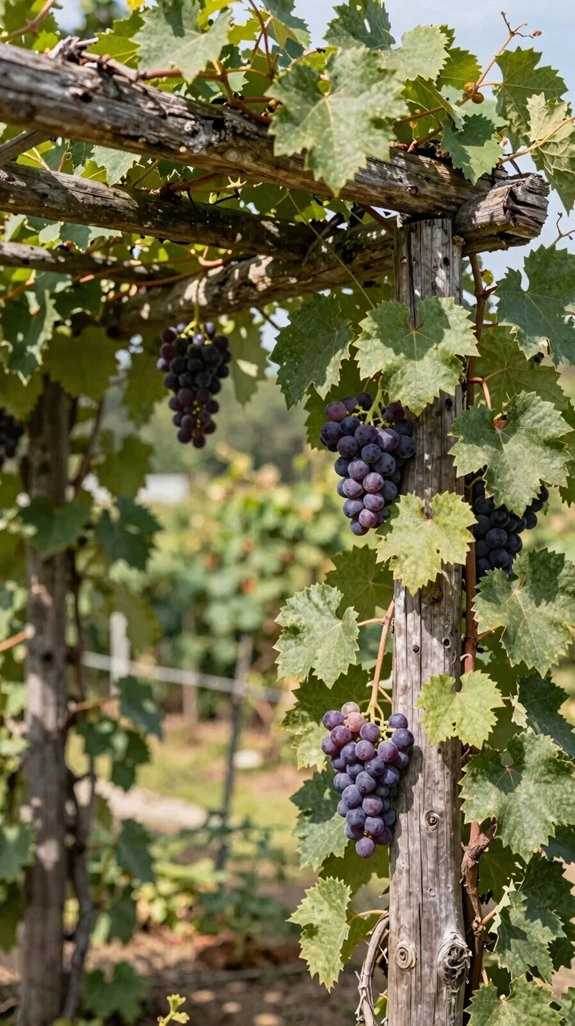
A rustic trellis should look like it grew right there in the yard, not like it rolled in on a truck! Use unfinished timber or reclaimed posts, and sink the side members about 10 inches deeper so the frame feels built-in and sturdy.
Add Rustic Joinery with compact screws or nails, then keep Weathered Hardware simple, like galvanized wire and ferrules.
Space wire runs about 1.5 feet apart, and let vines climb visible braces and crosspieces.
Pre-drill vine holes for neat ties.
Skip paint, and the wood’ll age beautifully, blending into the garden with easy charm.