19 Outdoor Painted Pots Designs for a Bold Garden Look
- 19 Outdoor Painted Pots Designs for a Bold Garden Look
- Key Takeaways
- Weathered Whitewash Finish
- Boho Tribal Patterns
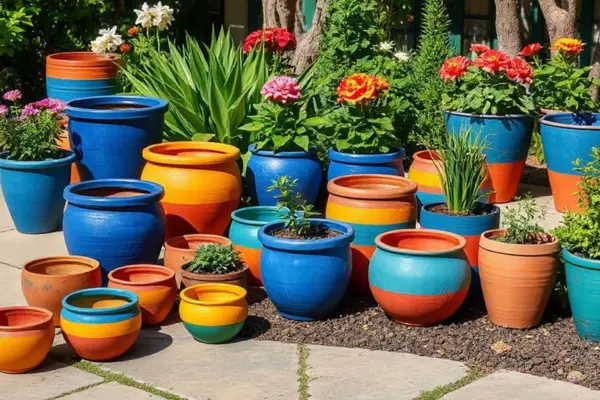
- Bright Color Block Pots
- Mediterranean Tile Inspired Designs
- Floral Garden Motifs
- Minimal Black Line Art
- Sunset Ombre Colors
- Earth Tone Brush Strokes
- Geometric Outdoor Patterns
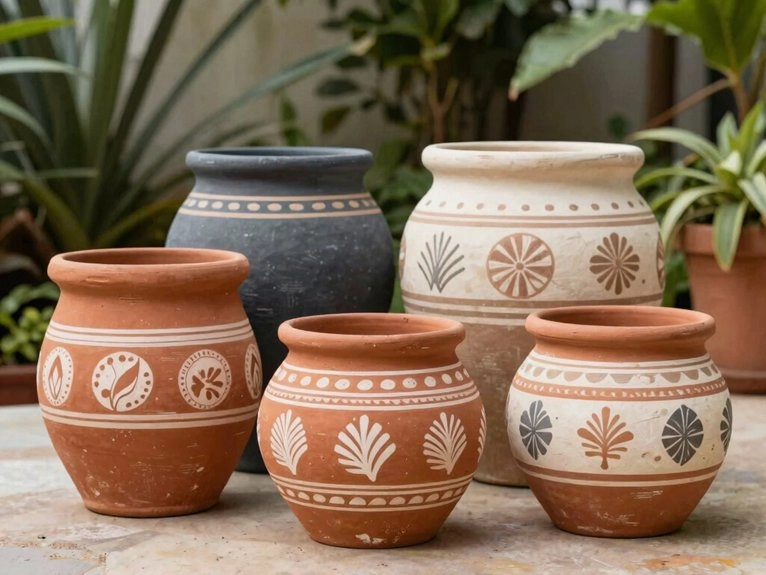
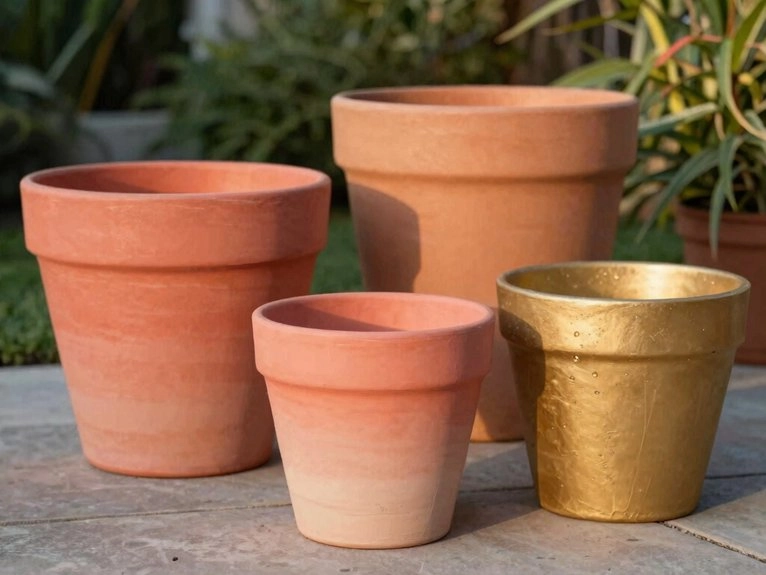
- Terracotta + White Contrast
- Hand-Painted Leaf Designs
- Pastel Garden Palette
- Rustic Distressed Texture
- Rainbow Stripe Pots
- Bold Solid Color Statement
- Speckled Paint Effect
- Nautical Blue and White Style
- Vintage Floral Prints
- Matte Neutral Finish
You can turn plain clay pots into bold garden stars with painted looks that pack serious punch. Try weathered whitewash, boho tribal chevrons, bright color blocks, Mediterranean tile motifs, floral gardens, speckled finishes, nautical blue and white, vintage blooms, or matte neutrals with soft aging. Mix in ombre blends, leafy designs, and crisp rim bands for extra pop. Each idea works outdoors and brings personality, so your pots won’t just sit there—they’ll show off and hint at plenty more ahead.
Key Takeaways
- Use weathered whitewash, terracotta contrast, or matte neutrals to let clay texture show while creating a bold, aged outdoor look.
- Try boho tribal, geometric, or Mediterranean tile patterns with clean edges, repeating motifs, and high-contrast colors for visual impact.
- Paint floral, leaf, and botanical designs on cream or pale bases, then add rim bands or frame accents for a polished finish.
- Build sunset ombre, sponge layers, feathered blends, and speckled effects slowly, letting each coat dry for depth and dimension.
- Use exterior acrylics, thin coats, and breathable sealer to improve durability, especially on pots exposed to weather.
Weathered Whitewash Finish
To start a weathered whitewash finish, begin by cleaning your textured clay pots really well, then leave those darker grooves and little recesses alone so they can do some of the “old pot” work for you. Brush on a thin cream or exterior paint base coat with a wide foam brush, using gentle pouncing so you don’t clog the pores. Mix small paint amounts on wax paper, then dab diluted white with a sea sponge. Layer slowly, let each coat dry, and step back often. You’ll build an aged patina, almost like salt weathering, that feels welcoming outdoors.
Boho Tribal Patterns
If the weathered whitewash finish gave your pots that soft, aged look, boho tribal patterns can crank up the personality with bold shapes and earthy color. Choose terracotta, ochre, and deep umber, then add turquoise and muted white for a warm, welcoming vibe.
Use tribal stenciling or freehand chevrons, zigzags, circles, and stepped diamonds that wrap around the pot. Try layered pigments with a sponge, foam brush, or thin brush, and test first.
On big pots, keep shapes simple; on small ones, go finer. Seal with exterior-grade paint and breathable sealer.
Bright Color Block Pots
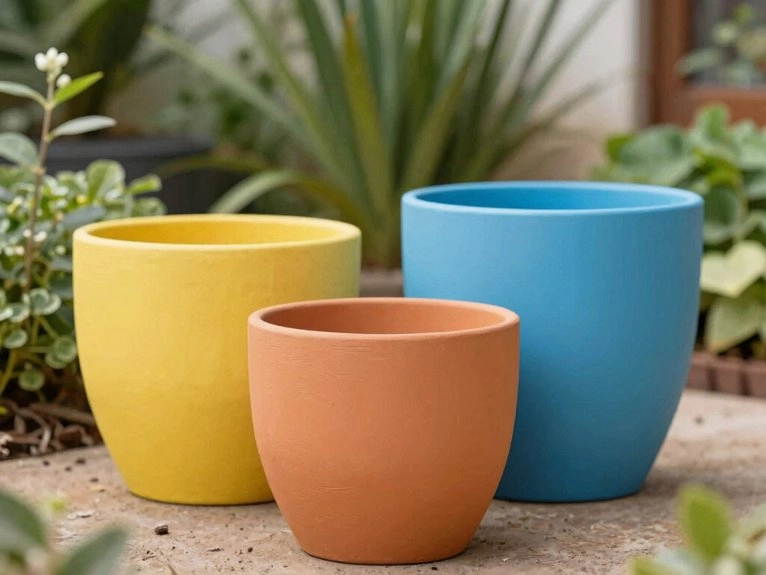
- Press tape edges firmly.
- Peel while paint’s tacky.
- Add soft sponge layers for depth.
Choose exterior acrylics or seal with a breathable topcoat if needed. Your garden crew will notice, and your pots’ll look like they belong.
Mediterranean Tile Inspired Designs

Sunlit mosaics can turn an ordinary pot into a tiny vacation for your patio. You can sketch tile mosaics with quatrefoils, rosettes, or arabesques, then paint them in cobalt, turquoise, terracotta, and warm yellow.
Start with a sanded cream or aged terracotta base, and sponge on soft washes for an aged grout feel. Add crisp outlines with a fine liner brush, using dark blue or gray instead of harsh black. For a glazed illusion, touch raised spots with bronze and seal everything with outdoor topcoat.
Match bold patterns to big pots, and test your design first on a spare pot.
Floral Garden Motifs
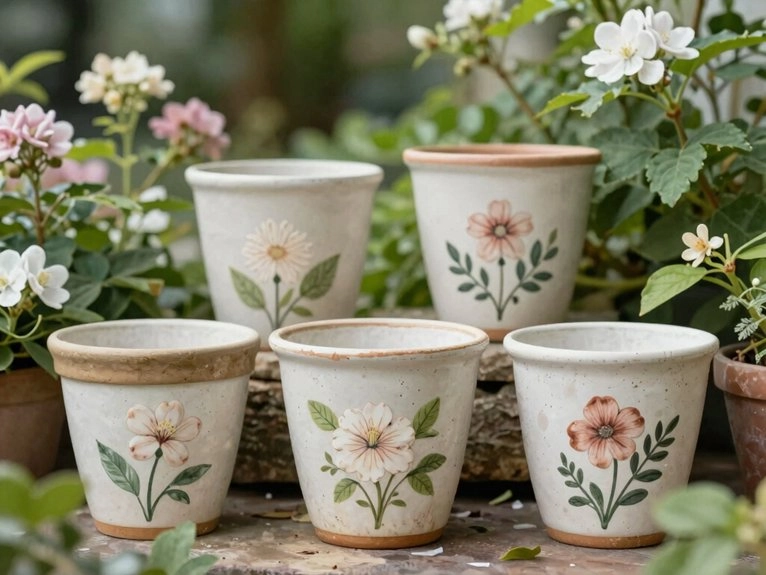
For a garden pot that feels cheerful and alive, floral motifs are a lovely place to start. You can join the fun with watercolor blooms, petal pinks, and purser yellow accents on a cream base, so your flowers glow instead of hide. Sketch a tiny color card, then test petal shapes on a spare pot; bigger blooms often read better from across the yard.
- Build color in soft layers, not harsh black shadows.
- Use faux botanical details to guide your layout.
- Let each coat dry fully for a neat finish.
Frame rims with a band, then seal for outdoor confidence.
Minimal Black Line Art
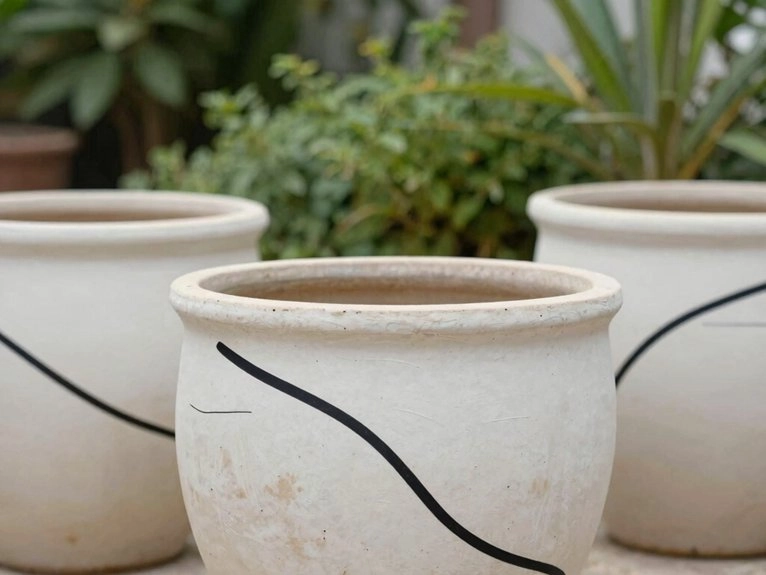
Sometimes the simplest look makes the biggest splash, and minimal black line art can give outdoor pots that cool, modern edge without stealing the show.
You’ll want a smooth cream or pale Patience base, fully dry, so your lines stay sharp on clay or vintage surfaces.
Use exterior-grade water-based paint in softened black, then sketch with a small round brush or paint pen.
Keep your design at micro scale with continuous motifs like leaf veins, arcs, or rim bands.
Step back often, test on a shard first, and seal if your pots face wild weather.
Sunset Ombre Colors
A sunset ombre can turn an ordinary outdoor pot into a little piece of evening sky, with warm golden yellow near the base, coral or orange in the middle, and deep magenta climbing up to the rim.
You’ll feel right at home creating sunset gradients with exterior-safe acrylics and sponge blending.
Start on a clean, dry pot with a pale cream base coat, then paint thin horizontal bands.
- Let each layer dry before blending.
- Feather seams with a slightly damp sea sponge.
- Mix coral into magenta for warmth, then seal with an outdoor topcoat.
Earth Tone Brush Strokes
When you want your outdoor pot to look calm, cozy, and a little weathered by time, earth-tone brush strokes are a fantastic place to start.
Begin with a cream or warm tan base, then gently pounce thin paint with a wide foam brush so the texture still peeks through.
Layer soft shades like aged sienna and layered umber with a sea sponge, blending in a few warmer, blackened tones for an aged feel.
Add stronger strokes near rims and bases, then step back, let each coat dry, and keep the finish mellow, not muddy.
Geometric Outdoor Patterns
If earth tones gave your pot a cozy, timeworn look, geometric patterns can wake it up with crisp lines and bold shape play. Start with an exterior-grade base coat, then mark stripes, chevrons, or triangles with pencil or tape. Paint one color at a time, and let each band dry so edges stay clean.
- Test sharp lines on shards first.
- Layer related shades for depth.
- Blend edges for weathered appeal.
These architectural motifs and angular mosaics feel fresh, friendly, and made for your garden crew. Use outdoor paint, and skip harsh black-only accents.
Terracotta + White Contrast
Terracotta and white make a classic duo that feels fresh, bright, and a little bit elegant without trying too hard.
You can join the look by cleaning your pots well, then brushing on a thinned cream or white base with a soft pouncing motion so the texture stays alive. Use leftover exterior acrylics, softened with white, for a textured contrast that feels warm, not sharp. A sea sponge adds gentle age.
Finish with a bright band around the top or a glazed rim inside, and your pots will look cheerful, durable, and garden-ready.
Hand-Painted Leaf Designs

Leaf designs can instantly wake up an outdoor pot, and they’re a fun way to bring a little garden magic right onto the container itself. You can fit right in with the look by using exterior acrylics and mixing greens on wax paper. Clean the pot first, then pounce on a thin cream base so the texture stays put.
- Paint a mid-tone leaf shape first.
- Add layered veins with thin lines.
- Dab sponged highlights for depth, then let each coat dry.
Blend in dark accents, and seal it if you want extra weather protection.
Pastel Garden Palette
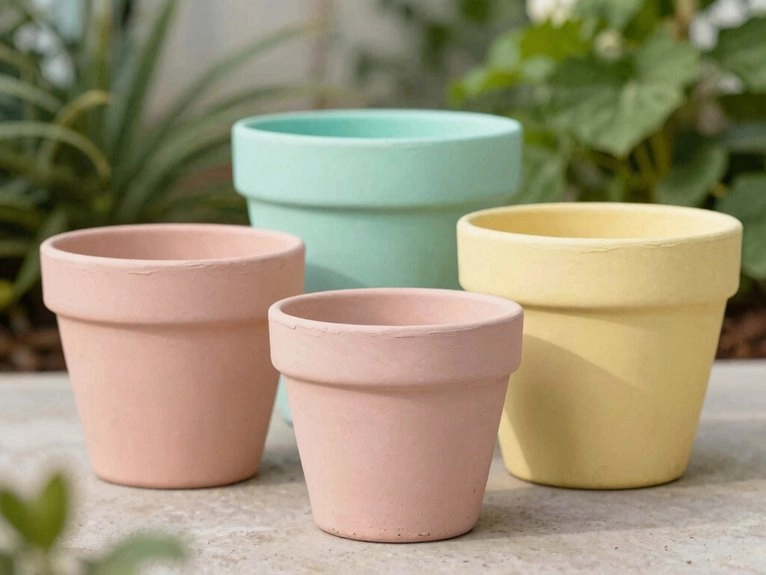
A soft-color pot can make even a shady corner feel cheerful.
You can build a pastel garden palette with mint green, powder blue, lavender, blush pink, and butter yellow, and your plants will feel right at home.
Start with a light cream or white base coat so the colors pop, then let it dry fully.
Use exterior-grade water-based paint, and mix small amounts on wax paper for minty monochrome or glazed pastels.
Try 2–4 shades, test them on scraps, and brighten rims with a lighter hue.
Your pots will look welcoming, fresh, and delightfully neighborly.
Rustic Distressed Texture
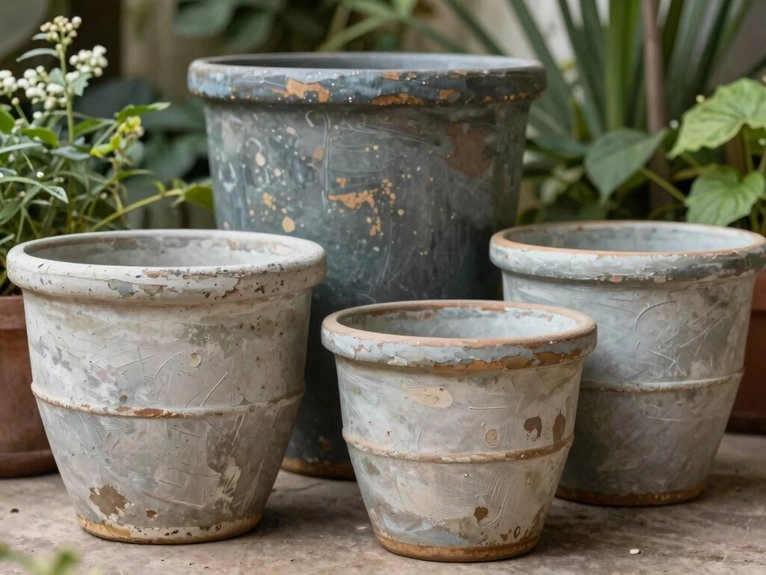
Lean into the charm of a weathered pot by starting with a good clean surface, then protecting those darker dips and grooves that give textured clay its character. Brush on a thinned cream base with a wide foam brush, pouncing lightly so you don’t flatten the texture. Then build layered distress with a sea sponge and three coordinating paints, letting colors mingle like old friends. Use textured glazing in crevices, but soften black first.
- Dab, don’t scrub
- Test drips on spare pots
- Let each layer dry
Finish with exterior paint and, if you want, a breathable sealer.
Rainbow Stripe Pots
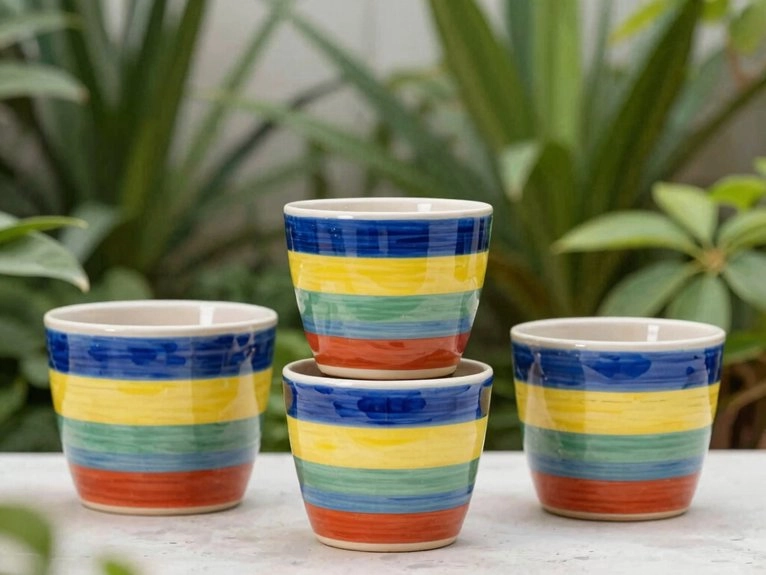
You’ll get the best shine from a clean pot with a crisp white base coat, then pencil in even bands and tape them off.
Use outdoor acrylic paint, and thin it a bit if the clay feels rough.
Let each stripe dry before the next, so colors stay neat.
Try ombre bands for a softer glow or metallic accents for extra sparkle.
Line up a few pots, and your garden’ll feel like a cheerful crew.
Bold Solid Color Statement
Monochrome magic can make a clay pot feel bold in one easy move. You can turn a plain pot into a standout monochrome planter with one strong exterior paint, like Tricorn Black or a vivid sample shade. Clean and dry the pot first, then brush on two thin coats for smooth, lasting color. If your clay is textured, pounce a thinned base into the grooves before you roll on the main coat.
- Add high contrast rims for a crisp frame.
- Mix in 2–3 bold hues across a small cluster.
- Balance them with unpainted pots so your garden still feels welcoming.
Speckled Paint Effect

Once your base coat is fully dry, you can turn a plain pot into a fun speckled showstopper with a little flick of paint and a lot of personality.
Thin a contrasting outdoor or water-based acrylic color with a touch of water so it splashes cleanly. Load a stiff brush, toothbrush, or old paintbrush, then flick from 6 to 12 inches away. Try tool experiments to get fine mist or bold drops. Mix in speckle layering with softened darks or house colors, and protect clean edges. Test first, then seal if you want extra weather defense.
Nautical Blue and White Style
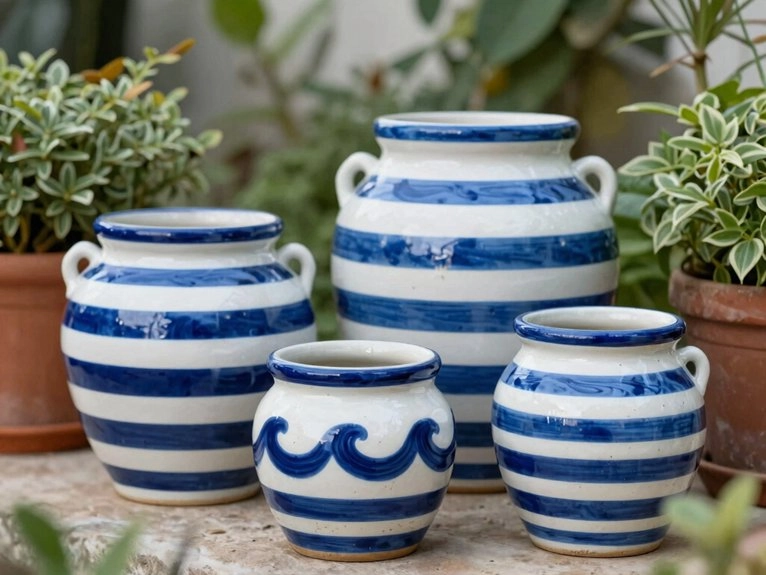
Ready to give your pot a breezy seaside look? Start with a crisp white base coat so your blues shine on textured clay.
Then layer navy, turquoise, and cobalt, dabbing with a sea sponge for that weathered harbor vibe.
Paint bold horizontal stripes around the rim and middle, and let each band dry fully—patience keeps the waves calm.
- Add nautical stenciling with anchors or starfish.
- Try rope bands and sailor knots for extra charm.
- Seal it with an outdoor topcoat for sun and rain.
You’ll build a pot that feels shipshape, friendly, and ready to join your garden crew.
Vintage Floral Prints

If your seaside pot has you picturing more garden stories, vintage floral prints are a charming next stop. You can mix muted shades like patinated teal, mustard yellow, faded rose, and olive green from your house colors for an aged botanical feel. Start with a cream base, then use a foam brush, sea sponge, and fine brush for hand painted stippling and soft petals. Paint 2–4 repeating blooms, letting one sit a little off-center for charm. Add a thin dark glaze, lightly sand spots, and echo one bright accent on the rim to tie everything together.
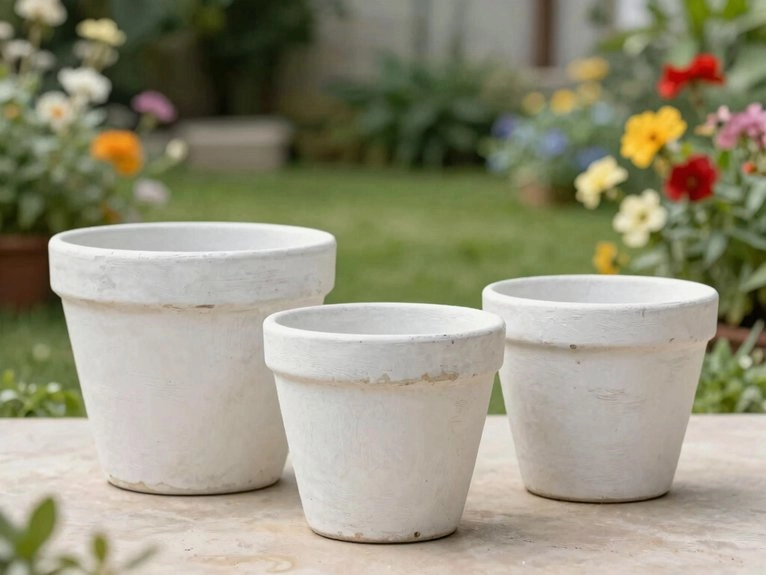
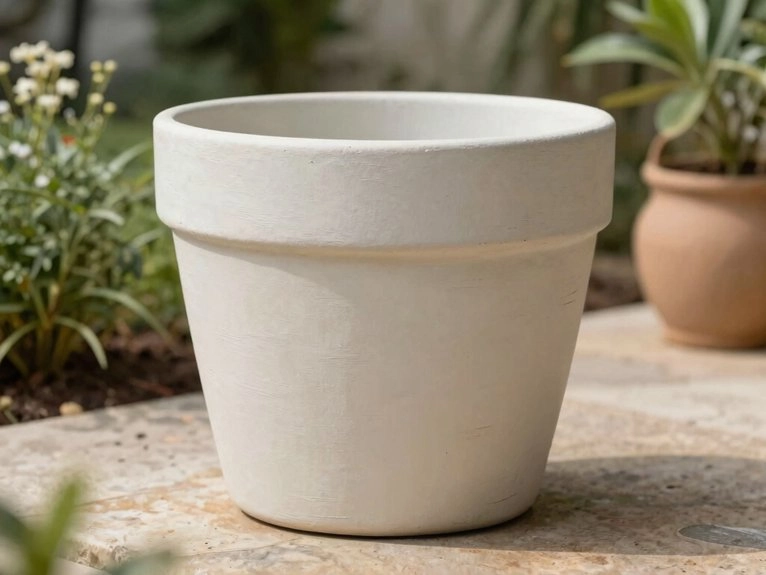
Matte Neutral Finish
A quiet matte neutral finish can make your outdoor pot feel calm, stylish, and ready to let the plant do the talking. You can brush on a cream backdrop or soft taupe with exterior water-based paint, then let sunlight stay gentle, not glaring. On textured clay, use a wide foam brush and pounce lightly so you don’t squash the detail. Add an aged patina by sponge-dabbing tiny bits of darker paint, like softened black, over wax paper blends.
- Keep recesses a little raw.
- Layer thin washes for shadow.
- Skip sealer unless you need extra water resistance.