Black-Eyed Susan: How to Grow and Care for This Cheerful Garden Favorite
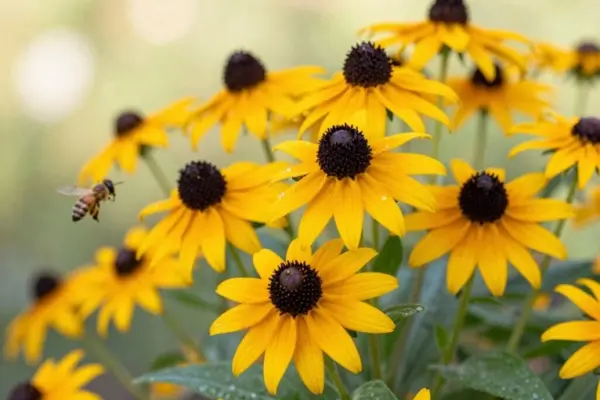
- Black-Eyed Susan: How to Grow and Care for This Cheerful Garden Favorite
- Key Takeaways
- Choosing the Best Planting Location
- Soil and Sunlight Requirements
- Planting Tips for Healthy Growth
- Watering and Fertilizing
- Seasonal Care Guide
- Pruning and Deadheading
- Companion Plant Ideas
- Growing in Containers
- Common Pests and Diseases
- Frequently Asked Questions
For cheerful black-eyed Susans, pick a sunny spot with 6 to 8 hours of light and well-drained soil, then space plants 12 to 24 inches apart for airy growth. Water deeply after planting, keep the soil just moist the first year, and later only when the top inch feels dry. Snip faded blooms to keep flowers coming, and watch for aphids or mildew, because a few smart tricks can make this border star shine even brighter.
Key Takeaways
- Plant Black-Eyed Susan in full sun with well-drained soil; clay, loam, or sand work if drainage is good.
- Space plants 12–24 inches apart and keep spreading varieties within bed boundaries for airflow and tidy growth.
- Set transplants at pot depth, or sow seeds on the soil surface because they need light to germinate.
- Water deeply after planting, then keep soil evenly moist the first year; later, water only when the top inch is dry.
- Deadhead faded blooms, watch for aphids and spider mites, and improve airflow to help prevent powdery mildew.
Choosing the Best Planting Location
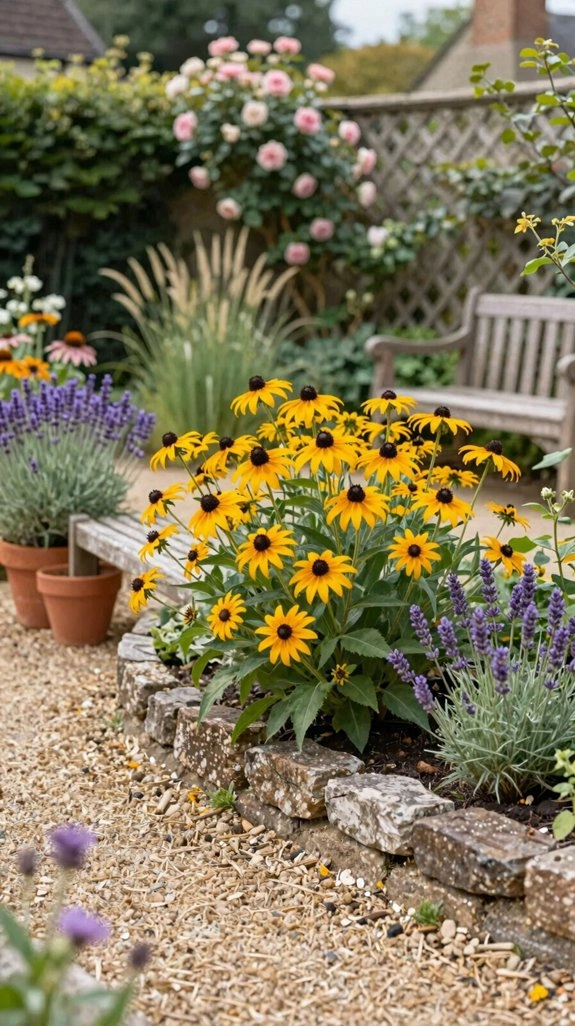
For smart placement, use the drainage basics first, then check spacing guidelines. Give each plant 12–24 inches, depending on the variety, so air can move and mildew doesn’t crash the party. Nice, right?
Also, peek at the plant tag for mature height, because some stay tidy while others shoot up like garden celebrities. Keep spreading types within bed boundaries, and you’ll build a welcoming, blooming patch that feels just right.
Soil and Sunlight Requirements
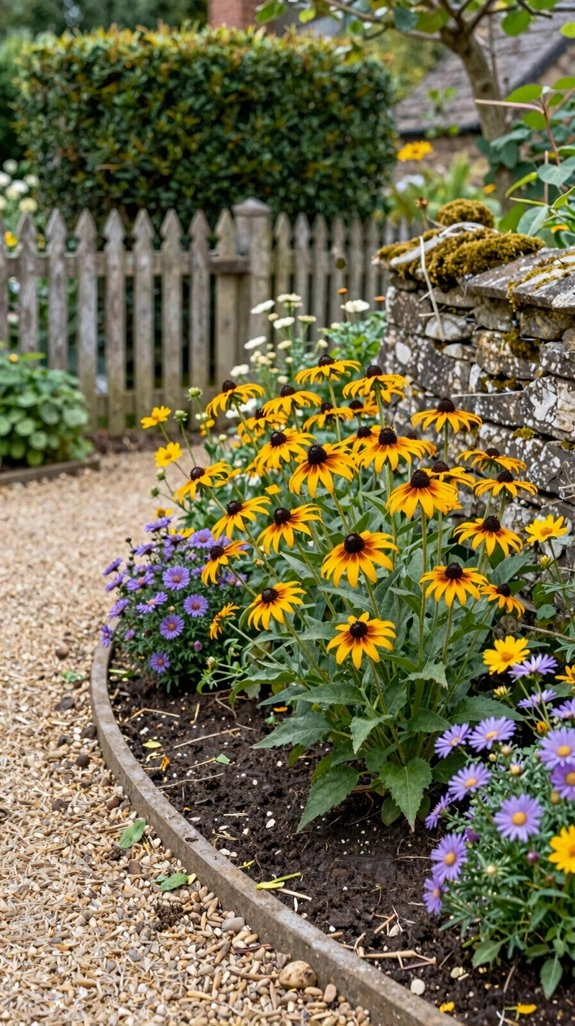
Black-Eyed Susans love a sunny spot, so give them full sun—that means at least 6 to 8 hours of direct light a day—and you’ll usually get the biggest, brightest bloom show!
In your garden crew, they’ll handle clay, loam, or sandy soil, as long as it drains well and stays moist, not soggy.
Check the Soil pH, too; they’re flexible, but happy roots need the right balance.
Too much water? Nope, that’s trouble.
Their drought tolerance helps them bounce back once settled.
For containers, choose a draining mix and holes so the soil doesn’t stay wet.
Planting Tips for Healthy Growth

When you’re ready to plant, give rudbeckia a bright, sunny spot and well-drained soil, because soggy ground is a fast track to crown rot, and nobody wants that drama!
Do quick soil testing first, so you know what you’re working with, then pick perennial *Rudbeckia fulgida* if you want a longer-lasting buddy in the border.
Set each plant at the same depth it grew in the pot, and follow spacing guidelines of 12–24 inches for better airflow.
Plant in spring or early fall, and mix in rich garden soil for a strong start.
Seeds need light, so press them on top.
Watering and Fertilizing
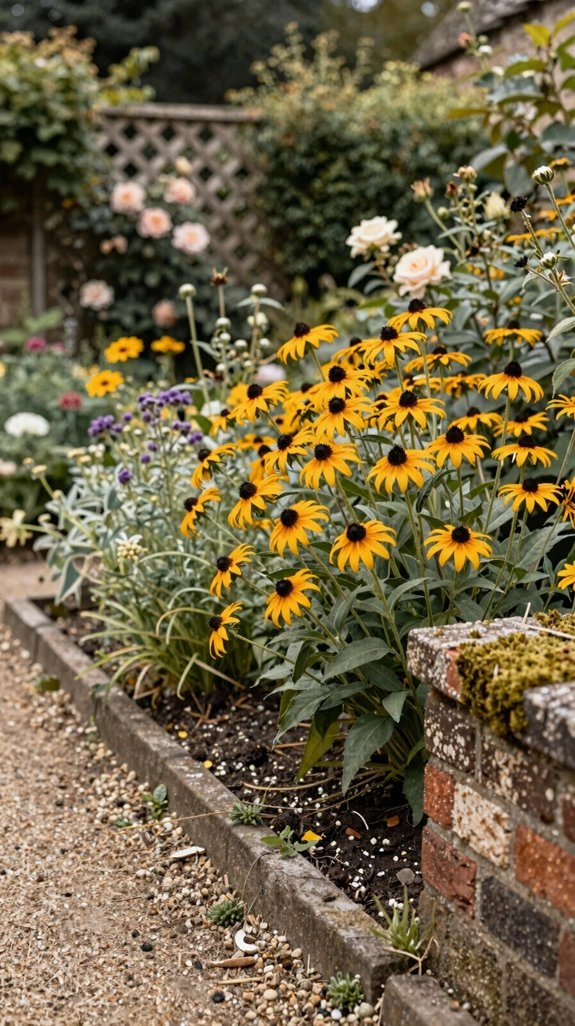
After planting, give your black-eyed Susans a deep drink so their roots can settle in and get comfy, then keep the soil evenly moist through that first year, especially during hot, dry stretches.
Once they’re settled, you can relax—they’re drought-tough! Water only when the top inch feels dry, and if you’re unsure, wait a day; too much water causes more trouble than a little less.
Aim the stream at the base, not the leaves, for better pest prevention and fewer mildew issues.
A light spring feed helps, and mulch benefits include steadier moisture and tidy roots!
Seasonal Care Guide
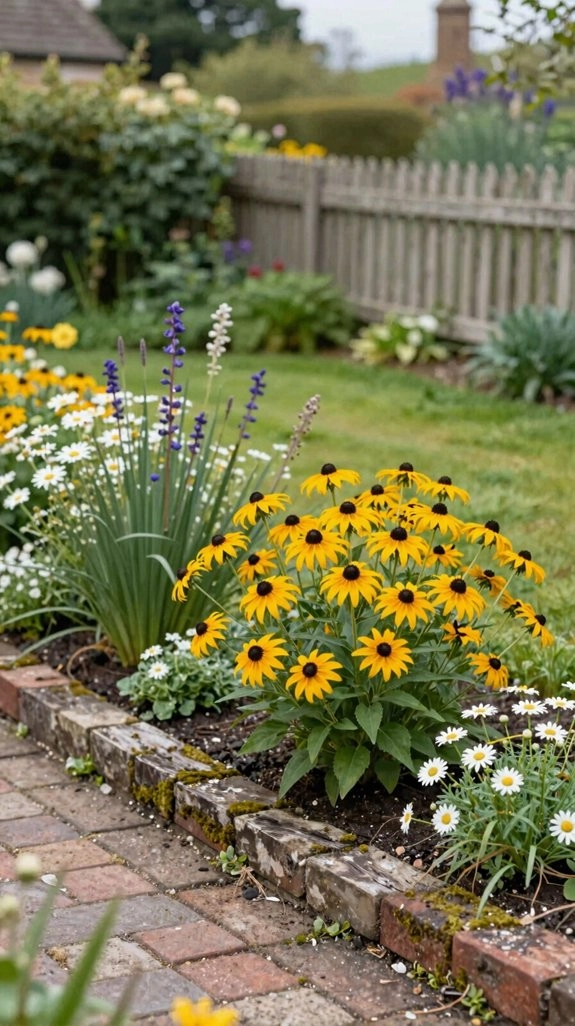
Seasonally, black-eyed Susans keep life pretty simple, but a little timing goes a long way!
In spring, plant after the last hard frost, or sow early for Cold Stratification, then water well so roots settle in fast.
Summer asks for full sun, 6–8 hours or more, plus water when the top inch dries and room between plants, about 12–24 inches, so air can move.
As fall rolls in, enjoy the show and leave a few seed heads for birds.
In winter, focus on Winter Protection: good drainage, no heavy mulch on crowns, and cleanup later.
Pruning and Deadheading
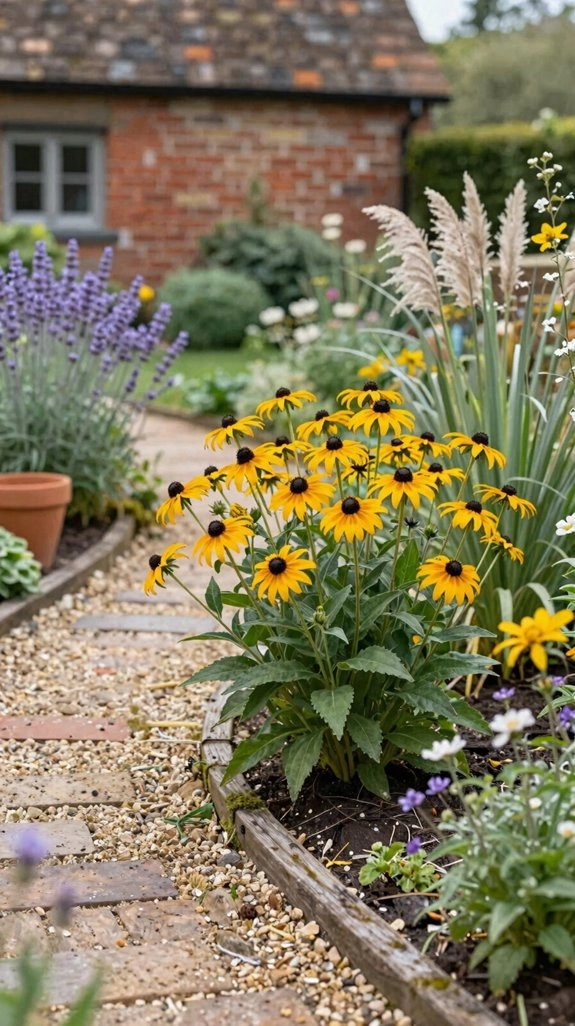
Keeping your black-eyed Susans trimmed really does help them shine! Snip faded blooms just below the flower, and you’ll nudge the plant to make more cheerful blossoms. It’s easy, quick, and essentially free—just use clean pruners and a little confidence.
For powdery mildew prevention, don’t let old stems and crowded foliage hang around too long; better airflow keeps leaves happier.
Here’s the fun part: watch seed head timing. If you want fewer volunteers, deadhead again before heads harden. If you’d like birds to snack later, leave a few late-season seed heads.
In late fall or early spring, cut stems to the ground.
Companion Plant Ideas
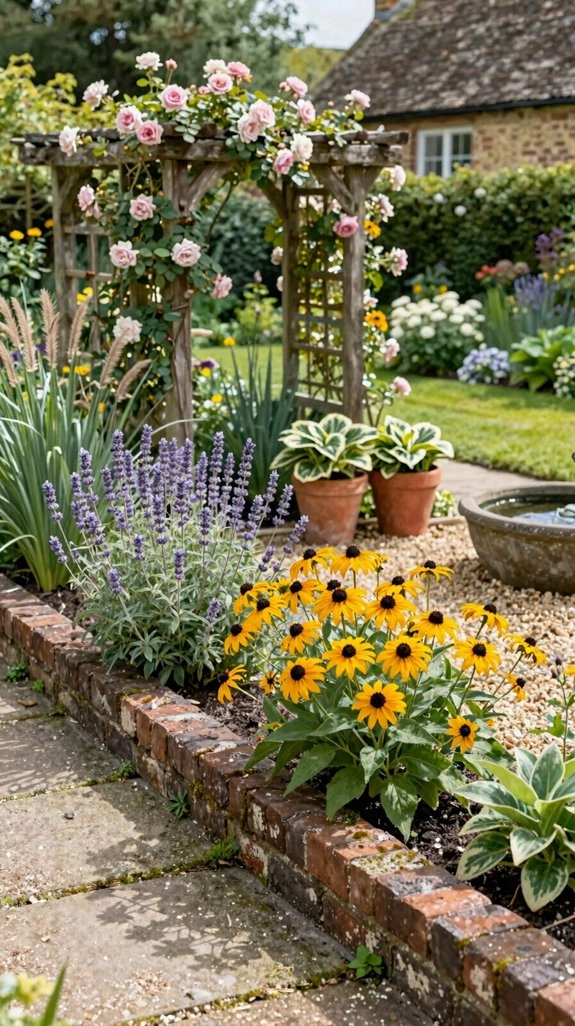
Black-eyed Susans love company, and the right plant pals can make your garden look extra bright with almost no fuss!
Try purple coneflowers for companion color, since they share sunny, well-drained soil and make great drought partners.
Add ornamental grasses or other mid-summer bloomers for garden structure, better airflow, and a steady nectar buffet.
If you want a butterfly friendly mix, tuck in bee magnets that love open blooms too.
Keep feeding light, because too much nitrogen can mean fewer flowers.
For a neat bed, choose clump-formers and deadhead blooms before seeds spread.
Growing in Containers

If you loved pairing black-eyed Susans with their garden buddies, you’ll be happy to know they can shine in pots too!
Pick a compact variety, then use a container with drainage holes and fresh potting mix, not garden soil, so the crown stays safe.
Set it in full sun, give it 6–8 hours daily, and water when the top inch or two feels dry.
Plant at the same depth as the nursery pot, then water well.
Feed lightly in spring, and keep airflow open.
For winter container protection, try simple container overwintering tips: tuck pots in a sheltered spot.
Common Pests and Diseases

Although black-eyed Susans are pretty tough, a few pests and diseases can still sneak in and make the leaves look ragged or tired. You’ll most often notice aphids and spider mites, tiny sap-suckers that twist foliage and slow growth, yikes!
Invite beneficial insects like ladybugs first, then try a gentle spray of water or neem oil if needed.
For spider mites, rinse plants every other day; insecticidal soap helps in small outbreaks.
Keep rust prevention simple: water at the base, space plants 12–24 inches apart, and remove diseased foliage fast.
Use slug barriers if damp nights bring those sneaky munchers.
Frequently Asked Questions
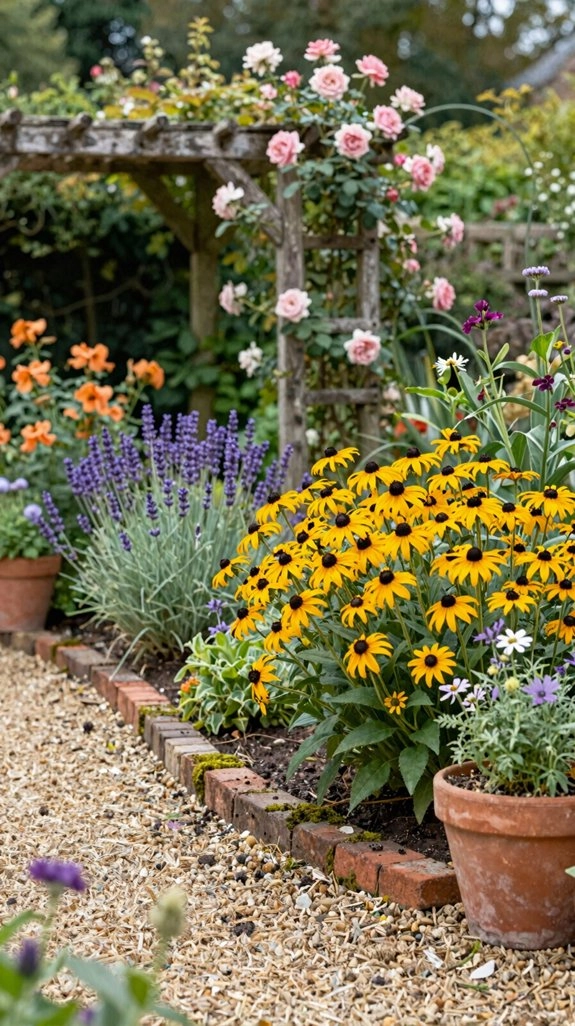
Want big, sunny blooms? You’re in the right patch! Black-eyed Susans are usually perennials, though *Rudbeckia hirta* may act like a short-lived annual with fun reseeding habits.
- Plant in full sun for the brightest flowers and best pollinator attractions.
- Sow after hard frost, or tuck them in early fall, when soil still feels warm.
- Skip heavy fertilizer; a light spring feed is enough, and too much nitrogen can mean more leaves, fewer blooms.
- See mildew? Water at the base and space plants 12–24 inches apart for better airflow.