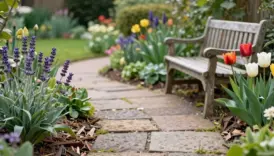
15 Mosaic Stepping Stone Ideas Full of Color and Personality
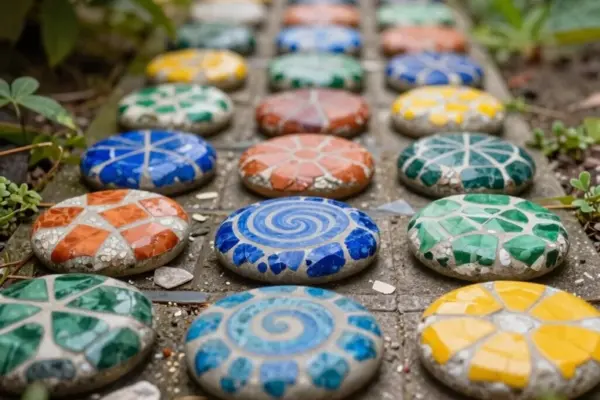
- 15 Mosaic Stepping Stone Ideas Full of Color and Personality
- Key Takeaways
- Floral Designs
- Pebble Mosaics
- Sea Glass Patterns
- Broken China Art
- Mandala Designs
- Butterfly Themes
- Personalized Family Stones
- Modern Geometric Patterns
- Children's Garden Stones
- Nature-Inspired Artwork
- Recycled Tile Designs
- Rainbow Patterns
- Rustic Garden Themes
- Black and White Mosaics
- Beginner Projects
Create colorful stepping stones with flower tiles, pebble swirls, sea-glass waves, or broken-china leaves. Use a mold, concrete, outdoor adhesive, grout, and sealant; arrange your design, press pieces firmly, let everything cure, then seal it for weather protection. Try mandalas, rainbows, rustic woodland scenes, or crisp black-and-white spirals, and add mossy accents for a natural finish. Beginners can start with a simple border or stencil—budget-friendly, personal, and delightfully imperfect! Keep going for more creative patterns, materials, and easy tips.
Key Takeaways
- Create floral stepping stones with colorful porcelain shards arranged into blossoms, leaves, and simple decorative borders.
- Use pebbles, natural stones, and earthy colors to form rustic stripes, swirls, woodland scenes, or textured garden motifs.
- Build ocean-inspired designs with sea glass, wave patterns, teal tiles, coral accents, and layered blue-green fragments.
- Try bold styles such as mandalas, black-and-white spirals, geometric borders, rainbows, monograms, or symmetrical stars.
- Secure pieces with outdoor adhesive, allow full curing, apply grout carefully, and finish with weatherproof outdoor sealant.
Floral Designs
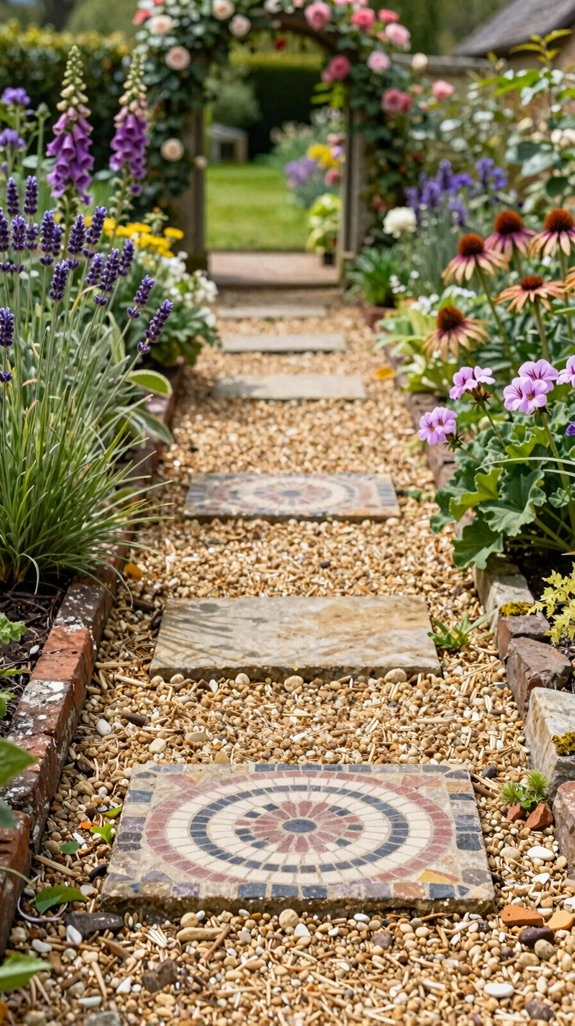
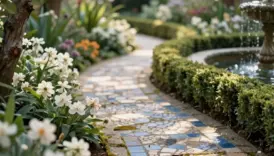
Floral mosaic stepping stones bring instant garden charm, and they’re easier to make than they look! Choose porcelain or ceramic shards in reds, pinks, yellows, and greens, then arrange them into leaf-and-blossom shapes.
You’ll need a stepping-stone mold, concrete mix, tile pieces, gloves, and adhesive. Set the tiles in a simple flower pattern, add a Colorful border, and let everything cure fully. This approach keeps costs low, while careful sealing supports stone durability outdoors.
Repeat matching blooms across several stones so your path feels welcoming and connected. Want extra personality? Add blue petals among layered greenery—the unexpected accent may become your garden’s favorite little surprise!
Pebble Mosaics
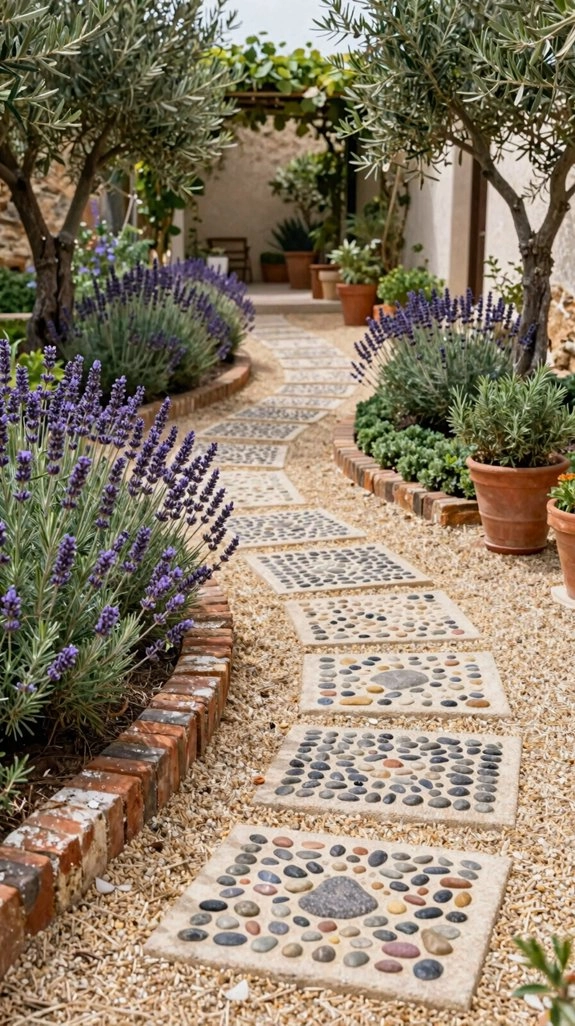
Pebble mosaics turn ordinary stepping stones into textured garden art, using small stones arranged in stripes, swirls, or a centered motif for loads of natural charm!
Choose blues and greens for a nature vibe, or warm tones for Mediterranean color blending.
Gather pebbles, a concrete form, outdoor adhesive, and optional tile accents.
- Prepare your base.
- Arrange mixed sizes into an organic pattern.
- Leave consistent gaps, then glue each pebble.
- Clean the border for a crisp finish!
Tile framing adds texture contrast, helping your design pop from every angle.
It’s affordable, beginner-friendly, and welcoming—like a tiny garden hello!
Best tip: scatter sizes naturally; perfection can look less alive.
Sea Glass Patterns
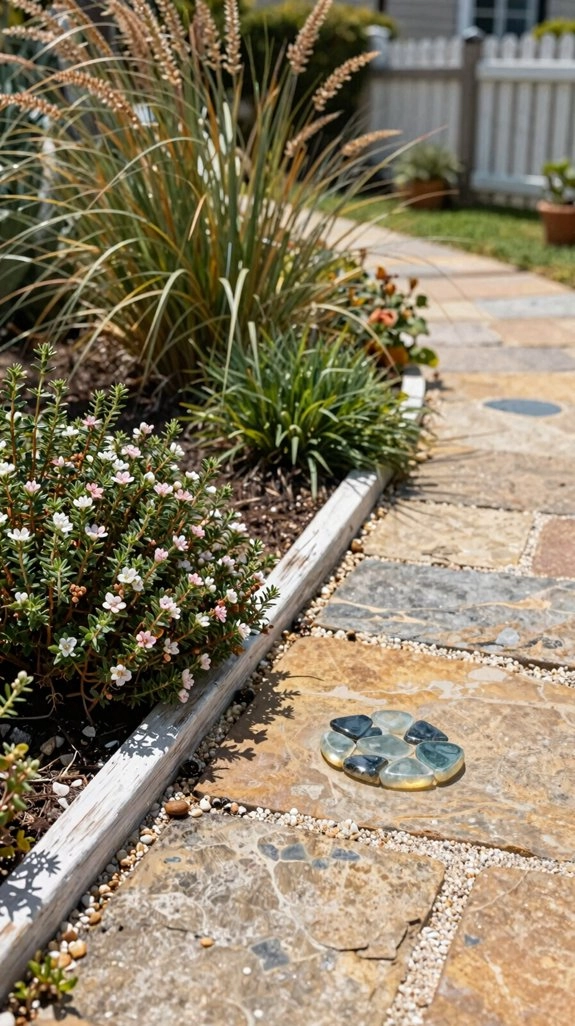
Bring a little ocean magic to your garden with sea glass patterns! Choose blue, teal, and pale green tiles to create a friendly, beachy welcome at your doorstep. You’ll need tile pieces, small porcelain shards, adhesive, grout, and outdoor sealant.
Arrange larger fragments first, then tuck in smaller pieces for a layered glass effect that looks naturally tumbled in sand. Add curved, wave-like lines or gentle swirls to suggest moving water. For a cheerful surprise, scatter coral flecks in tiny orange and red accents, like a reef peeking through.
After grouting, seal your stone well. It’ll stay colorful, sturdy, and ready for garden footsteps!
Broken China Art
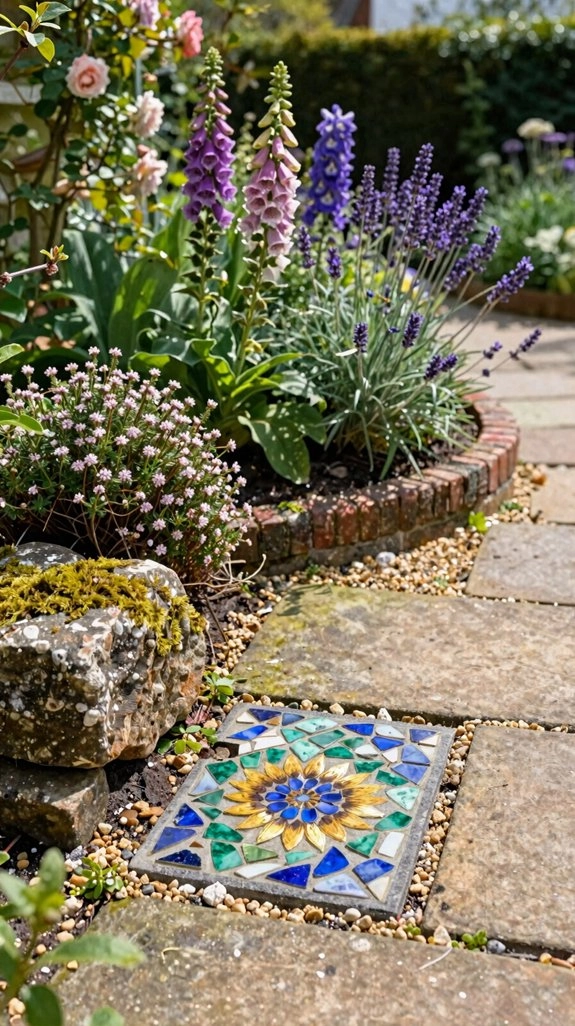
Turn colorful broken china into a stepping stone that looks like a tiny piece of garden art!
Gather blue, orange, and red dishes, then chip them into small shards with tile cutters.
- Sketch a wave or flower on concrete.
- Apply adhesive, let it set slightly, then press pieces tightly together.
- Fill gaps with contrasting, colorful grout options, smoothing the edges for a polished finish.
- Follow weatherproof sealing tips: coat the finished stone with outdoor sealant.
You’ll create a bold, one-of-a-kind accent that welcomes everyone into your garden. It’s affordable, beginner-friendly, and delightfully imperfect—because even the prettiest paths can have a few surprises!
Mandala Designs
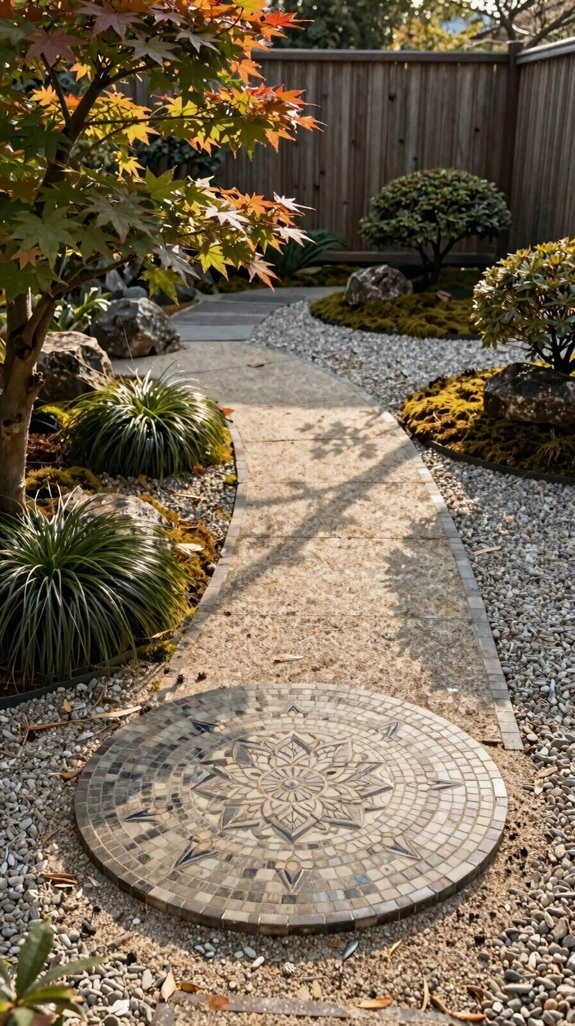
How about creating a mandala mosaic stepping stone that feels like a tiny burst of garden calm? You’ll give your path a welcoming focal point everyone can enjoy!
Start with a mandala stepping stone mold, concrete mix, small tiles, porcelain pieces, and a stencil.
Arrange repeating circular motifs in rings, following the stencil for crisp tile symmetry.
Choose brighter colors for a glow center, then let complementary tones fade outward, creating a gentle pulse from above.
Once it cures, place your statement stone among plain stones or groundcover.
It’s affordable, beginner-friendly, and delightfully forgiving!
For personality, change one outer-ring color while keeping the structure cohesive—your garden’s little signature!
Butterfly Themes
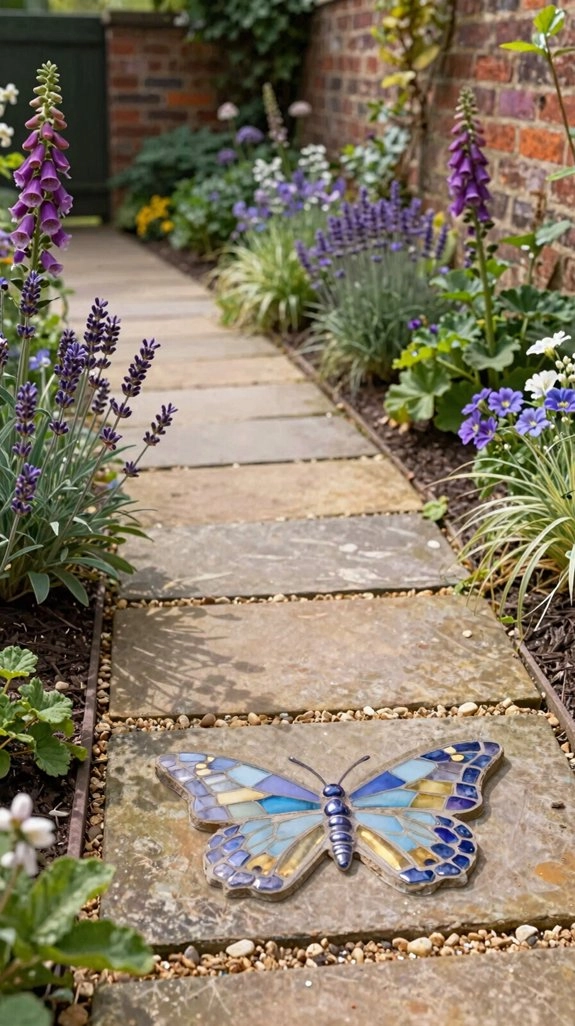
If you love garden details that feel lively and cheerful, a butterfly mosaic stepping stone could be the perfect path accent!
- Trace Mosaic butterflies stencils for balanced wings.
- Arrange bright tile shards and porcelain pieces, outlining each wing with darker tiles.
- Build a green, blue, or neutral base, then add a contrasting body stripe and ladybug-inspired dots.
- Follow Outdoor durability tips: secure every piece with outdoor adhesive before setting the stone.
You’ll create a welcoming path detail that feels handmade and joyful!
Small tile cutters help you place accents neatly, while bold wing panels bring a wow moment.
Best of all, this beginner-friendly project adds personality without costing much—your garden visitors will smile!
Personalized Family Stones
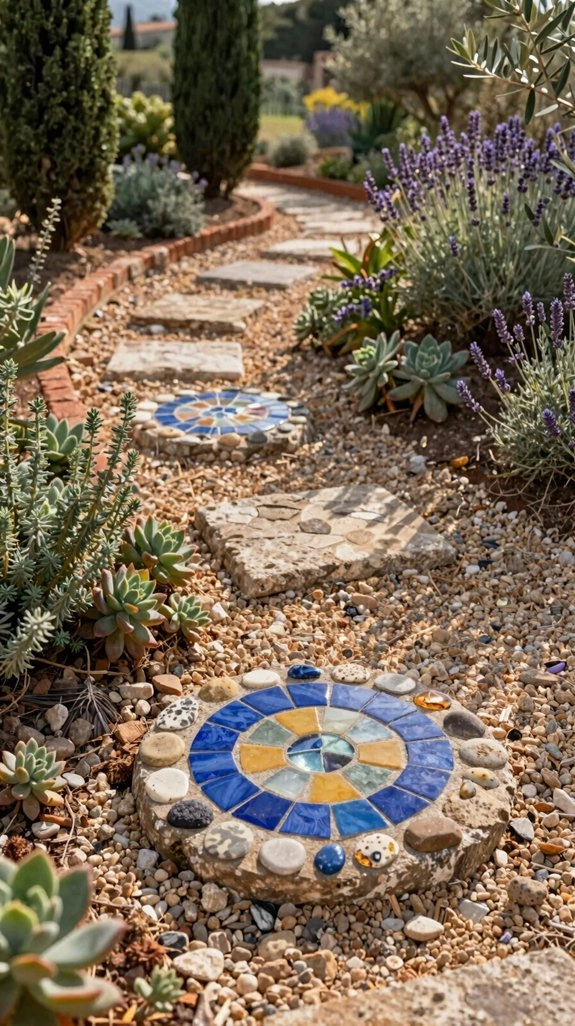
Personalized family mosaic stepping stones add a sweet, one-of-a-kind touch to your garden path! Choose ceramic or porcelain tiles, grout, sealer, and a stone mold.
Sketch your initials, shared symbol, or year, then test custom monogram layouts before placing pieces.
Try family name placement across one stone, or create a coordinated route with one marker for each family member.
Mix tile sizes and shapes inside the letters, but use even edging tiles so everything stays readable.
Frame each design with colorful pieces for extra contrast—what a welcome!
After grouting, seal the finished stones.
They’re affordable, beginner-friendly, and built to celebrate belonging outdoors!
Modern Geometric Patterns
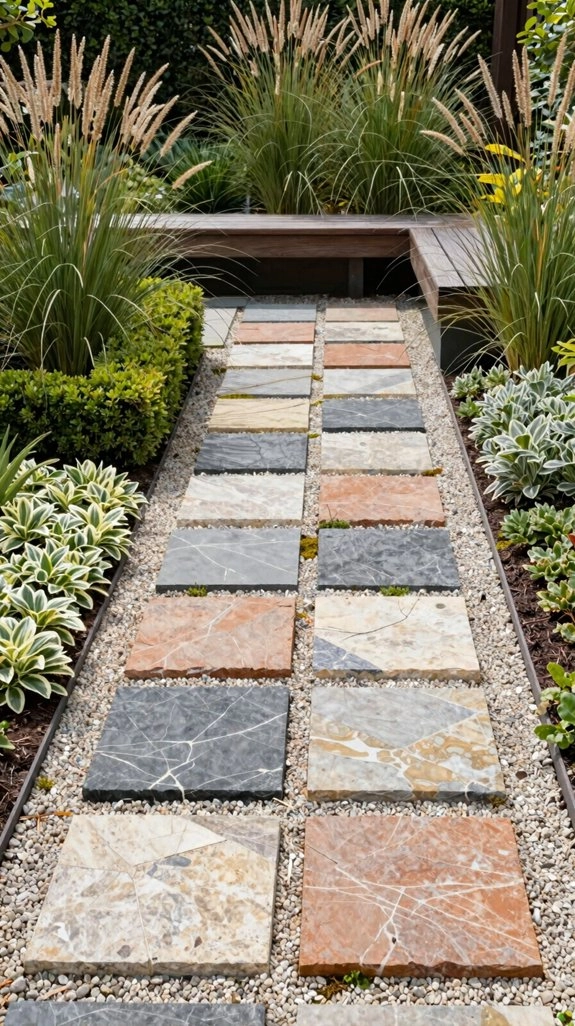
Modern geometric mosaic stepping stones bring a clean, contemporary feel to any garden path, especially when circles and spirals work together like a tiny outdoor design puzzle!
Gather your neighbors or family and try this welcoming project:
- Shape durable stones with a Geometric Stepping Stone Mold.
- Choose vibrant pieces from a Mosaic Tile Kit.
- Plan concentric rings and spiral lines for clear repetition.
- Cut tiles neatly around corners and arcs.
Build slowly, keeping symmetry balance between every curve. Your tessellation themes will look crisp from several steps away, not random.
Follow the circle-and-spiral placement pattern, and you’ll create a cheerful path everyone can admire!
Children’s Garden Stones
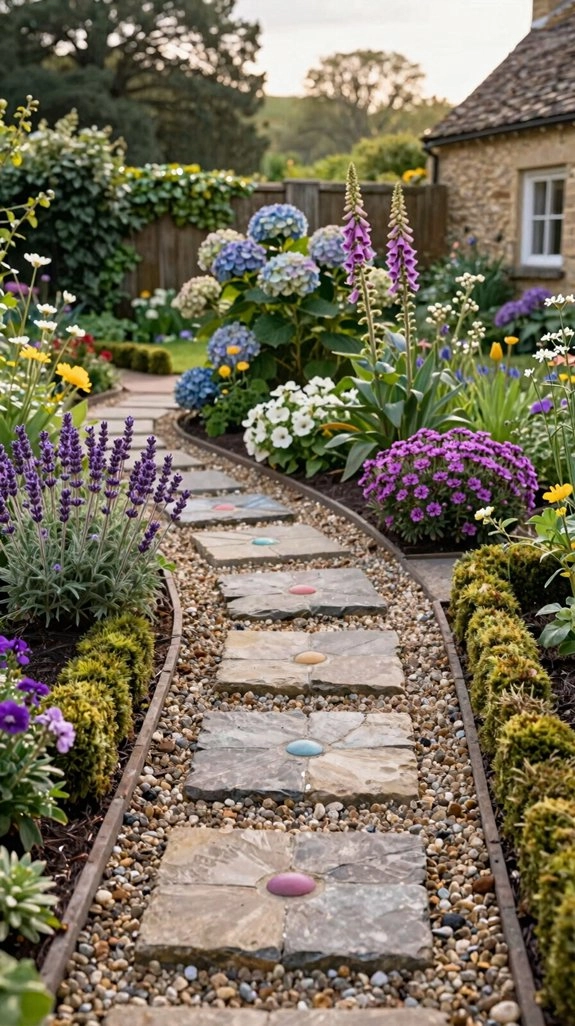
Bring a children’s garden walkway to life with bright mosaic stepping stones that turn every trip outside into a mini treasure hunt! Press small porcelain or tile pieces into concrete bases, creating durable, kid-friendly stones that invite garden path quests.
Try turtle, butterfly, or ladybug shapes with tile templates. Add colorful pawprints, initials, or leafy green-and-brown borders for personality and belonging.
A mosaic kit keeps costs manageable and steps simple: arrange pieces, press them in, let the base cure, then seal it.
For evening excitement, save the biggest surprise for last—stars, a moon, or glow-in-the-dark tiles! Keep surfaces slightly textured for safer steps.
Nature-Inspired Artwork
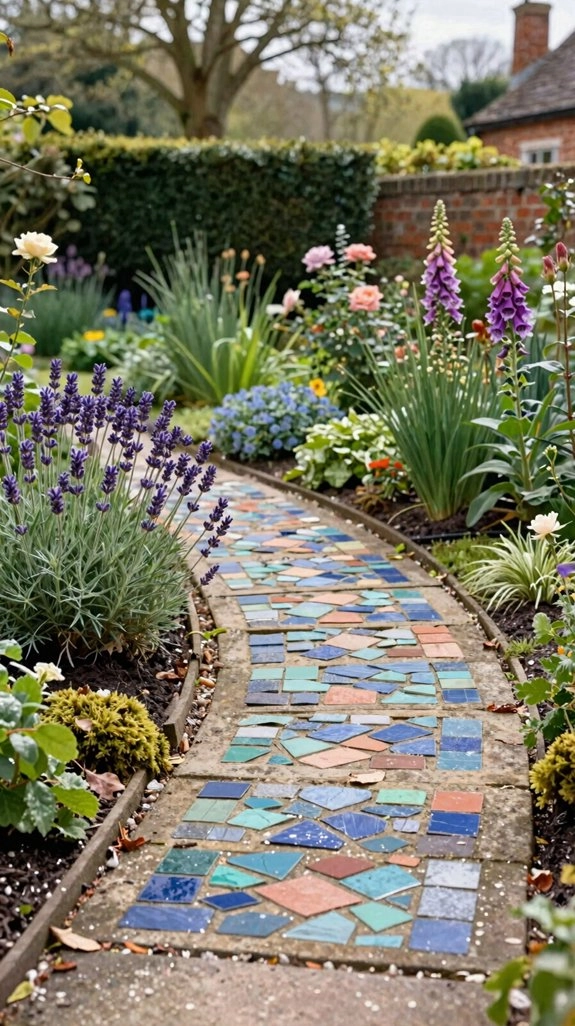
Nature-inspired artwork can turn a plain stepping stone into a tiny forest floor! Bring your garden into the design, and let every neighbor feel welcome.
- Leaf pattern: Use a Leaf Stencil Set for Garden Stones, green tiles, and brown pieces. Trace, fill, and repeat for a friendly botanical look.
- Nature’s Symphony: Arrange earth-toned tiles as stems, twigs, and overlapping foliage. It’s easy, affordable, and wonderfully organic!
- Garden match: Choose a Mosaic Tile Kit with Natural Colors to echo nearby plants and landscaping.
- Surprise finish: Add wildlife silhouettes beside branch-like lines and leaf clusters. Your stone will feel like a tiny storybook path!
Recycled Tile Designs
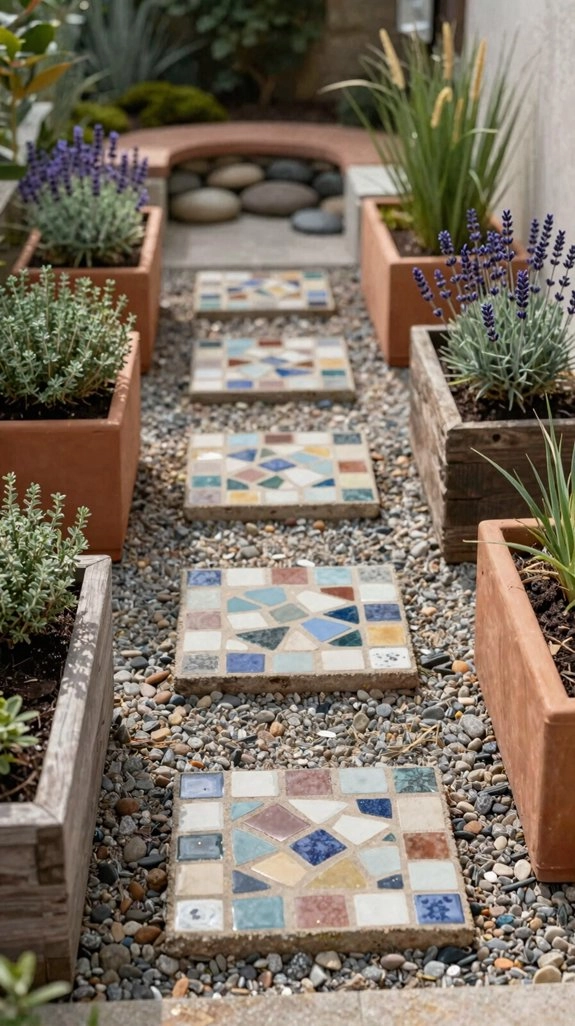
Recycled tile designs turn broken porcelain and leftover tile pieces into colorful, one-of-a-kind stepping stones—and the finished surface is tougher than it looks!
You’ll create a welcoming patchwork that gives old materials a second chance.
Gather tile scraps, a tile cutter, adhesive, and your stepping-stone mold.
Mix tiny shards with larger accents, then arrange them around a simple circle, star, or leaf.
Trim awkward pieces so gaps look neat, and add a stained glass-like sparkle without needing upscale supplies.
For outdoor longevity, secure every piece with weather-ready outdoor adhesive.
Want a wow moment? Place one bold recycled-tile insert in the center—instant garden personality!
Rainbow Patterns
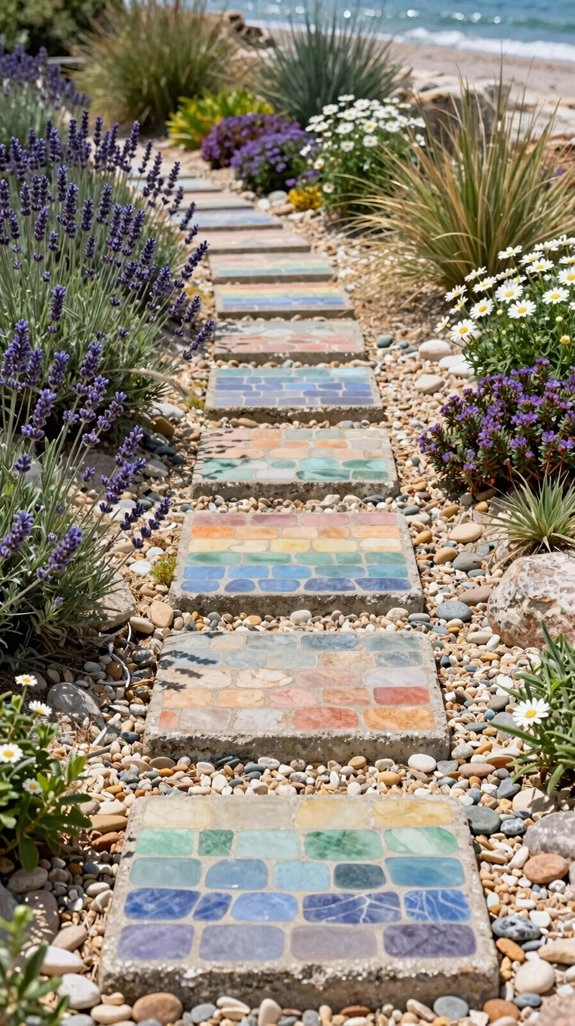
When bright tiles follow a clear rainbow sequence—red, orange, yellow, green, blue, indigo, and purple—your stepping stone can turn an ordinary garden path into a cheerful burst of color!
Try this friendly, beginner-ready plan:
- Choose bright, high-contrast tiles and arrange smooth stripes or blocky bands.
- Add tiny pebbles or tile shards for playful texture.
- Use white-stone mosaic framing to make every color pop.
- Try rainbow patchwork, keeping the overall color order consistent.
You’ll need tiles, adhesive, a mold, and grout. Arrange, press, and seal your design.
The result feels welcoming, bold, and joyful—like your garden’s wearing party socks!
Rustic Garden Themes
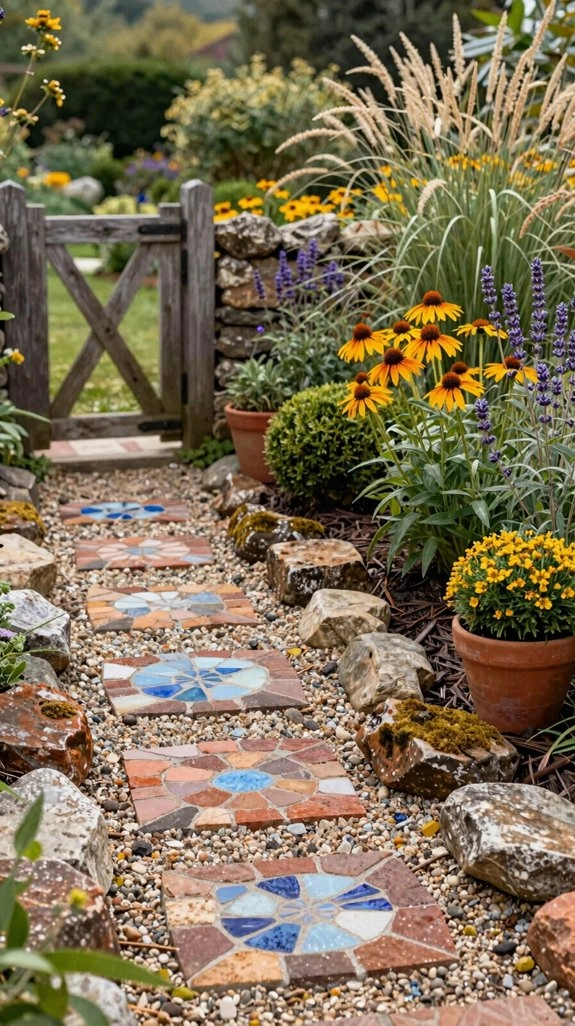
Trade the rainbow’s bold sparkle for the cozy charm of a rustic garden scene! You’ll create a stepping stone that feels like it belongs among ferns, herbs, and winding paths.
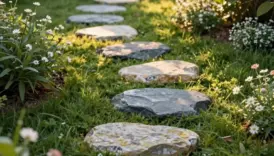
Gather natural stone tiles, brown and green pieces, a mold, mortar, and outdoor sealant. Arrange woodland patterns, such as leaves and branches, across a rough layout, leaving space to show stone texture. Your earthy palette adds color without shouting, while mossy accents help the piece settle into its surroundings.
Nestle the finished stone beside plants for a seamless landscape effect. Seal it for weather protection, and watch your garden gain a welcoming personality—almost like it grew there!
Black and White Mosaics
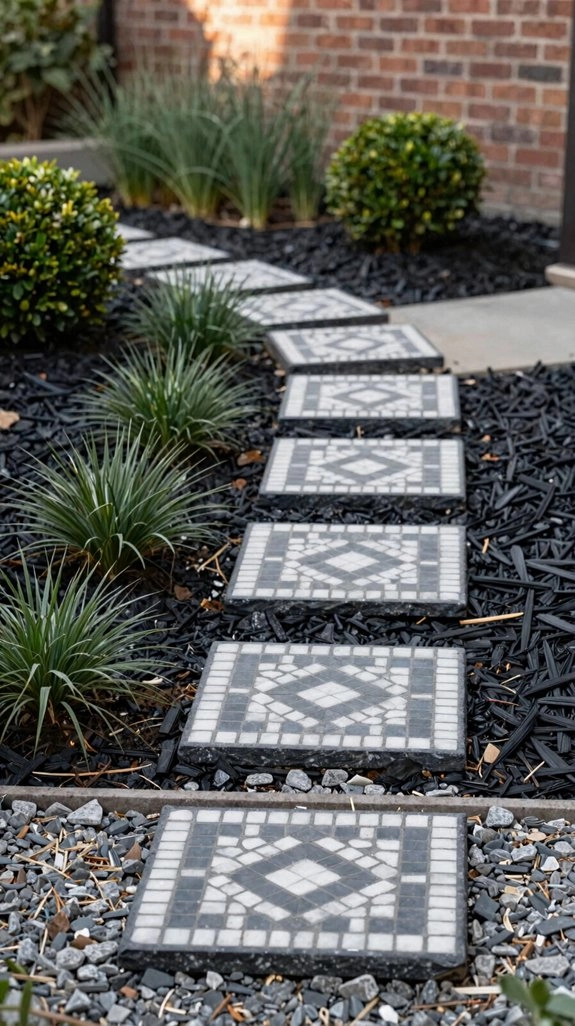
For a crisp garden accent, combine white porcelain pieces with black tile shards to create a stepping stone that looks modern, bold, and wonderfully easy to read from a distance! You’ll love how this friendly monochrome style fits any garden.
- Arrange circles or spirals for lively structure.
- Add geometric borders to sharpen the edge.
- Mix tiny tesserae with larger pieces for texture.
- Center stenciled monograms, stars, or symmetrical motifs.
Frame your design with a thin black outline or white edging, so it pops against mulch or grass. Start with a simple layout, then let your personality shine—your garden community will notice!
Beginner Projects
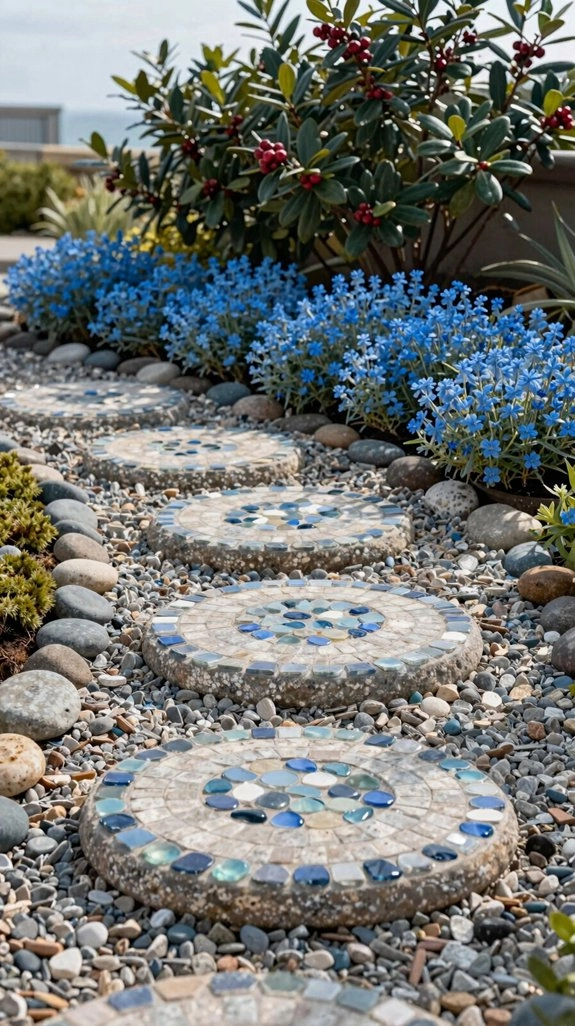
Beginner mosaic stepping stone projects can be simple, colorful, and surprisingly satisfying—no elaborate art skills required! Start with a geometric mold and tile kit; arrange circles or spirals, add a simple border, then grout. Choose a grout color that makes your pattern pop, and you’ll have a polished result!
For nature lovers, green and brown tiles plus leaf stencils create friendly branch motifs with little planning. Want a weathered look? Mix assorted tiles, trimming edge pieces with cutters. Animal kits, such as turtles or butterflies, make shaping easy, while glass tile accents add sparkle.
Finally, try a monogram: colorful initials inside a border, sealed proudly!