15 Garden Stepping Stones Ideas for Beautiful Walkways
- 15 Garden Stepping Stones Ideas for Beautiful Walkways
- Key Takeaways
- Natural Flagstone Path
- Round Concrete Stones
- Wood Slice Walkway
- Pebble Mosaic Design
- Large Square Pavers
- Grass Joint Stones
- Slate Garden Path
- Brick Stepping Stones
- River Rock Walkway
- Stamped Concrete Design
- Rustic Timber Rounds
- Curved Garden Trail
- Glow-in-the-Dark Stones
- Mixed Stone Patterns
- Modern Minimal Path
Create a welcoming walkway with natural flagstone, round concrete stones, warm wood slices, or large square pavers. Mark your route, dig shallowly, add compacted gravel and sand, then set stones level with 18–24-inch spacing. Try a gentle curve, mixed slate and limestone, grass-filled joints, or a pebble mosaic for personality. Glow-in-the-dark stones add nighttime sparkle—place them at turns and steps, not as your only lighting. Keep exploring for more creative, beginner-friendly ideas and helpful tips!
Key Takeaways
- Create a rustic flagstone path using sandstone, slate, or limestone set in compacted gravel or sand.
- Use large square concrete, porcelain, or granite pavers for clean, modern walkways with even spacing.
- Add warmth with sealed oak or beech wood slices placed 18–24 inches apart on a stable gravel bed.
- Design a decorative pebble mosaic with contrasting colors, wave patterns, or a focal accent circle.
- Improve nighttime safety with textured glow stones marking edges, turns, and the walkway’s first and last steps.
Natural Flagstone Path
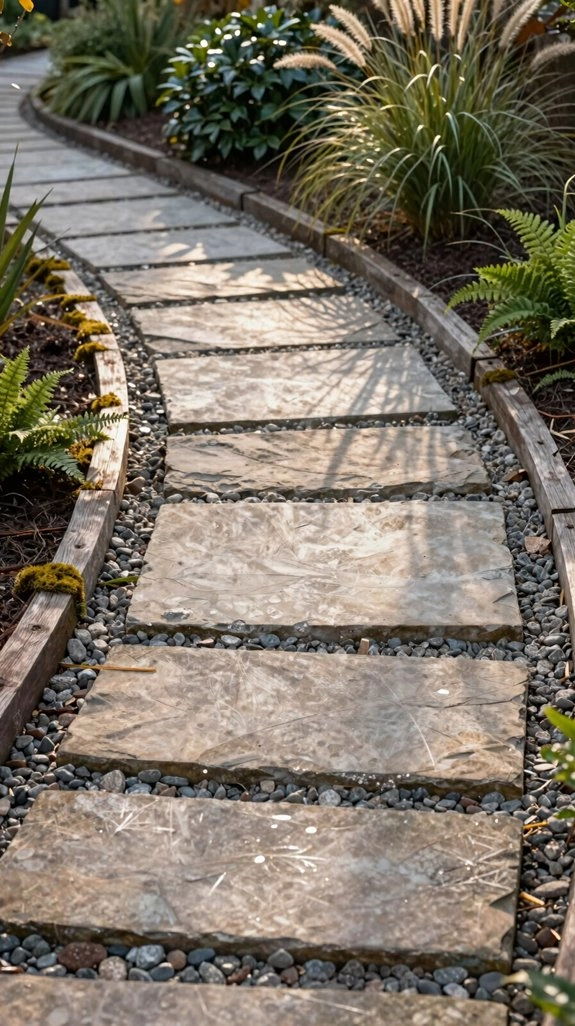
If you want a garden path that feels like it’s always belonged there, try a natural flagstone path! Choose sandstone, limestone, slate, or granite tones for a rustic pathway that blends beautifully with grass and flowers.
Gather flagstones, gravel, leveling sand, and joint filler. Mark your route, dig shallowly, then add and compact gravel with a thin sand layer. Arrange each natural stone for a comfortable stride, leaving gaps no wider than 2–3 inches. Fill joints with sand, gravel, or soil, adding weed barrier if desired.
Use smaller pieces around curves and larger slabs as focal steps. The result feels welcoming—and wonderfully unplanned!
Round Concrete Stones
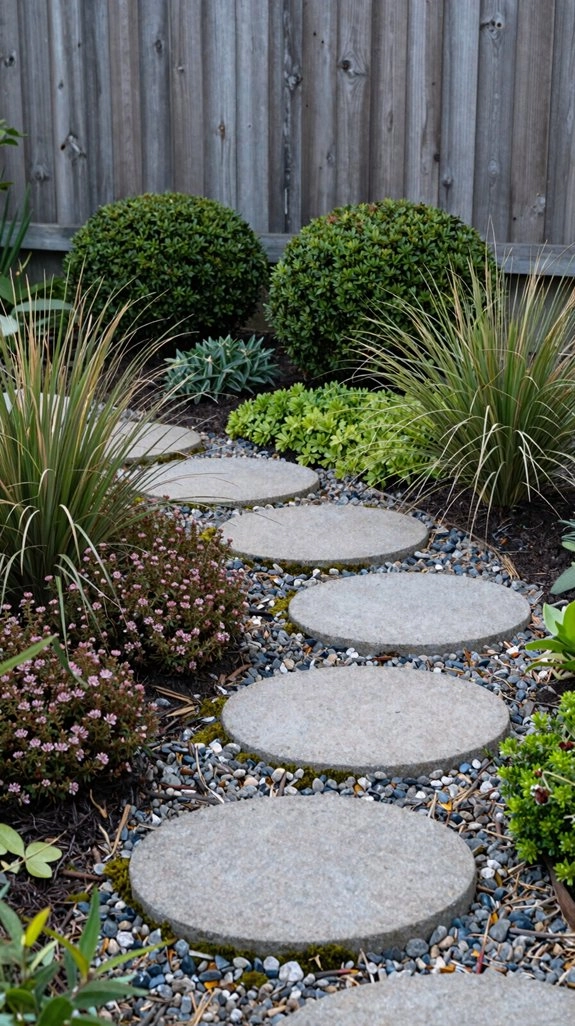
Round concrete stepping stones bring neat lines and easy spacing to your garden path, making them a smart choice when you want a polished look without fussy measuring! Their smooth shapes suit small gardens and curved routes, helping you create a welcoming flow.
Try this beginner-friendly plan:
- Mark your route and dig a shallow trench.
- Add garden fabric, compacted gravel or sand.
- Set stones level with a 2–4 ft level.
- Fill gaps with pea gravel to discourage weeds.
You’ll get a safe, easy-to-walk surface without much cost or effort. Add mosaic detailing, pebbles, or engraving for charm. A stamped walkway look can make neighbors feel right at home!
Wood Slice Walkway
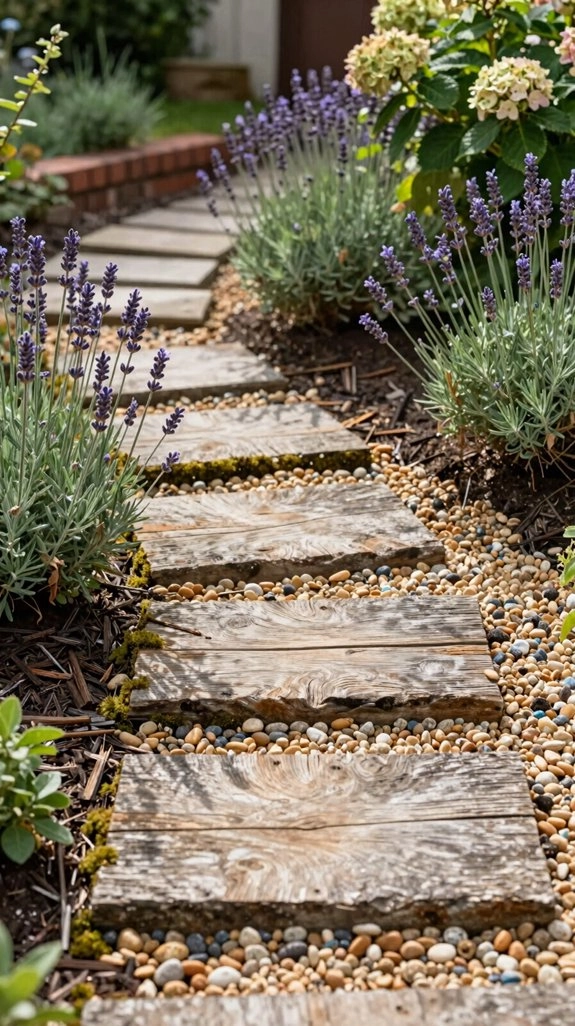
A wood slice walkway brings a warm, woodland feel to your garden, and it’s surprisingly simple to make! Choose flat, hardwood rounds, such as oak or beech, about 1–3 inches thick.
Dig shallow holes, lay weed barrier fabric, and create a level bed of compacted sand or fine gravel.
Set slices 18–24 inches apart, then backfill with gravel and tamp firmly for safety stability.
Fill gaps with pea gravel or sand for drainage.
Before installation, apply outdoor wood sealant for reliable wood sealing, helping prevent cracks and rot.
Check for sinking each season, re-level moved slices, and sweep away debris.
Best of all, your garden gains instant woodland charm!
Pebble Mosaic Design
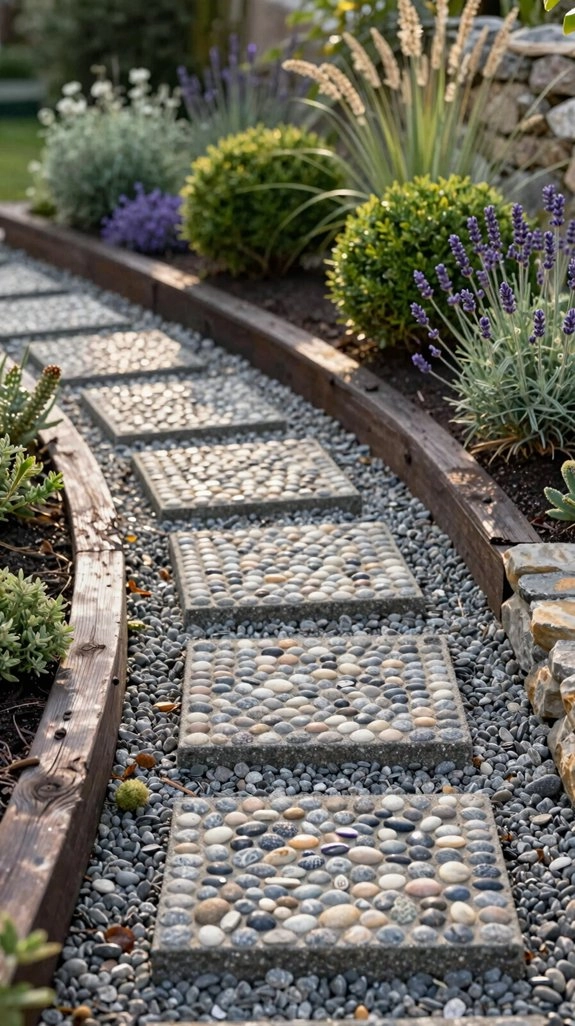
Trade rustic wood for colorful stone with a pebble mosaic design that turns an ordinary garden path into a tiny work of art!
You’ll need tumbled pebbles, mortar or thin-set, guides, and sealer. Prepare the base, mark a grid, and place stones with steady spacing.
- Choose stone color contrast for clear shapes.
- Try a wave pattern layout for movement.
- Press and level pebbles for safe steps.
- Seal joints to limit shifting and weeds.
Keep gaps tight for a smooth finish, or fill wider spaces with grout or sand. Dark slate beside pale limestone makes your walkway welcoming—and wonderfully memorable!
Large Square Pavers
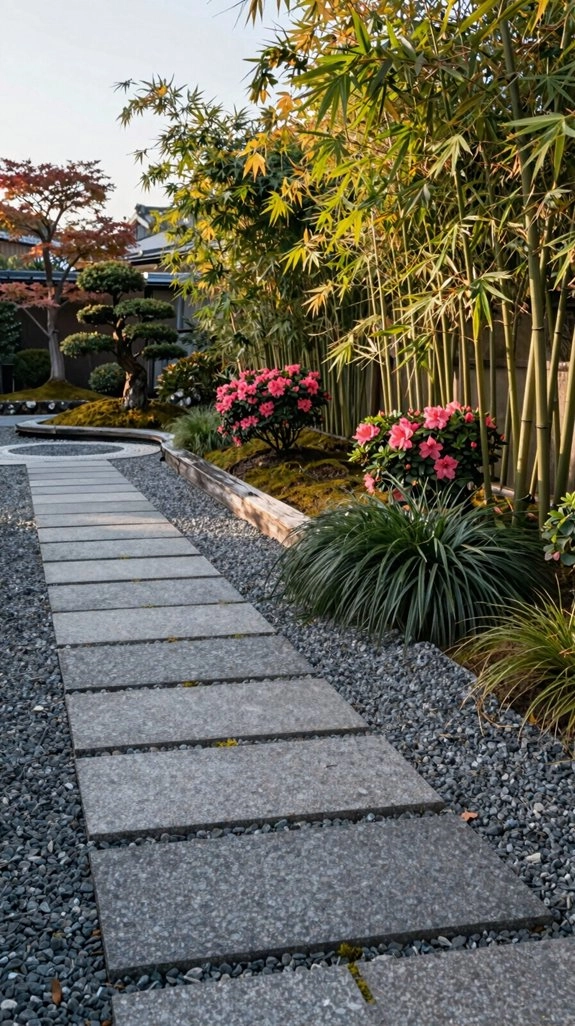
Large square pavers give your garden path a clean, modern look without making you place dozens of tiny pieces—what a relief! Choose concrete, porcelain, or flagstone-style slabs with textured, slip-resistant tops, especially if your garden gets wet.
First, mark a straight route, then spread and compact a few inches of gravel or sand. Set each square level, leaving tight gaps for a crisp grid or slightly wider joints filled with polymeric sand or gravel for drainage.
Follow paver depth tips, and add tall edging blocks to prevent shifting.
Position every piece with consistent, stride-friendly spacing—your walkway will look wonderfully intentional and welcoming!
Grass Joint Stones
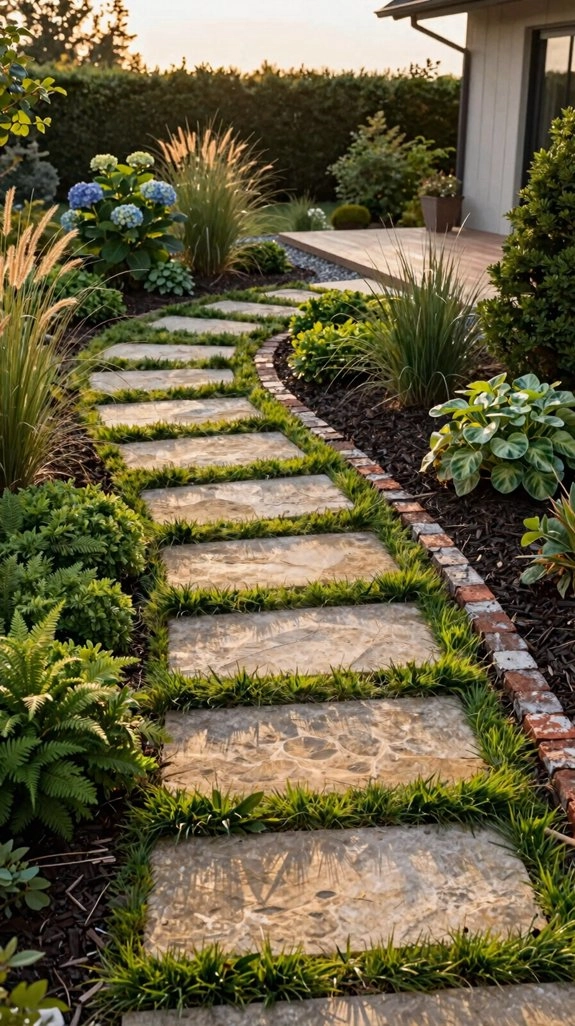
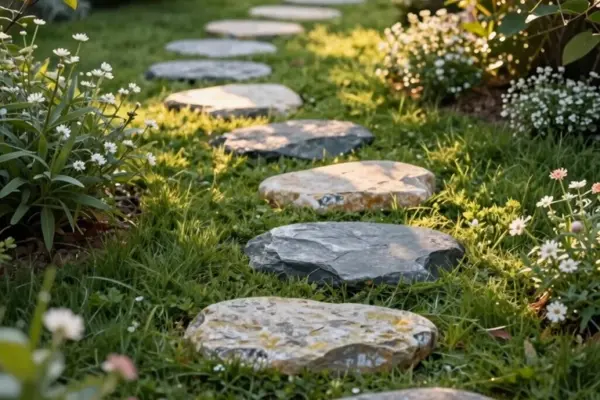
When you leave room for grass between each stone, your walkway takes on a charming “floating” look that feels soft, natural, and wonderfully relaxed! You’ll create a welcoming path that feels like it belongs in your garden.
- Set irregular flagstones on compacted gravel or sand.
- Keep gaps a few centimeters wide for steady footing.
- Fill joints with topsoil, then reseed grass.
- Choose textured, slip resistant surfaces for wet spots.
This beginner-friendly project costs little, and consistent spacing prevents wobbling. Growing turf offers weed suppression while softening hard edges.
Water gently, trim regularly, and reseed bare patches. The delightful surprise? Rough stones and lively grass make every step feel naturally connected!
Slate Garden Path
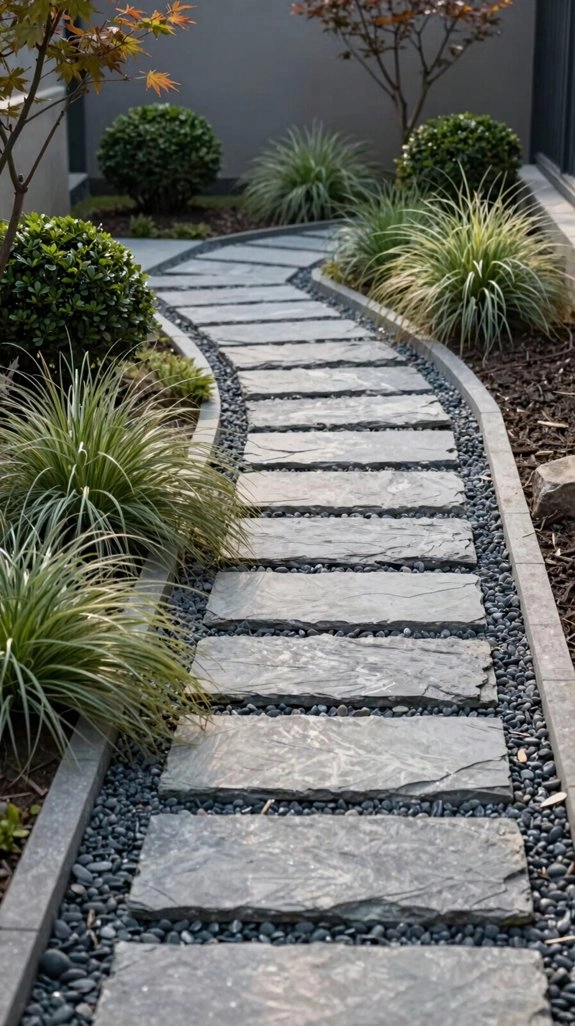
Slate brings a cool, polished look to a garden path, with dark gray and blue tones that make nearby greens pop!
Choose slightly rough or refined stones for safer footing, then level each piece with a level and rubber mallet.
Start with weed-control fabric over compacted gravel or sand to improve drainage and limit moving.
Space stones 18–24 inches apart, and let them float in pea gravel or low soil for a natural welcome.
Try a herringbone layout for extra style, or add a moss accent between stones.
Finish with gravel borders or limestone lights—your path will feel polished, friendly, and wonderfully low-maintenance!
Brick Stepping Stones
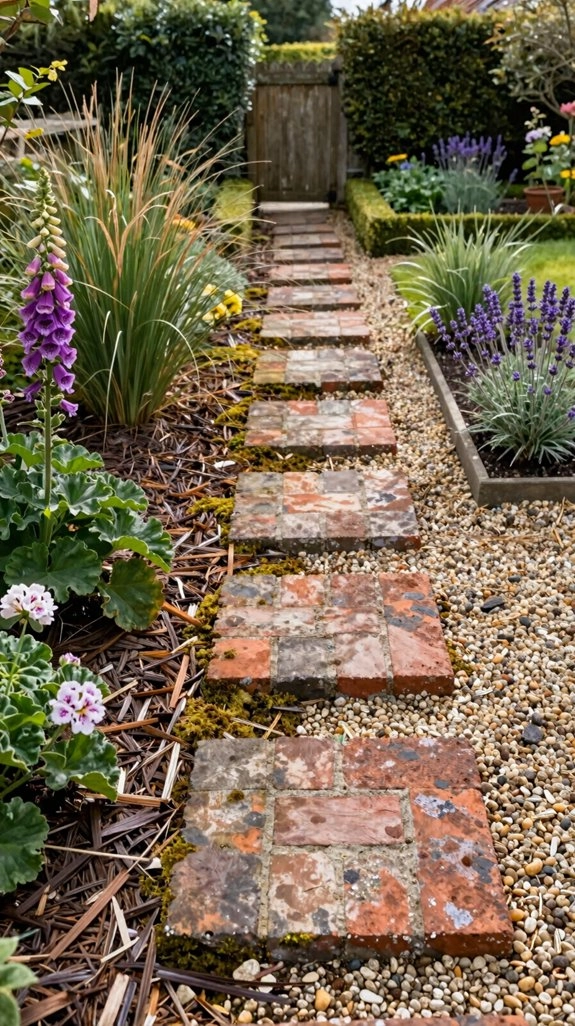
Brick stepping stones bring a classic cottage-to-patio feel to any yard, and their warm reds and weathered edges make the path feel instantly welcoming! Create a friendly route with bricks set evenly, so each step feels safe and natural.
- Choose straight lines for tight spaces or gentle curves to open your yard.
- Set bricks on compacted sand or gravel, then tap them firm with a rubber mallet.
- Mix irregular pieces with pea gravel for contrast and better drainage.
- Add yard fabric beneath gravel edging to discourage weeds.
You can even borrow a cobblestone stepping pattern for extra charm. The result? A cozy path your whole household will enjoy!
River Rock Walkway
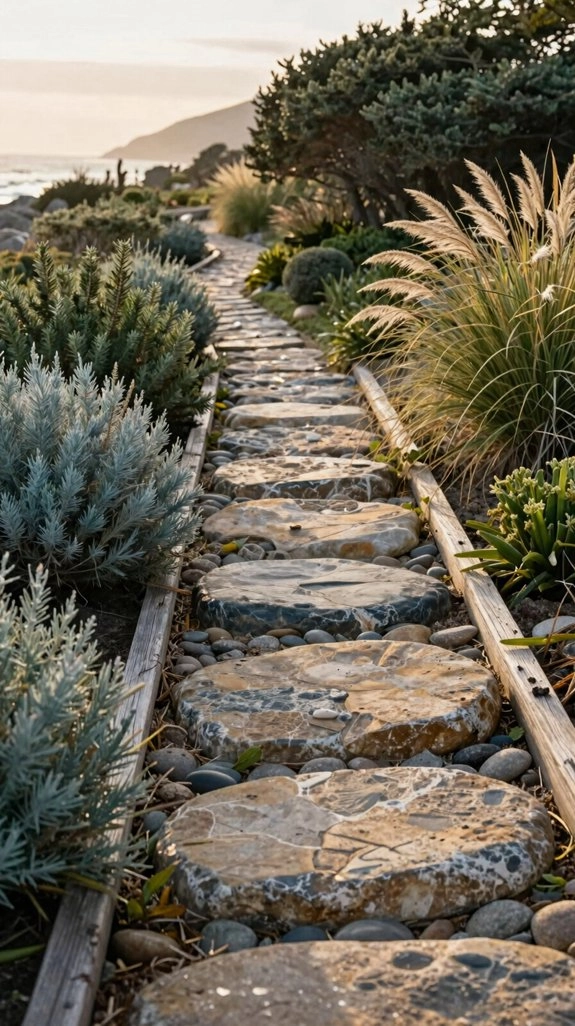
Ready for a path with a little more natural charm? A river rock walkway welcomes you home with soft, rounded texture and an easygoing, garden-friendly feel!
Choose rougher 1–2-inch stones for safer footing, plus larger flat slate or basalt markers. Lay weed barrier fabric, add 2–4 inches of compacted gravel, then nestle each marker level with a rubber mallet.
Fill gaps with river rock and sand or gravel, creating a stable, floating look.
Plan drainage planning before you begin, guiding water away from doors. For weed barrier tips, overlap fabric edges.
Finally, add lighting enhancements along darker stones—your path will glow beautifully after sunset!
Stamped Concrete Design
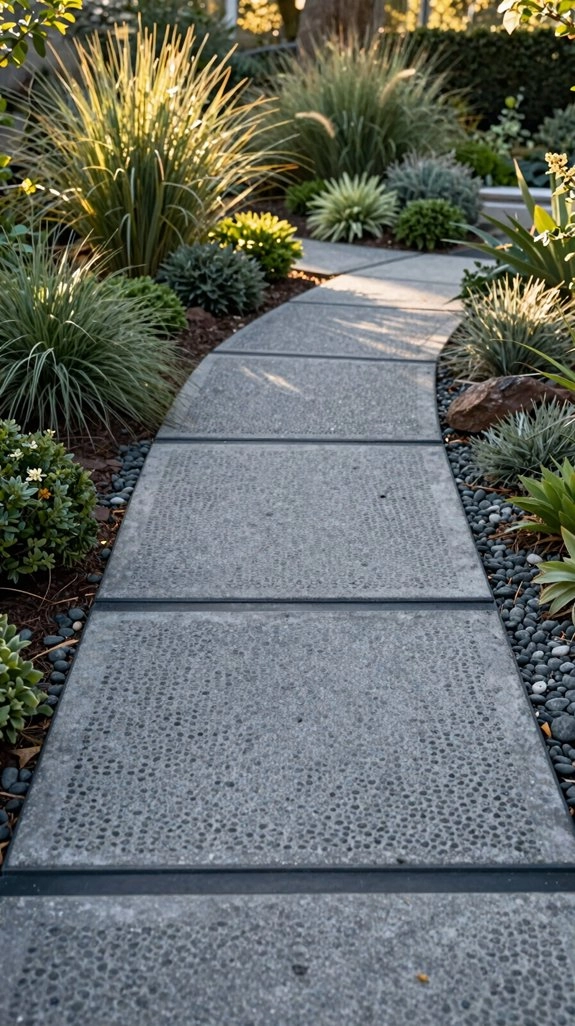
Stamped concrete gives your garden path the look of slate, brick, or natural stone without placing dozens of separate pavers—what a time-saver!
Pour it over compacted gravel, add reinforcement if needed, press textured mats, then cure and seal it for a welcoming walkway.
- Pick straight runs for easy walking.
- Try integral pigment or stain for color matching with your flowers.
- Plan control joint placement to limit cracks without breaking the pattern.
- Choose a textured finish for better slip resistance.
Your biggest win? Sealing protects the surface from stains and freeze-thaw damage. With simple seasonal maintenance, your shared garden route can stay beautiful for years!
Rustic Timber Rounds
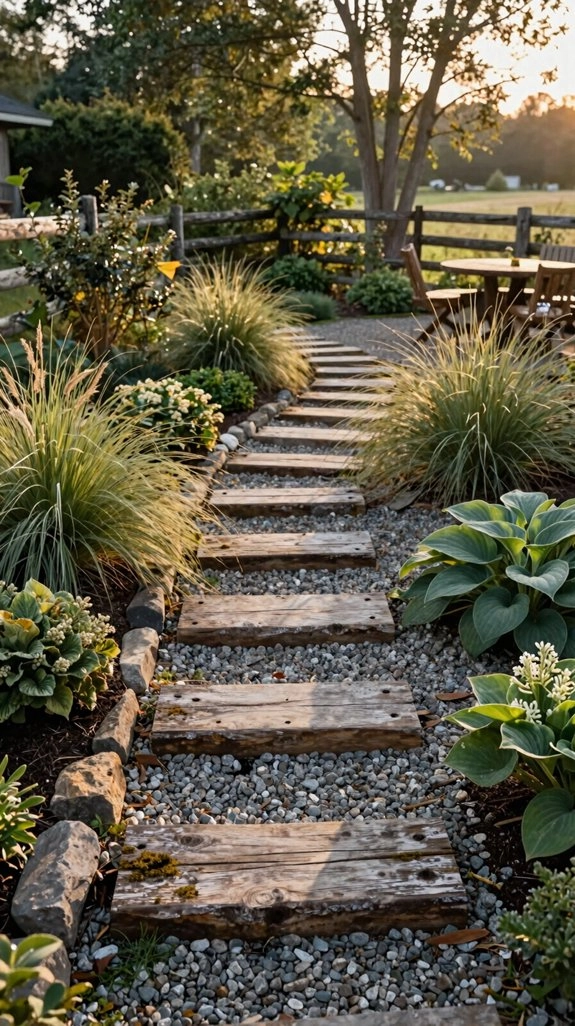
Rustic timber rounds bring a woodland feel to your garden path, and their uneven edges look right at home beside lawns, cottage flowers, and relaxed backyard beds! Choose well-seasoned, pressure-treated, or sealed rounds for lasting charm.
Dig shallow trenches, add compacted gravel and, if you like, a thin sand bed, then set each round level and slightly above grade. Space centers 18–24 inches apart so your steps feel natural, not like a woodland obstacle course!
Fill the gaps with Weed control gravel for drainage and fewer weeds. Finish with a Secure edging border to keep everything tidy. You’ll create a welcoming path that feels wonderfully handmade!
Curved Garden Trail
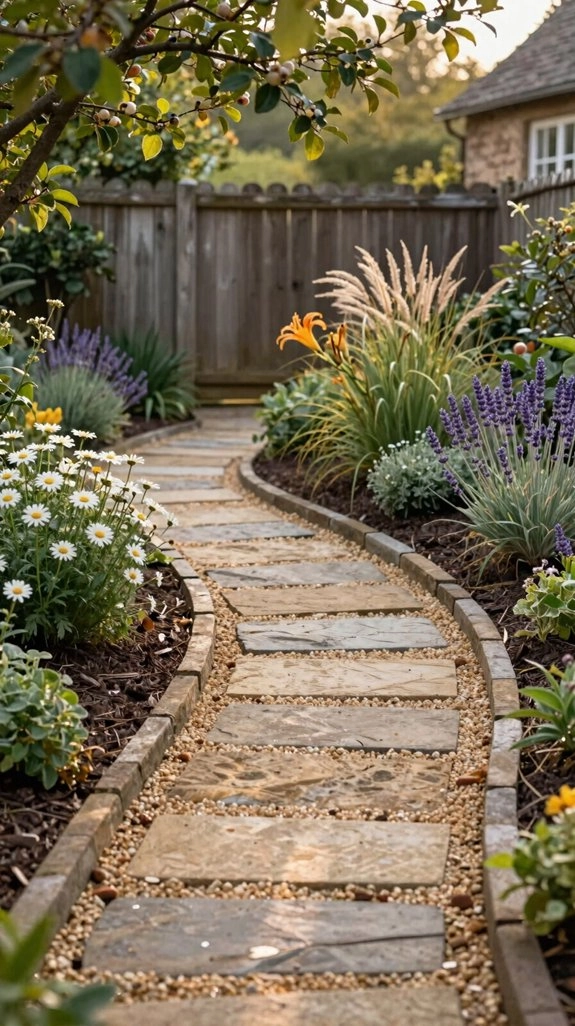
A gently curving garden trail can make even a small backyard feel more spacious and inviting! Space irregular stones 18–24 inches apart, so your stride feels natural and neighbors feel welcome.
Try this beginner-friendly plan:
- Choose sandstone, slate, or limestone.
- Set stones in pea gravel or compacted sand.
- Add slate edging for stability and gravel drainage.
- Shape a gentle S-curve, not a tight bend.
Leave small gaps for weed-suppressing fabric and filler. Alternate dark slate with light limestone for a friendly, intentional pattern. Place larger stones at each end to guide guests.
It’s affordable, forgiving, and surprisingly charming—your garden may gain its own little adventure!
Glow-in-the-Dark Stones
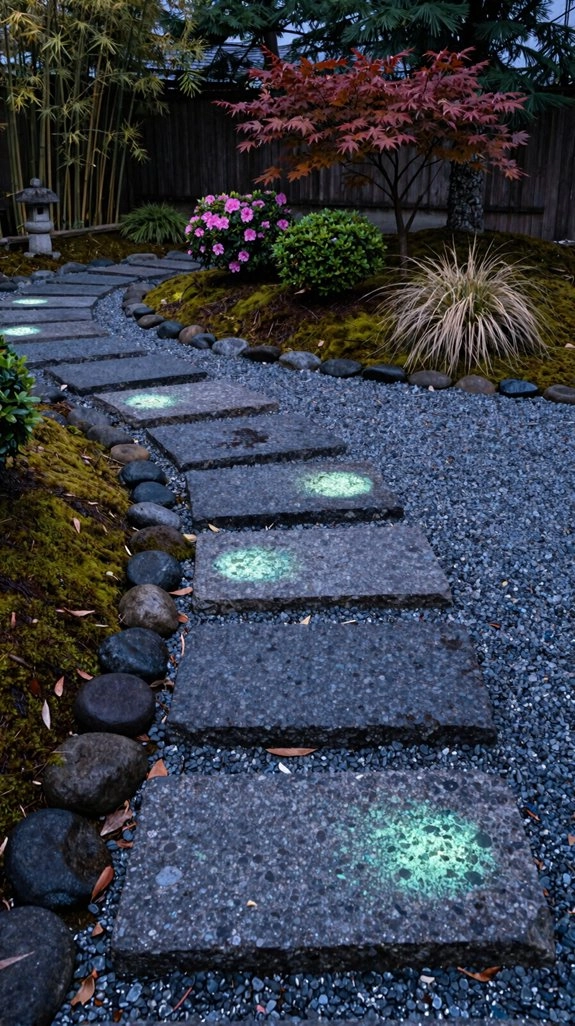
When daylight fades, glow-in-the-dark stepping stones can turn your garden trail into a gentle constellation—how fun is that! Choose photo-luminescent stones with textured, slip-resistant surfaces, and place them where they’ll soak up strong sunlight. They’re beginner-friendly, too: set them evenly, then surround each one with gravel or sand for steady footing and a tidy finish.
The glow shines brightest during the first few hours, then softly fades. Use stones to mark edges, turns, and the first and last steps, rather than replacing low-level lighting.
Try these Garden edging ideas to frame your path, while subtle Outdoor lighting effects create a welcoming nighttime sparkle for everyone!
Mixed Stone Patterns
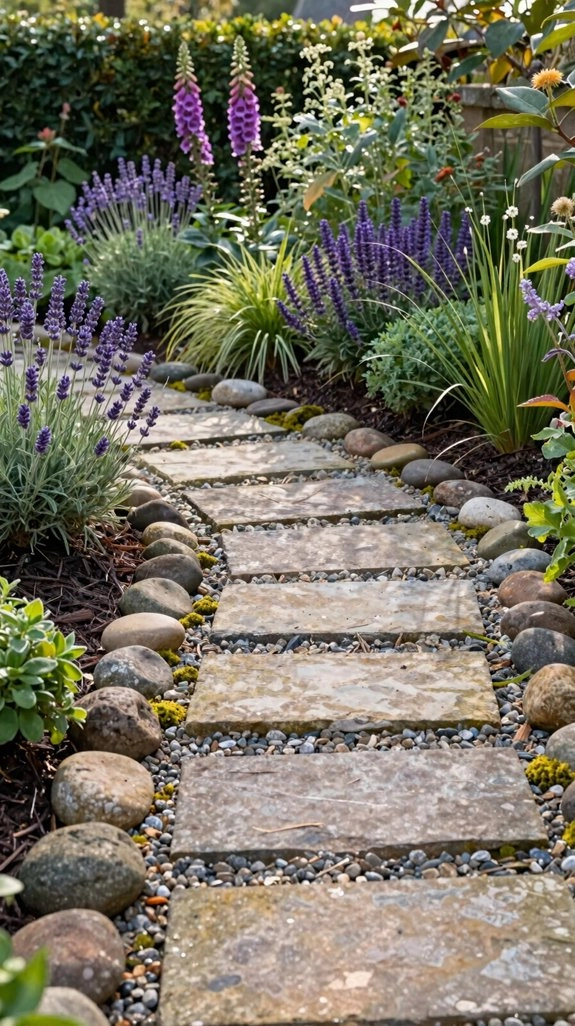
Mixed stone patterns bring color, texture, and a little garden personality to your path—goodbye, plain walkway! Blend irregular sandstone with flat slate, but keep the walkway width and step spacing steady, so everyone feels welcome and safe.
- Try a contrast tone mix: dark slate beside light limestone or gravel.
- Repeat small stones in checkerboard or herringbone rows.
- Add a larger focal stone or accent circle for a friendly surprise.
- Create mosaic motifs with colorful pebbles, then frame them with neutral rocks.
In tight spaces, use gentle lines with pea gravel infill. Survey stone border ideas to keep everything level and weeds down—beautiful, practical, and wonderfully yours!
Modern Minimal Path
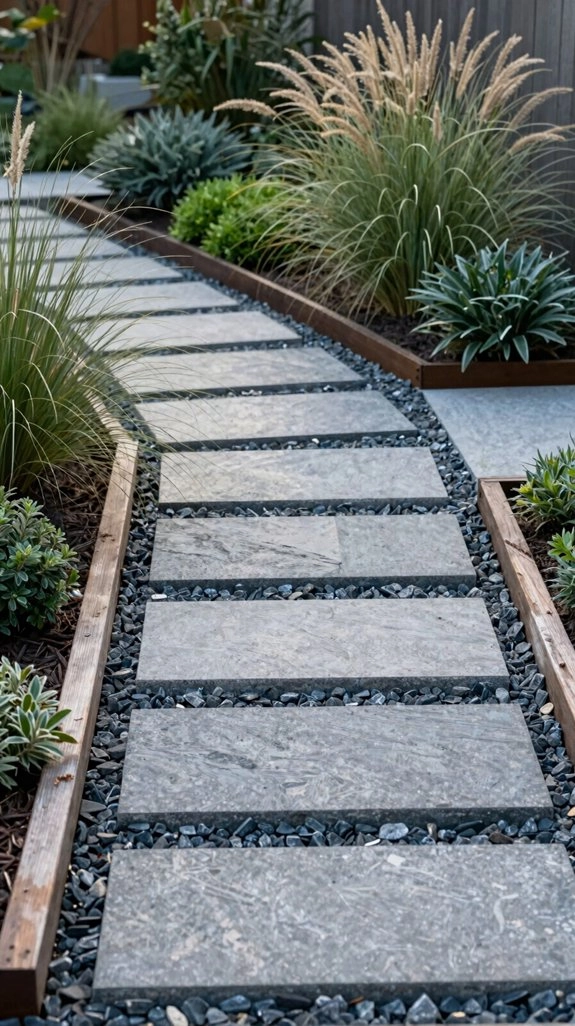
For a modern minimal path, choose large-format slate or granite slabs and line them up with even 18–24-inch gaps filled with fine gravel or sand for a crisp, intentional look. You’ll create a calm, welcoming route that feels thoughtfully designed!
Keep the run straight, or add a gentle angle, and choose one stone color or pair light limestone with darker slate. Set each slab firmly, then fill spaces with compact gravel for easy upkeep.
For a polished finish, install a thin border using concrete or a mowing strip to block weeds and sharpen edges. Finally, add recessed ground lights along one side—your simple path will glow beautifully after sunset!