15 Weekend DIY Garden Projects You Can Finish in One Day
- 15 Weekend DIY Garden Projects You Can Finish in One Day
- Key Takeaways
- Build a Wooden Plant Stand
- Create a Vertical Herb Garden
- Make a Pallet Planter
- Build a Garden Bench
- Install a Garden Trellis
- Create a Bird Feeder
- Build a Compost Bin
- Make Garden Markers
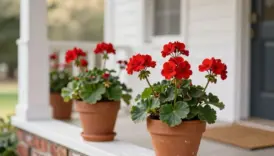
- Paint Terra Cotta Pots
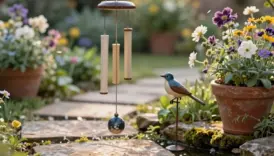
- Install a Rain Chain
- Create a Hose Holder
- Build a Potting Bench
- Make a Garden Lantern
- Build a Garden Privacy Screen
- Create DIY Stepping Stones
You can tackle 15 one-day garden upgrades, from a nailed-together plant stand and pallet planter to a trellis, hose holder, clay markers, and pine-cone bird feeder—cheap, beginner-friendly wins! Build a potting bench with pegboard, hang a rain chain over gravel, or paint terra-cotta pots for instant color. For a wow finish, make a leafy privacy screen or patterned stepping stones. Keep going for simple materials, fast steps, and clever finishing tips.
Key Takeaways
- Build a simple wooden plant stand, pallet planter, or chair-and-cedar bench for fast garden storage and seating.
- Create vertical growing space with a pocket herb garden or trellis for climbing peas, beans, and flowers.
- Improve drainage and organization by installing a rain chain, splash basin, and wall-mounted hose holder.
- Personalize planting areas with clay garden markers, painted terra-cotta pots, and a compact potting station with pegboard.
- Add garden appeal in hours with pine-cone bird feeders, a compost bin, solar lanterns, privacy screens, or DIY stepping stones.
Build a Wooden Plant Stand
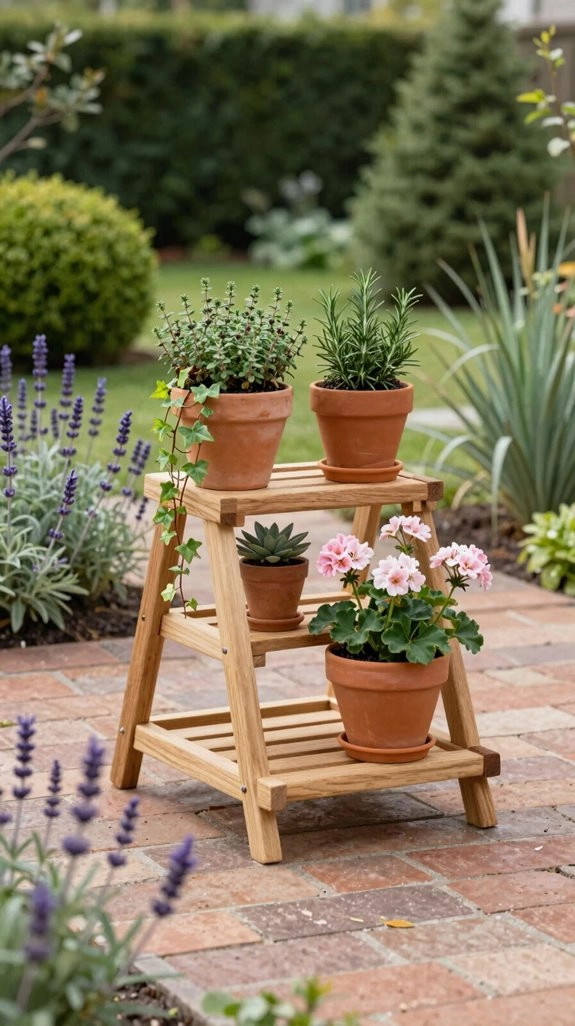
A wooden plant stand can turn a plain patio corner into a cheerful little garden display in just one day—no elaborate workshop required!
You’ll need seven 8-foot 1×2 boards, exterior glue, galvanized finish nails, a drill, tape measure, and level. Choose cedar for a sturdy, welcoming look that lasts outdoors.
Cut boards into two lengths, then glue and nail stacked squares into a simple stair-step shape. Check each level as you go—wobbly stands are nobody’s garden buddy!
Your pots will look like a tiny neighborhood gathering, perfect beside your soil health tips and compost tea recipes. For a polished finish, add stain; it takes extra time, but wow, what a payoff!
Create a Vertical Herb Garden
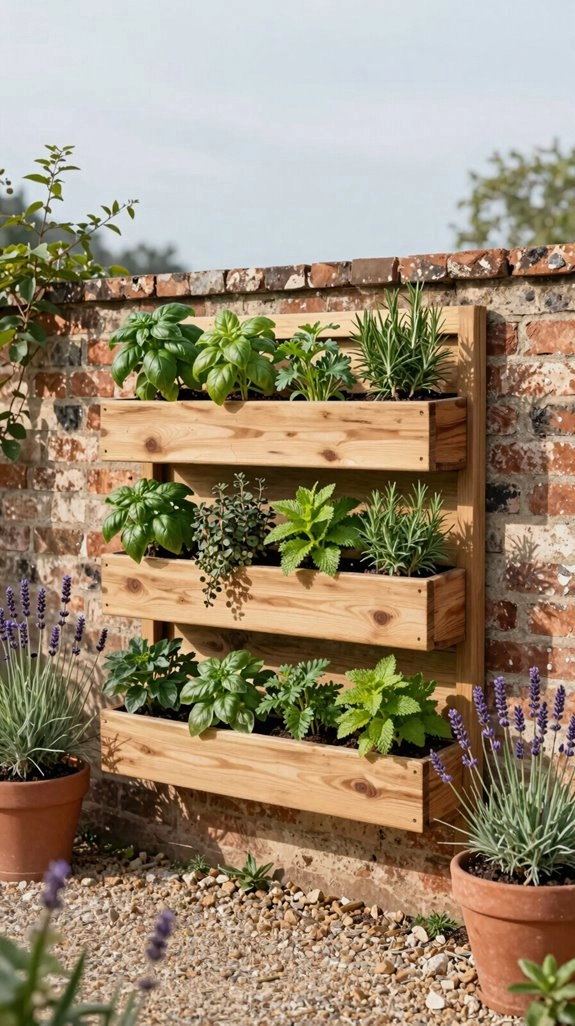
Turn an empty wall, fence, or sunny porch corner into a fresh herb station with a vertical garden—it’s a quick, beginner-friendly project that delivers big curb appeal!
Gather a 12-inch-wide planter, potting mix, and container herbs. Your simple layout keeps quick planting stress-free!
- Fill pockets with potting mix.
- Tuck in basil, mint, and thyme.
- Give each tier durable watering immediately.
You’ll finish in an afternoon and join the neighborhood’s fresh-food crowd—no heavy digging required!
For herb labeling, press names into 1/4-inch air-dry clay, add skewers, and dry them later.
Those charming markers make every snip feel extra special!
Make a Pallet Planter
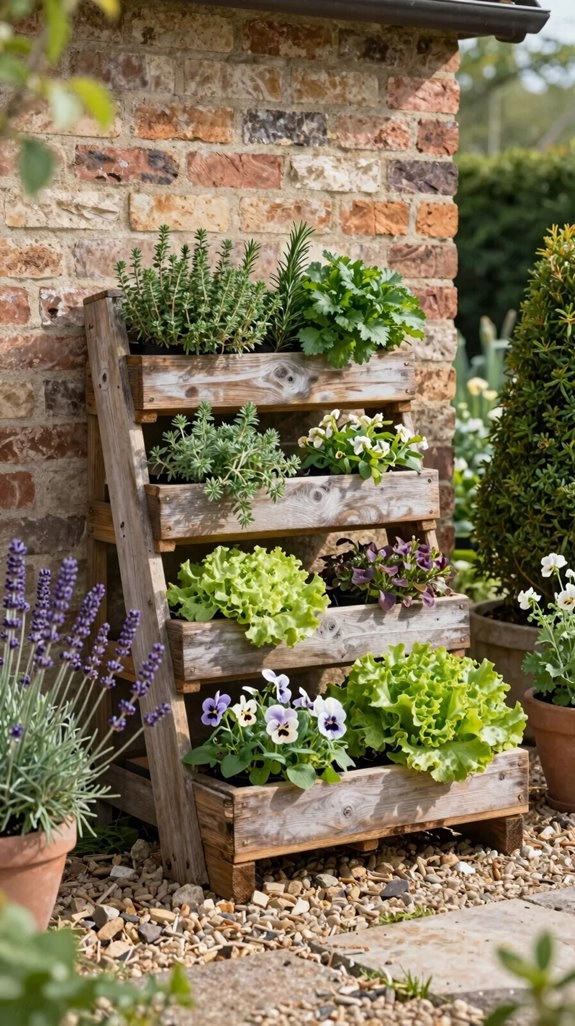
Ready for a bigger planting project? Turn a sturdy pallet into a cheerful planter your neighbors will admire! You’ll need a cleaned pallet, liner, potting mix, plants, and basic tools.
First, remove loose nails and splinters, then add drainage holes or use a breathable liner. Secure the liner inside the open wood frame, keeping its rustic look while giving soil a safe home.
Fill it with moist potting mix and tuck in small, moisture-loving plants close together. Pallets dry quickly, so check water often.
It’s perfect for Seasonal Planting, and herbs can support Pest Control—tiny garden teamwork! Build, fill, and plant it in one afternoon.
Build a Garden Bench
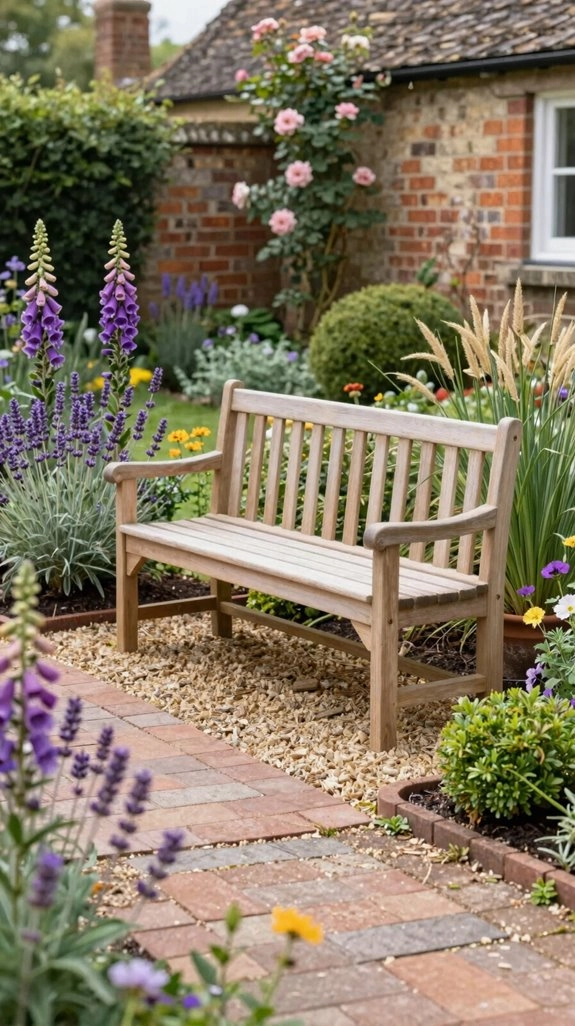
Building a garden bench gives you a comfy spot to enjoy your hard work, and it doesn’t have to cost a fortune—especially if you start with two old chairs!
You’ll upcycle chairs into a welcoming seat your whole crew can enjoy.
- Use cedar boards, a drill/driver, and exterior screws.
- Secure boards between chair frames for a sturdy seat.
- Sand edges, then stain or seal for weather protection.
Keep manual tools simple, and you can finish in a few hours—no carpenter cape required!
For a clever finale, add a hinged seat: your bench becomes outdoor storage for a watering can, extension cord, or gloves.
Install a Garden Trellis
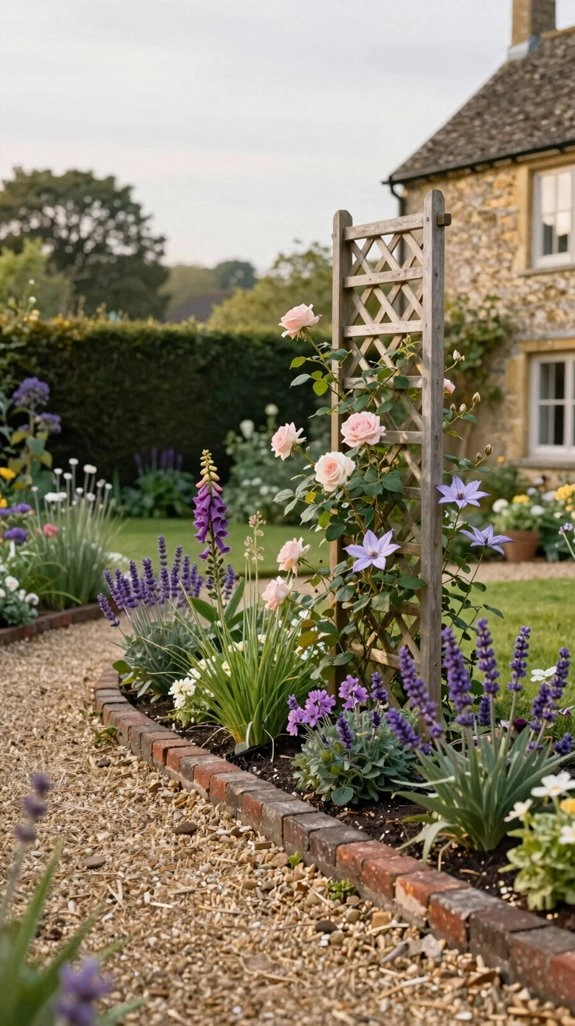
A garden trellis adds instant height and charm, giving climbing flowers, peas, or beans a place to stretch toward the sun—no expertise required!
Choose a fence, walkway, or bed, then measure before buying cedar or pressure-treated lumber.
Pre-drill holes, build a simple frame, and attach lattice or slats with exterior screws.
For a freestanding version, anchor sturdy posts and use a torpedo level—crooked trellises have personality, but not the good kind!
Add twine or plant ties, then gently push it to test stability.
A quick outdoor finish helps it last.
Vertical gardening saves space, and Composting tips can help nourish your new climbers beautifully.
Create a Bird Feeder
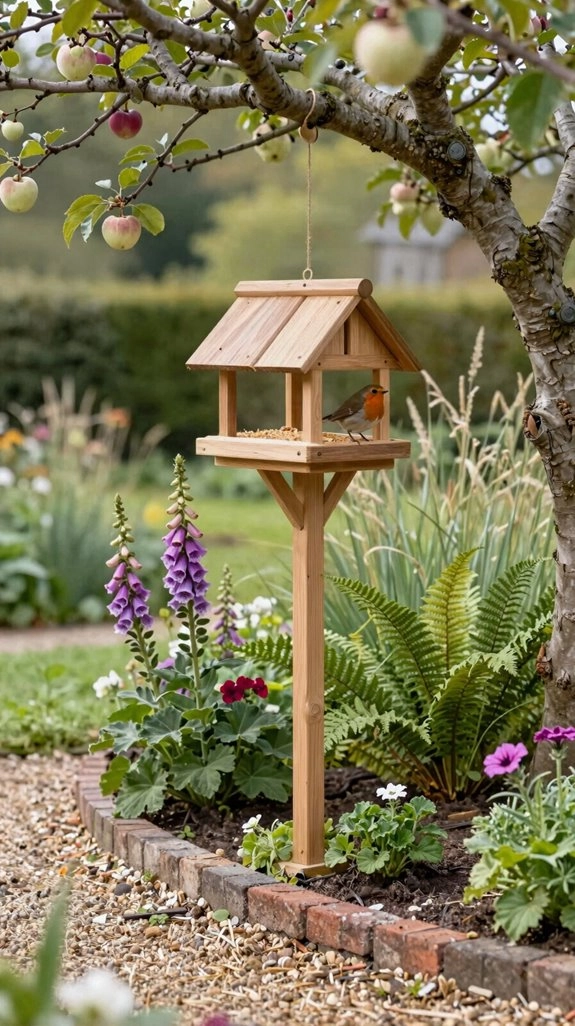
Turn an ordinary pine cone into a busy little bird café in minutes—how fun is that! Coat it with peanut butter, roll it in birdseed, and hang it with wire where you can watch your feathered neighbors visit.
- Keep bird safety first: hang feeders near a safe landing spot, away from windows.
- Try a clear tube, string, and popsicle sticks for a modern feeder; it’s easy, affordable, and great for Backyard nesting.
- Use smart seed storage and a critter deterrent: add small amounts of seed so spills don’t invite unlisted guests.
For a surprise option, make a mushroom feeder from a bowl and bottle—your garden crew will love it!
Build a Compost Bin
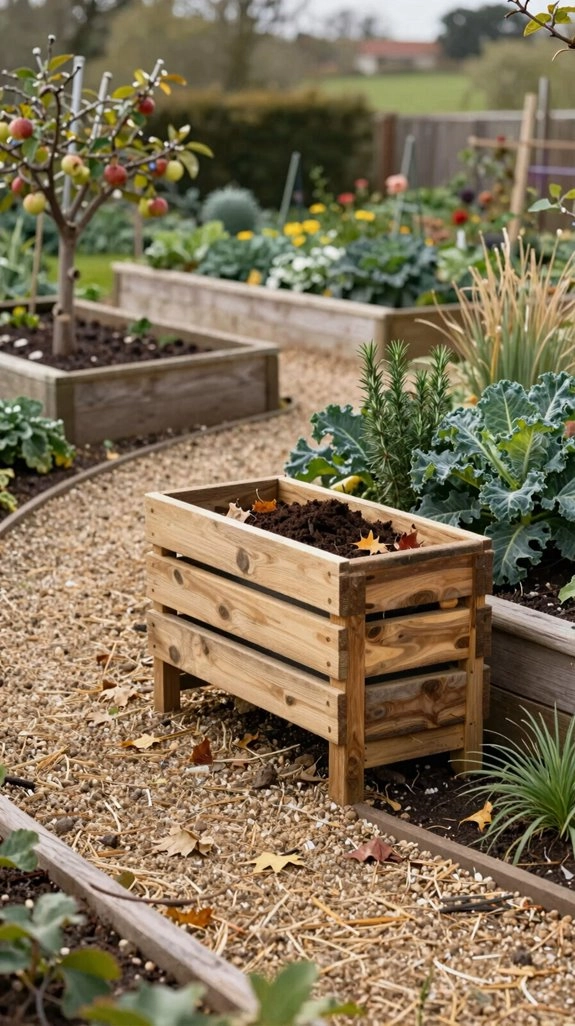
With a few sturdy boards and an afternoon to spare, you can build a simple compost bin that turns everyday scraps and dry leaves into rich, crumbly garden food—pretty satisfying for something that starts with banana peels!
Choose a well-drained, handy spot, then use outdoor-rated wood for a solid base and airy sides. Leave one side open or add a panel, so you can load scraps daily and turn the pile without wrestling it like a muddy monster.
Layer fresh “greens” with dry “browns” for better soil health. Best tip? Easy access makes compost troubleshooting simple, helping your shared garden efforts stay fresh, fast, and odor-free!
Make Garden Markers
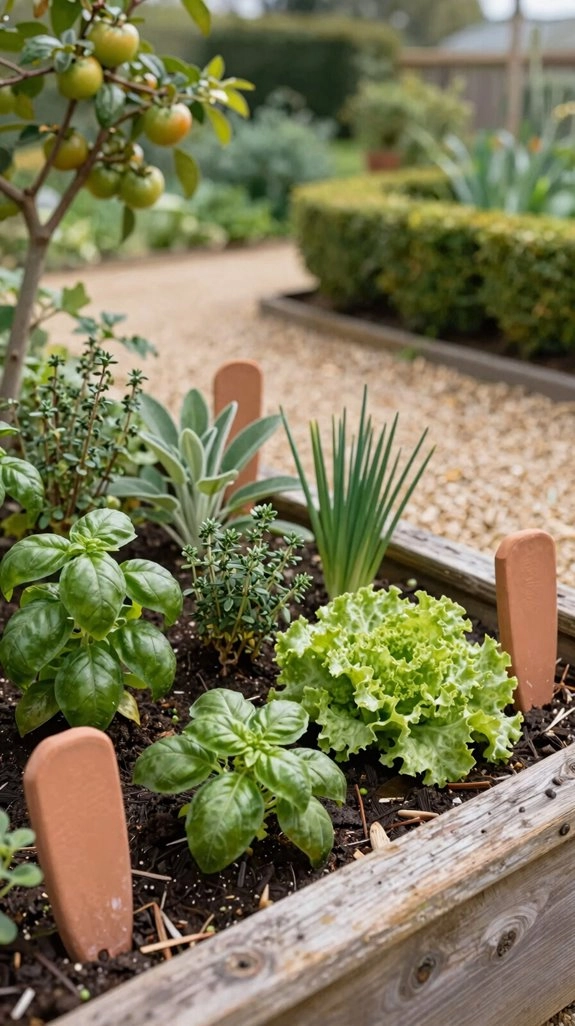
Every vegetable bed looks more polished when each plant has its own cheerful label, and these easy air-dry clay markers take just a few supplies—clay, a pencil or carving tool, wooden skewers, and paint if you’d like a pop of color.
- Roll clay 1/4 inch thick, cut shapes, and stamp names.
- Push in skewers, then dry flat for 24–48 hours.
- Paint or seal them for weatherproof labeling and bright garden signage.
You’ll love how seed starting feels less confusing when look-alike seedlings get names before true leaves appear.
It’s a low-cost, no-oven project your gardening crew can tackle together—no mystery squash allowed!
Seal them well, and your labels will keep your bed organized all season.
Paint Terra Cotta Pots
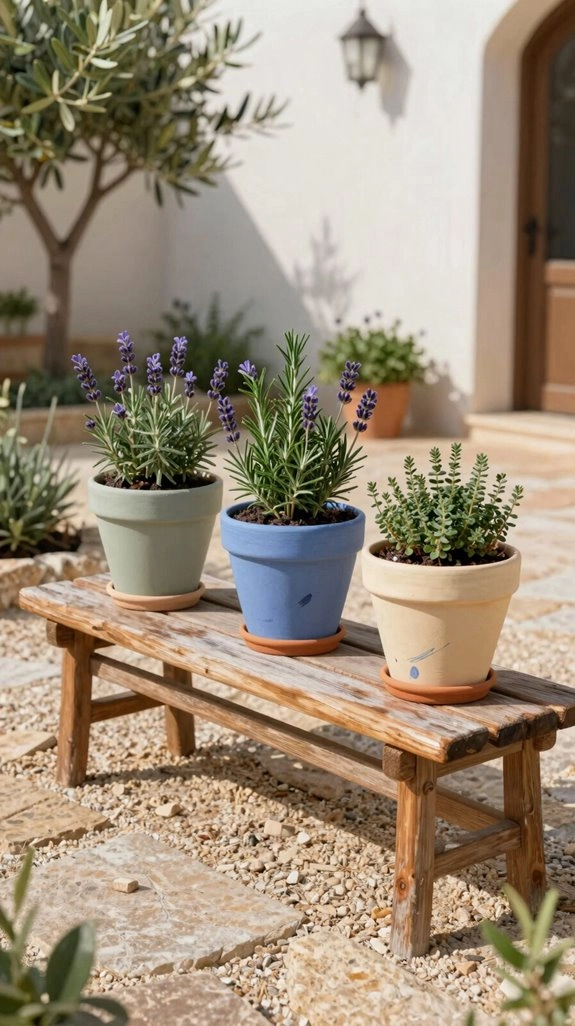
Give plain terra-cotta pots a colorful new look in just one afternoon—yes, even the dusty ones hiding in your shed!
Choose pots with drainage holes, scrub away old soil, and let them dry. Grab primer, outdoor acrylic or spray paint, a clear outdoor sealer, and a drop cloth. It’s affordable, easy, and perfect for bringing your garden crew together!
Prime bare clay so color won’t soak in patchy, then apply thin paint coats, letting each dry. Match a compost bin or brighten a tired garden bench—why should plants have all the fun?
Finish with fast-dry sealer, wait until everything cures, then add soil. Your colors will resist fading and splashes beautifully!
Install a Rain Chain
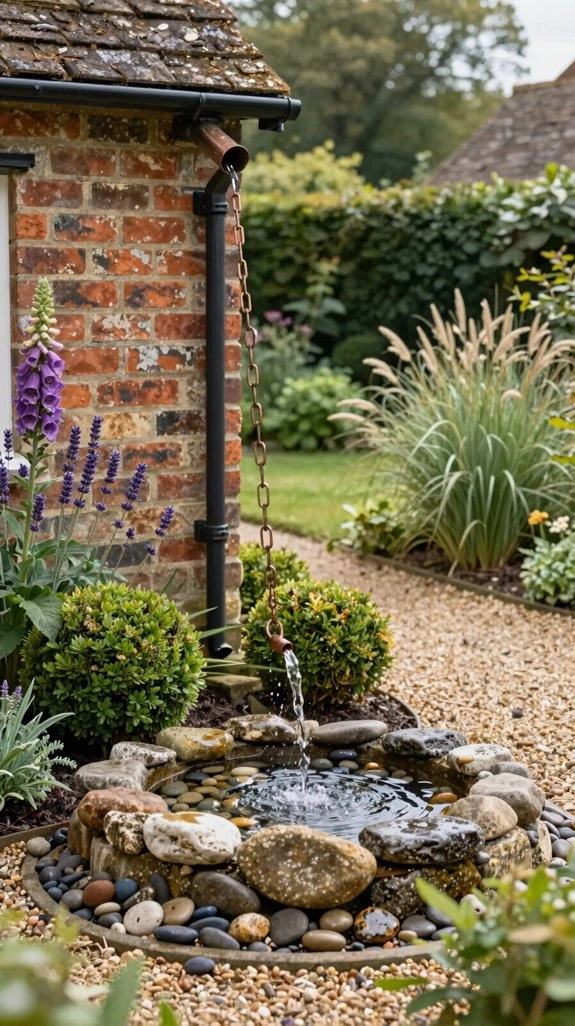
Turn a plain downspout into a gentle waterfall by installing a rain chain—it’s a quick, beginner-friendly project that adds movement and charm whenever it rains!
With one day planning, measure the drop, then choose a chain and adaptor that fit your gutter.
- Secure the top to a stable outlet.
- Let links hang straight, clear of siding.
- Add gravel, a splash block, or catch basin below.
These simple Drainage solutions keep runoff from pooling near your foundation.
Invite neighbors to admire the shimmer during the next shower—instant garden conversation!
Finally, check for leaves now and then; a clean, level chain flows beautifully, not like a tiny waterfall gone wild.
Create a Hose Holder
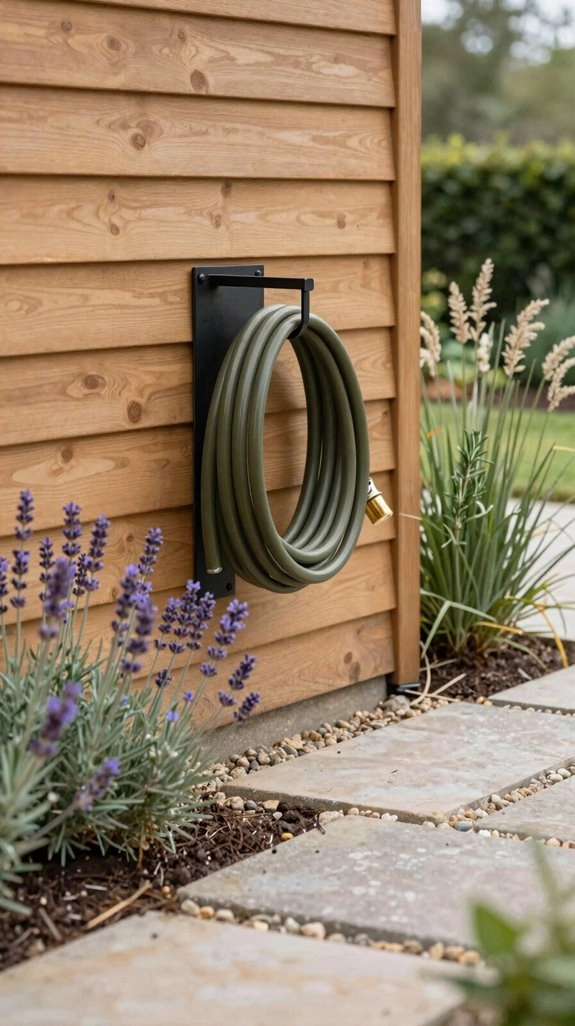
A simple hose holder can clear up a messy watering corner in just one afternoon, and you’ll wonder why you put up with a hose-shaped lawn snake for so long!
Choose a compact wall-mounted or freestanding style, then measure your hose so it winds easily without kinks.
You’ll need a 25-foot tape measure, cordless drill, utility knife, level, and exterior screws.
Mount it near the spigot to cut down slack, drill pilot holes, and secure everything firmly.
This affordable project makes Irrigation Timer Setup and Drip Line Planning feel more organized, too!
Finally, coil the full hose and test it.
If it hangs neatly, your garden crew will be impressed—no saggy spaghetti!
Build a Potting Bench
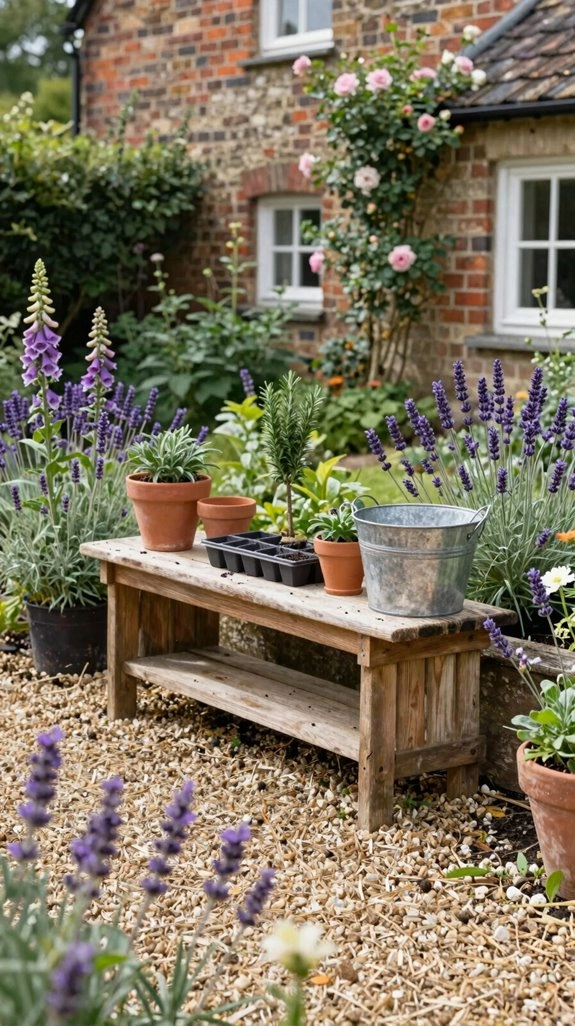
With your hose neatly corralled, build a potting bench to give soil bags, hand tools, and half-finished plant projects a proper home—no more balancing pots on the patio table! Choose a simple, sturdy lumber design you can finish today.
- Gather a 25-foot tape measure, cordless drill, utility knife, torpedo level, lumber, and exterior coating.
- Assemble the frame squarely, secure the top, and create an ergonomic setup for soil mix, filling pots, and container staging.
- Add pegboard so every potting tool has a familiar spot—then coat it for moisture protection.
For small spaces, make it foldable; your patio crew will wonder how you managed without it!
Make a Garden Lantern
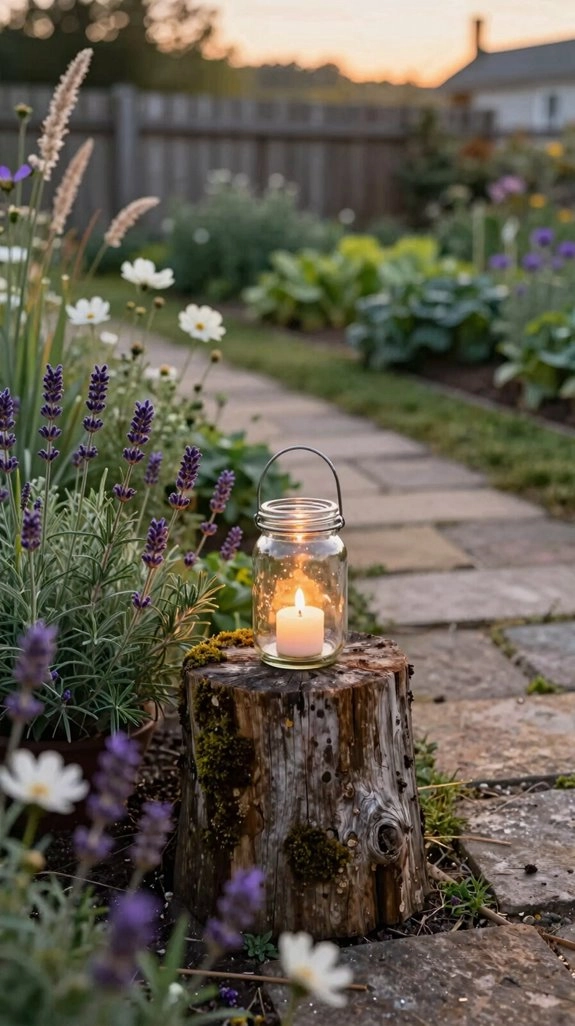
Bring a little glow to your garden with a lantern you can build in one afternoon—no complicated wiring, no electrician hat required!
Gather weather-resistant pipe fittings, a watering globe, and covered string lights for a Waterdrop Solar Light-inspired project.
First, plan your lighting spots; that’s the part that takes thought. Then assemble the frame and tuck in Weatherproof wiring connections.
Once locations are set, quick placement usually takes only 30–45 minutes—nice!
Choose a solar unit for easy solar charging, and give its panel direct sun.
At dusk, test the brightness and aim.
You’ll create warm outdoor ambiance that makes every backyard gathering feel a little more welcoming.
Build a Garden Privacy Screen
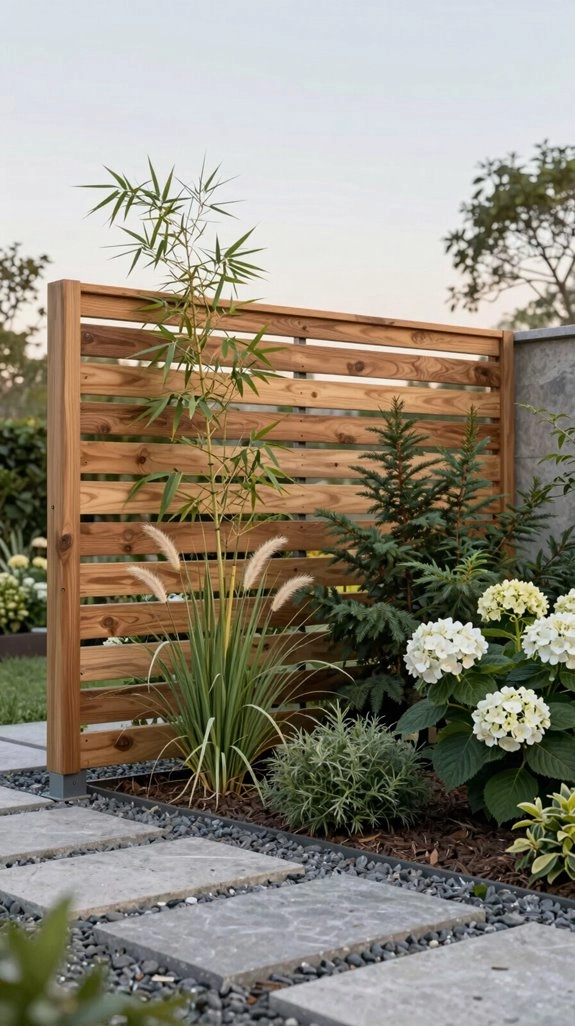
If your patio feels a little too exposed, you can create a leafy privacy screen in about 90 minutes—no drilling, digging, or landlord side-eye required!
Grab a freestanding clothing rack, outdoor hanging planters, and S-hooks. This affordable project fits right into Crop Coverages, Deck Shade Solutions, Patio Privacy Layers, and Balcony Planting Ideas.
- Hang sturdy planters from S-hooks.
- Add dense trailing plants or vigorous climbers.
- Rotate the rack seasonally for fresh coverage.
Choose plants that spill and climb fast, not sparse little stragglers! Soon, you’ll have a movable green wall that softens sightlines and makes your outdoor corner feel like your own welcoming hideaway.
Create DIY Stepping Stones
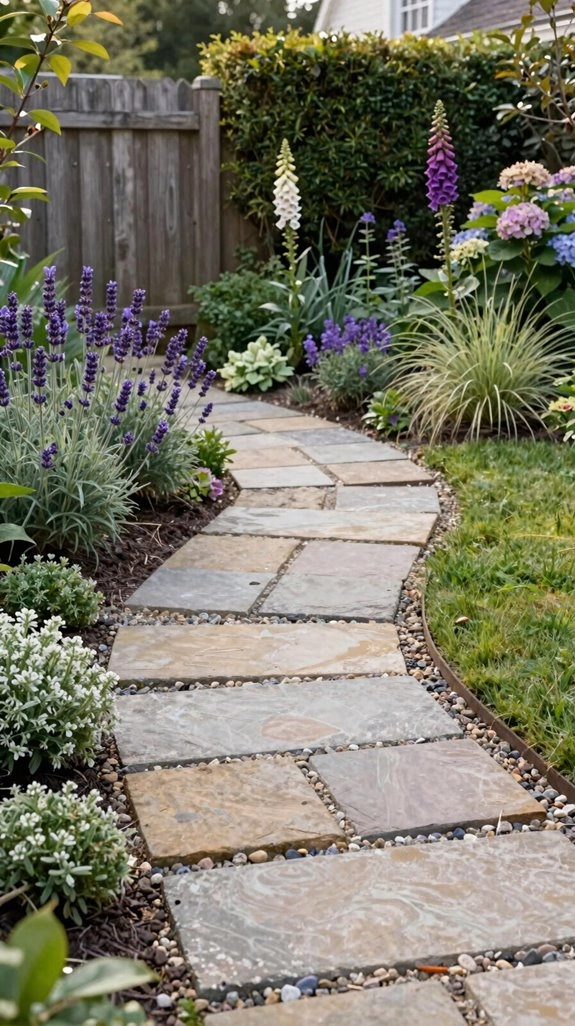
Once your leafy privacy screen makes the patio feel tucked away, give the garden path some personality, too! Choose molds, then mix mortar, or use sand topping mix for embossed stones. It’s affordable, beginner-friendly, and you can pour several at once.
While the mix is workable, add small embellishments and smooth the edges. Here’s the fun twist: press a rubber doormat into the surface for a crisp pattern—instant custom charm!
Let each stone cure as directed, then set it firmly on a prepared, level path. Your new walkway will connect Patio seating to garden lighting, welcoming everyone through your shared outdoor space.